HOW TO PRINT A TRANSPARENCY PAGE FROM A TEMPLATE
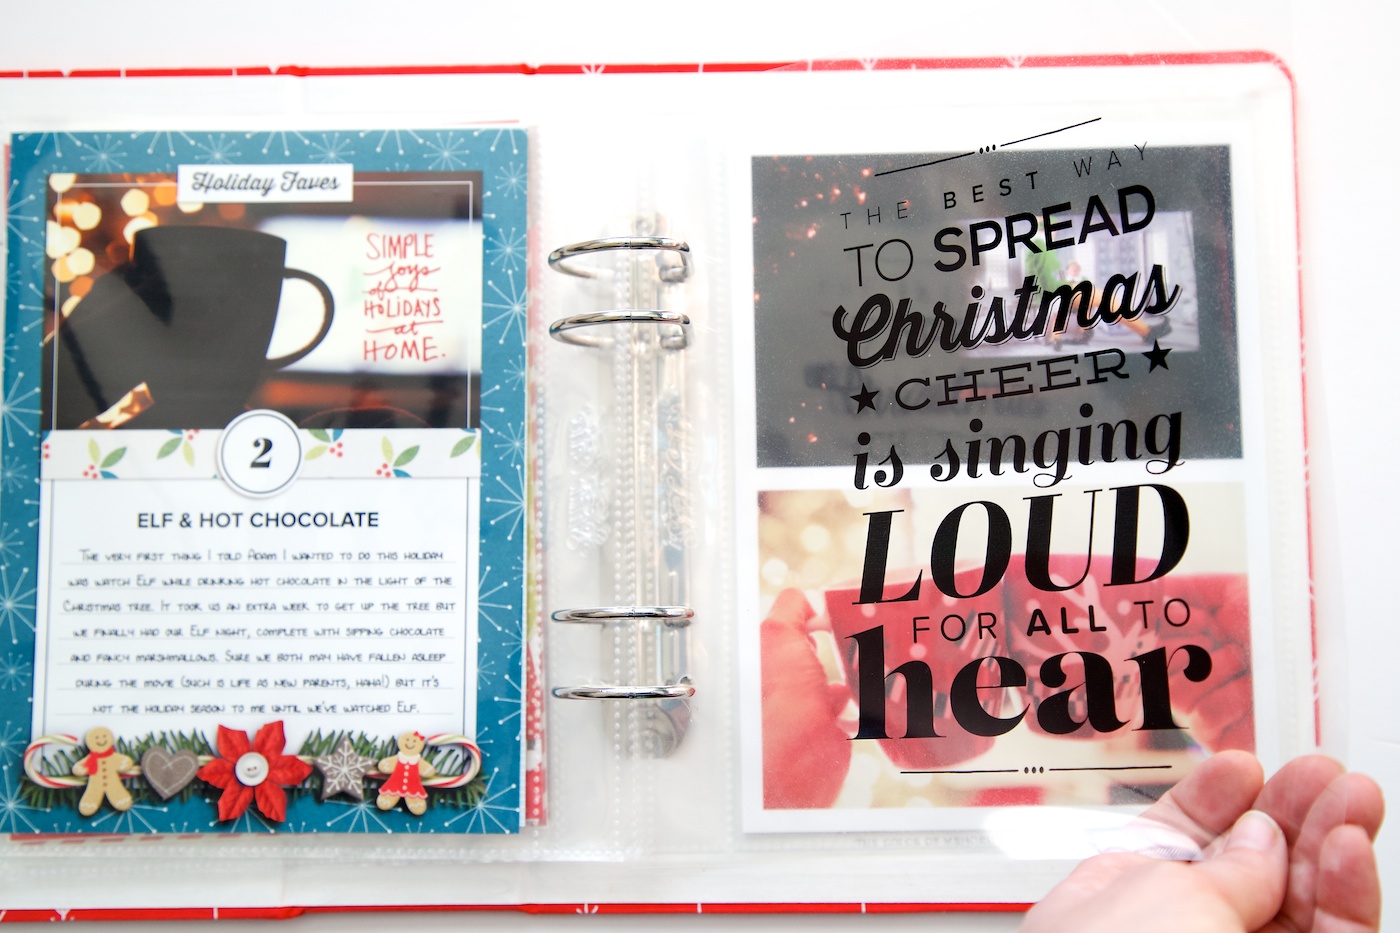
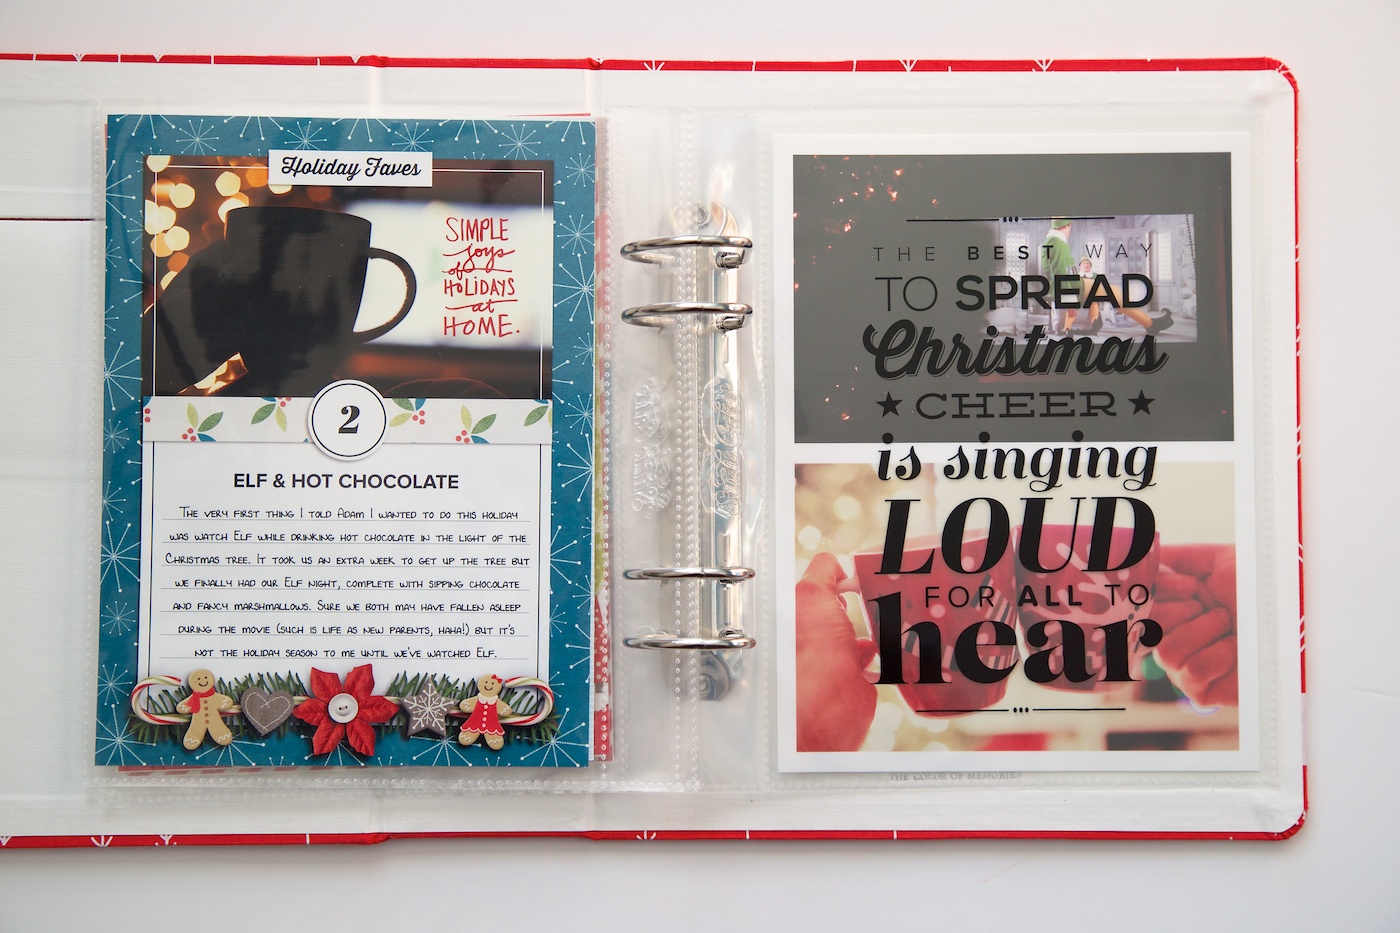
As part of my Holiday Faves No. 1 & 2 post, I shared a spread where I printed the Cheer accent page template as a transparency. This tutorial will show you how to do that. Spoiler: it’s really easy.

First up, you need two things:
- A set of printable transparencies designed for your type printer – inkjet vs laser
- A printer capable of printing transparencies – my printer doesn’t technically say it’s supported but I’ve printed them without any trouble.
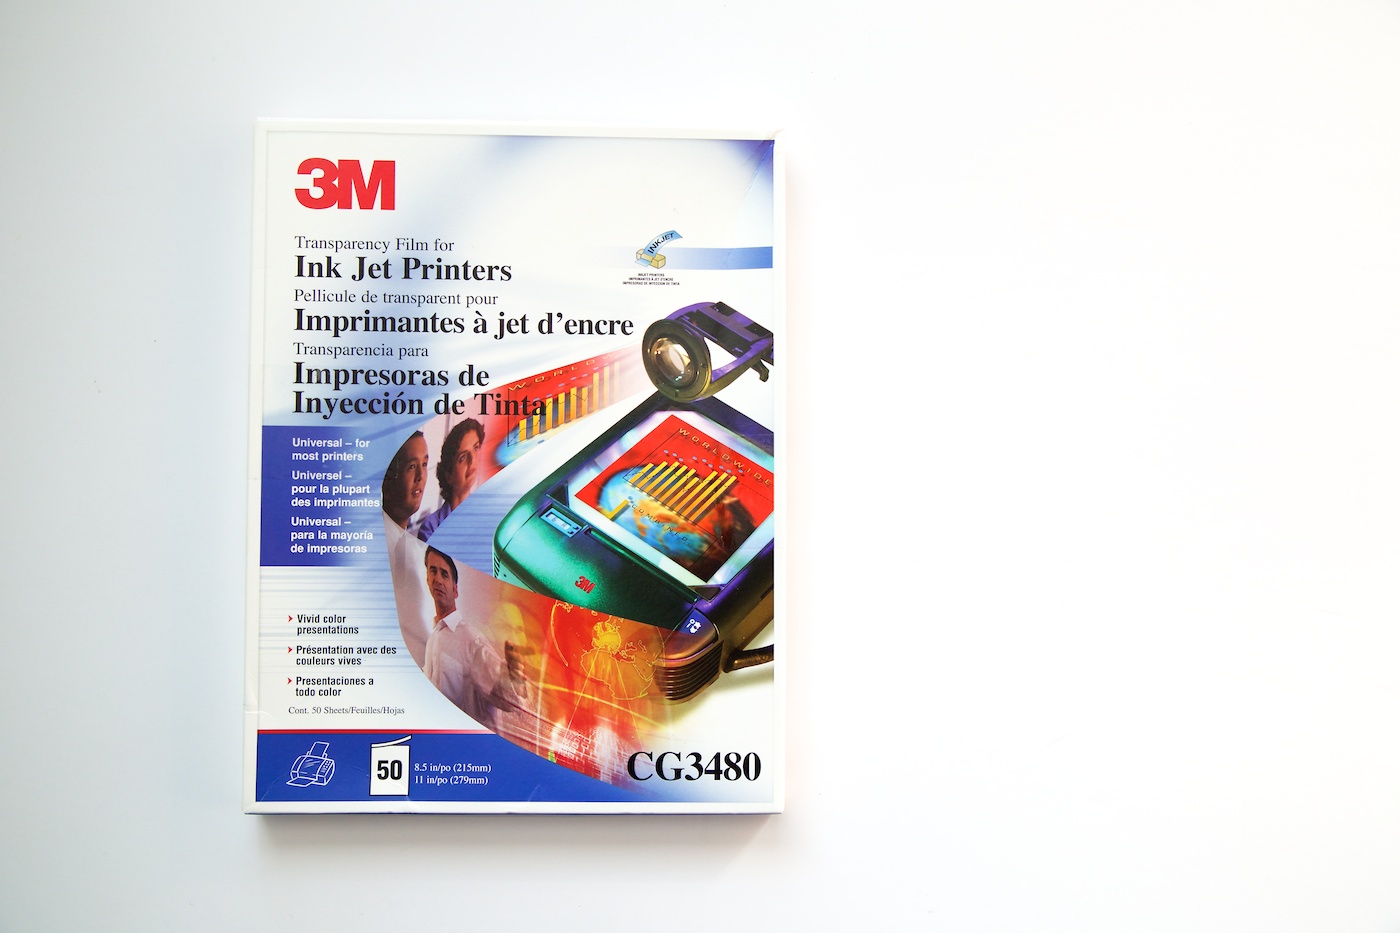
Since I use an Epson inkjet printer, this is the set of transparencies I have that I purchased long ago at Office Max:

Once you have your supplies ready to go, here’s what you need to do:
Step 1: Open up the template you wish to use and make any adjustments to the colors, etc you would like.
Keep in mind that your printer can’t print white ink (I wish!) and that dark colors and simple text/designs work much better than more complicated designs. For my transparency I used the Cheer Accent Page template for my transparency and chose to keep my text all black.

Step 2: Turn off the background layer so the background of the template is transparent. Depending on the template, the background layer may be locked but you can unlock it simply by dragging the lock icon to the trash can at the bottom of the layers palette.

Step 3: Flip your image so that you have a mirror image of the design.
Most inkjet transparencies have two sides to them – a rough side you print on and then a smooth glossy side that feels like a normal overhead transparency. Since we need to print on the rough side, we want to print a mirror image of our design so we can flip the page over and have the smooth glossy side face out.
To do this in Photoshop go to Image>Image Rotation> Flip Canvas Horizontal

We now have a mirror image version of the design:

Step 4: Print your design on your transparency like you would a normal page.
If your printer is fancy, you may have a transparency option as a paper setting in your print settings. Mine doesn’t so I choose the setting that uses the least amount of ink (Plain Paper/Bright White Paper).
Keep in mind that most printable transparencies have a right and a wrong side – the right side is rough so the ink sticks to it and the smooth side is the non-printable side. To make sure you print on the correct side, you’ll need to know which direction your printer feeds paper into the printer so if you’re not sure print a test page.

Step 5: Trim your transparency to fit your album.
Once your transparency is dry – I usually let it sit for a little bit to be sure – you’ll want to trim it to fit into your album.
Keep in mind where you want the design to fit on top of your photos or other pages. Since I am using page protectors which have a good inch of space on the left side, I trimmed my transparency so the left side is wider than the right side so the text is still centered on my photos.

And that’s it! You now have an awesome custom transparency to add to your Holiday Faves mini album.

Let me know if you try it out and of course, if you have questions or run into any problems, ask them in the Holiday Faves Facebook group.