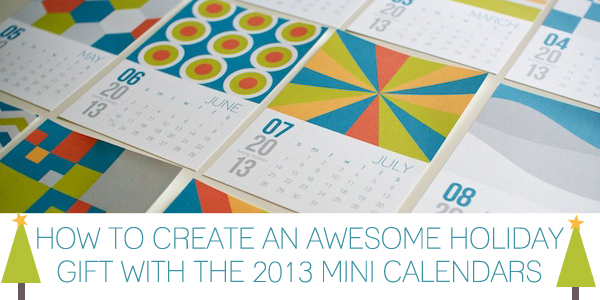
Woohoo, welcome back to Part 2 of the 2013 How To Create An Awesome Holiday Gift with the Nettio Designs’ 2013 Mini Calendars Templates tutorial. In Part 1, I wrote about how to design & customize your mini calendars and in Part 2, I’m going to walk you through printing your mini calendars and customizing and creating your hybrid gift packaging.
This tutorial assumes your calendars are designed and ready to be printed so if you haven’t done that yet, start with Part 1.
Step 4: Customize Your Hybrid Gift Packaging in Photoshop
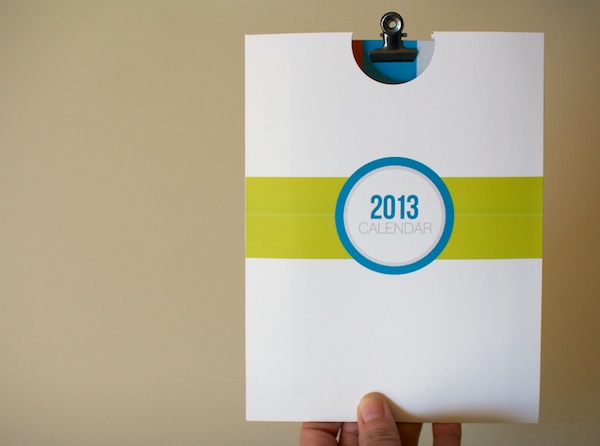
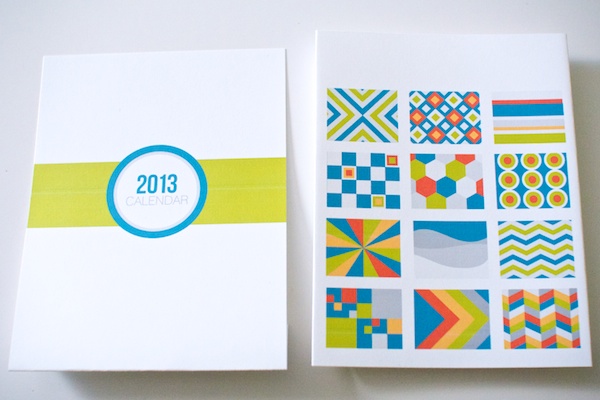
Once you have the design of your mini calendars completed, the next step is to customize the hybrid calendar gift packaging to match your calendar. The finished hybrid packaging creates a pocket that look like this:
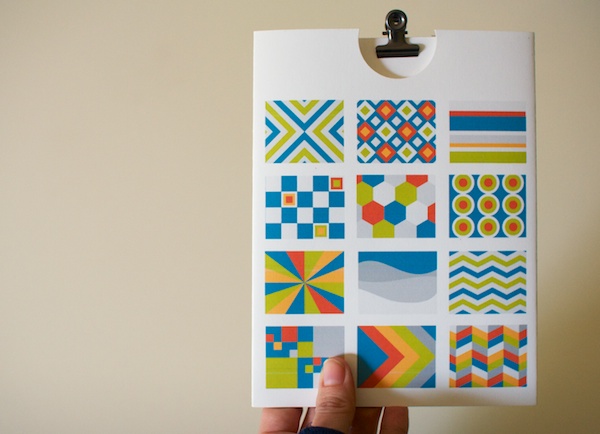
With thumbnails of the calendar designs on the back:
To customize your hybrid packaging, first open up both the front pocket and back pocket templates in your graphics program of choice. I’m using Photoshop CS3:
When open, they’ll look like this:
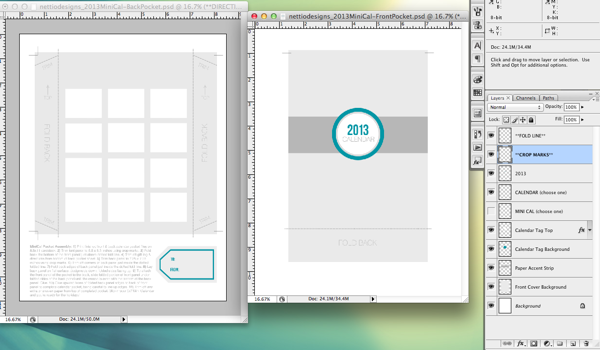
These two files represent the front and back templates we’re going to use to design a custom paper pocket for holding our 5×7 Mini Calendars. Let’s start with the Front Pocket file on the right.
The Front Pocket file includes a layered digital template for customizing your pocket as well as optional crop and fold marks to help you assemble your pocket after you print.
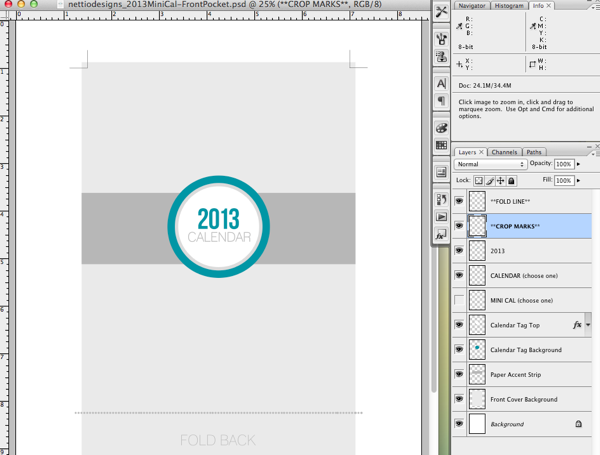
The first thing you are going to do is customize the paper accent strip and calendar accent tag. To do this you can add either a color Fill layer, Color Overlay layer style or clip a digital scrapbooking paper directly to those layers. If you need step-by-step directions on how to do any of these method, see Part 1 of this tutorial here.
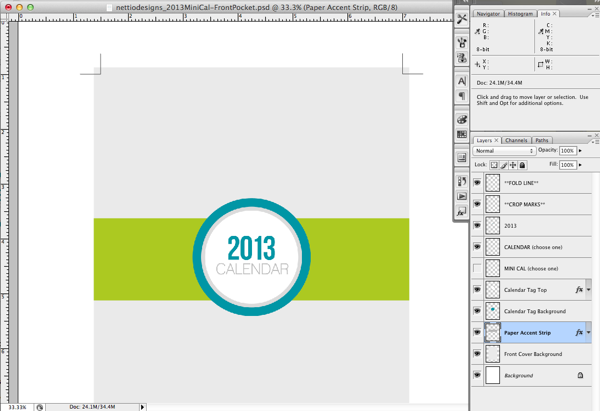
Here is what mine looks like with a green Color Overlay layer style added to the paper accent strip:
The next step is to customize the background of the front cover of the pocket. In my case I would like to leave my pocket the same shade of white as the card stock I plan to print on, so I am going to hide the front cover background layer like so:
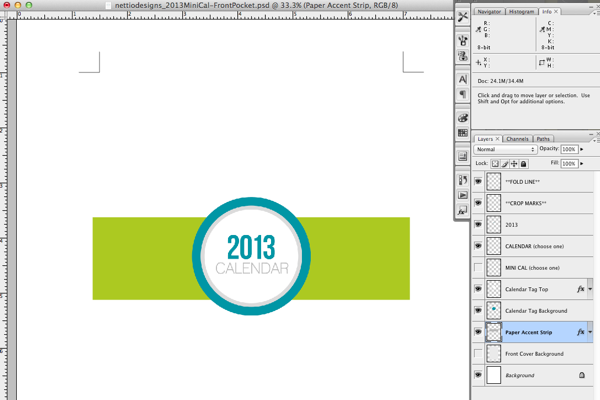
This is where the crop marks come in handy so I’ll know once I print where I need to trim to get the correct pocket size.
Now that we have the front cover of our pocket customized, now we’re going to customize the back pocket template.
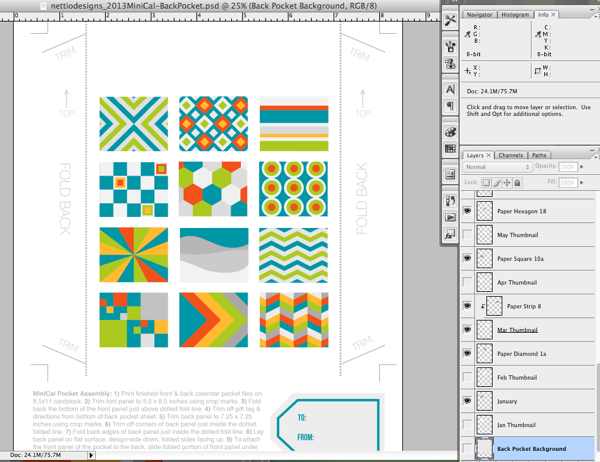
The back pocket template looks like this and includes space for thumbnail images of each calendar as well as customizable optional gift tag and directions for assembling your pocket.
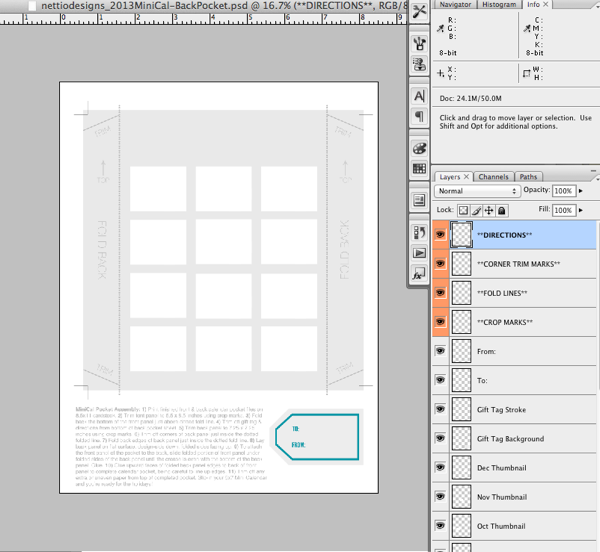
Let’s start by adding our calendar thumbnails to the back template.
First open one of your completed calendar templates in Photoshop and select all of the layers except the calendar and the calendar background layer. Click Cmd/Ctrl+E to Merge Layers. Your layer palette should now look like this:
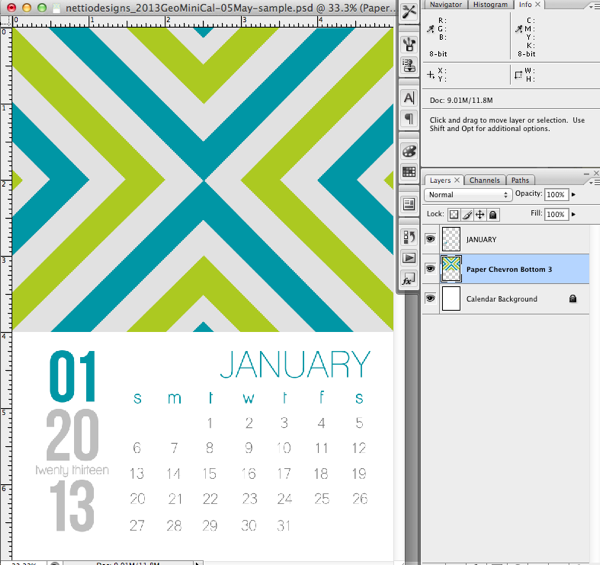
Next we’re going to drag the merged layers onto our calendar background. You may want to rename the layer so you know which month is which:
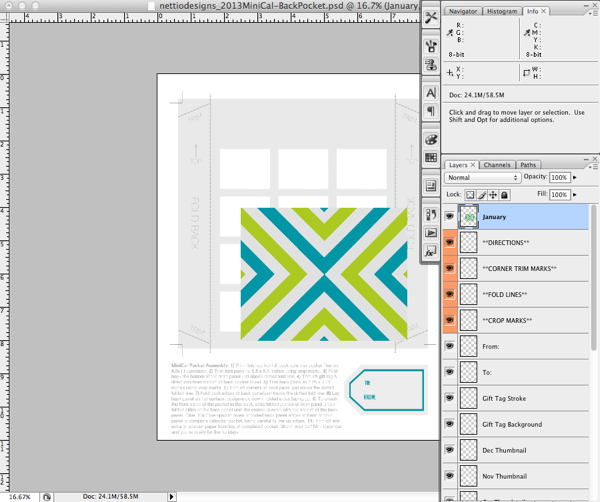
Now we’re going to resize the layer we just merged to be the same size as the month thumbnail. Drag the top left corner of the merged layer just over the top left corner of the January thumbnail. Hit Cmd/Ctrl+T to bring up your Tranform Tool and resize your layer down until it matches the size of the thumbnail. It should be about 1.5″ wide by 1.2″ inches tall, or scaled down by about 30%.
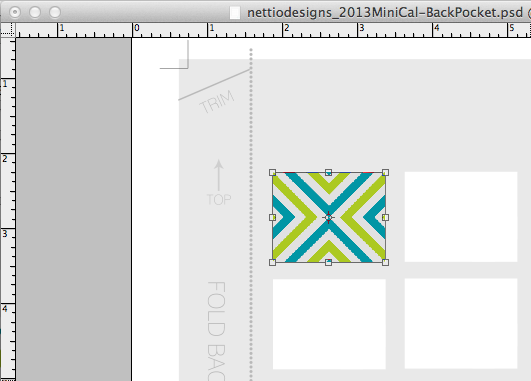
Hit enter to save your transformation. If there’s any unwanted white or pattern showing, clip your image to the template thumbnail or hide the calendar thumbnail layer in your layers palette. Continue the process for each of your calendar thumbnails until your background is complete.
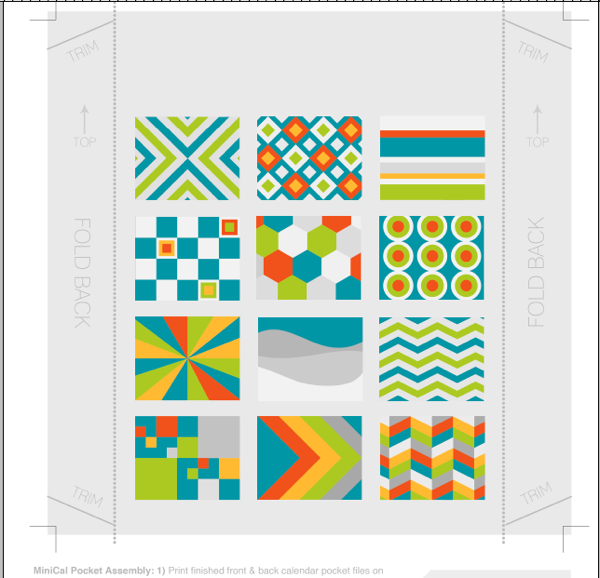
(Note: If you want to create a title page for your calendar using the title page template, these thumbnails are the same size so just copy and paste.)
The final step is to customize the background of your back pocket. Since I want my pocket to be white like the card stock, I’m going to hide my background layer so it looks like this.
Now that we’ve customized the back and front the pocket it’s time to print.
Step 5: Print Out Your 5×7 Mini Calendars
The printing for the hybrid pocket files are straightforward since they are already on 8.5×11 sheets of paper. I highly recommend printing on a heavier weight paper like card stock to give your calendars and pocket some extra stability. I’m using Wausau Bright White Premium Cardstock which I bought at Target but Epson Premium Presentation Paper Matte is a great option as well.
To print the 5×7 Mini Calendars you have two options:
1) You can either have them printed at 5×7 by a photo printer
or
2) You can print at home on 8.5×11 card stock, two calendars per page.
I’m going to show you how to quickly set up your calendars for printing at home.
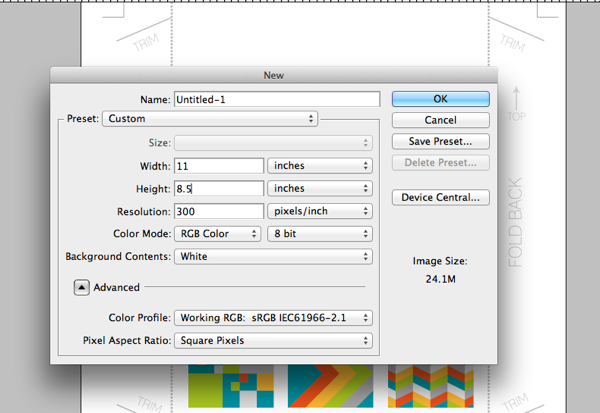
First create a new 11 x 8.5 inch document in Photoshop:
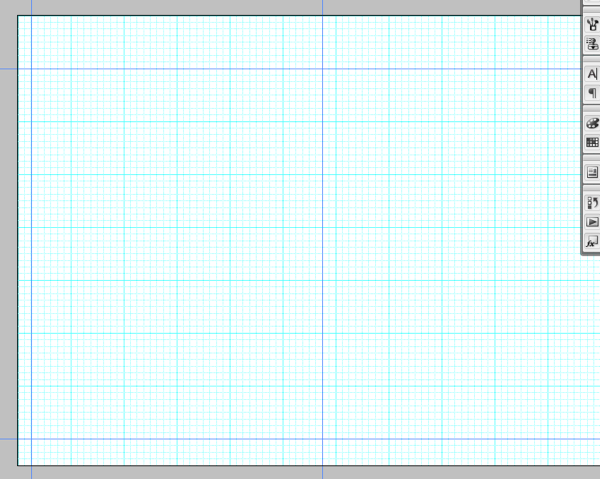
Next turn on your Grid (View>Show>Grid or Cmd/Ctrl+’) and Guides and draw out guide marks at the 1 inch and 8 inch vertical marks and the .25 inch and 5.75 inch grid marks. If the background of your calendar is a different color than your card stock you can likely skip this step but since my calendars are white, I find it helpful to line up the calendars on exact marks so I know where to trim them later.
Now we’re going to flatten each calendar and drag it onto the grid we just made. If you want to make things really easy, make sure your Snap To Grid & Snap To Guides settings are on by going to View>Snap To and selecting both Grid and Guides. This will automatically make our calendars line up where want them. Place your calendars like so:
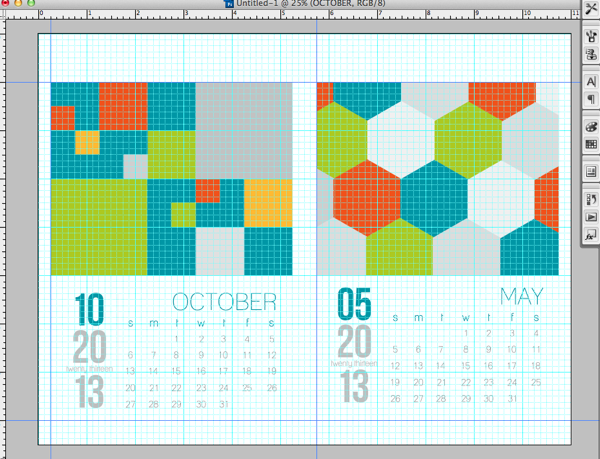
Once we turn off the guides and grid you can see why knowing where we need to trim will be helpful later:
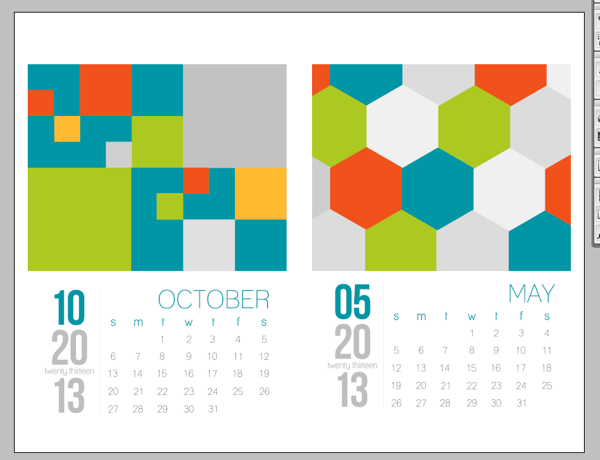
Once you have all your calendars added to your print sheet, it’s time to print.
Since every printer is different, I’m not going to give detailed instructions for printing but a few tips:
- Set your paper landscape mode
- Make sure your printer is not scaling your image up or down as you want to maintain that 5×7 inch size. If you have a borderless printer and you choose borderless printing, it will scale up your image a little bit so keep that in mind.
- Make sure to print all 12 of your calendars, your title page if you make one and your front and back templates for the hybrid packaging. It should take about 9 sheets of paper.
Step 6: Trim Your Mini Calendars to 5×7 inches
Once you have your pages printed, it’s time to trim them to the finished 5×7-inch size.
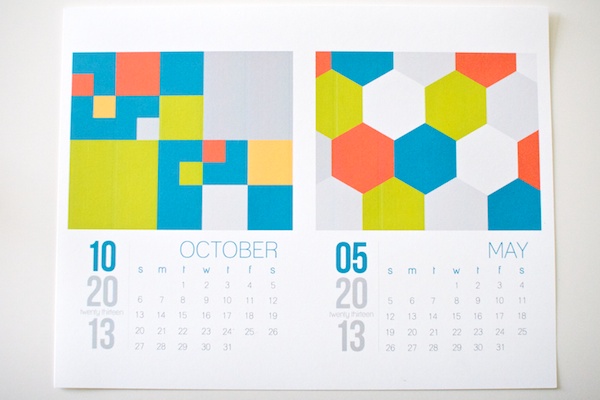
Start by trimming off the top and left & right sides of the calendars:
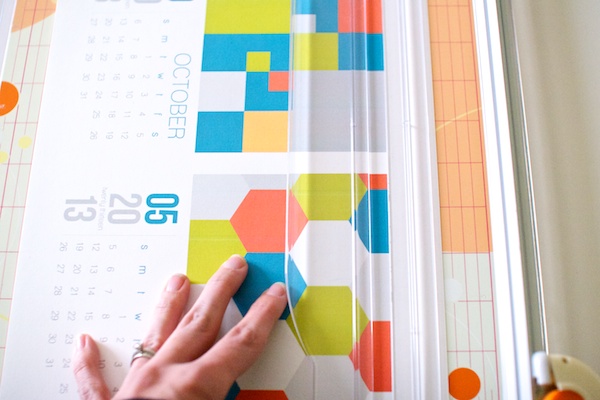
To trim off the bottom of the calendar, line up the top edge at 7 inches so you’ll know where to trim along the bottom:
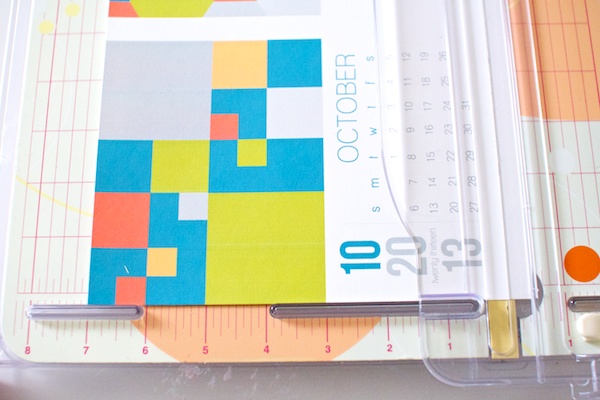
To trim the two calendars apart in the middle, line the left edge up at 5 inches and trim, then trim off the left edge of the second calendar:
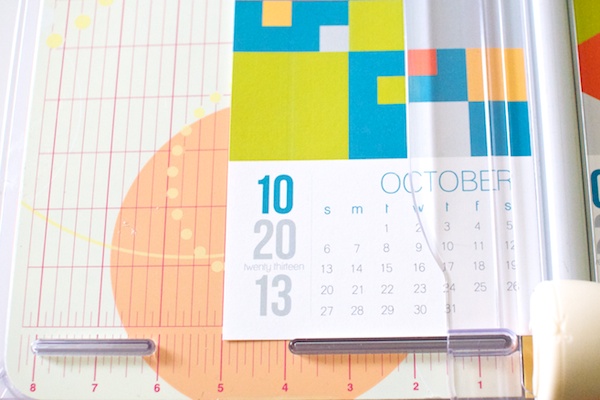
Once your mini calendars are trimmed to 5×7 inches, they’ll look like this:
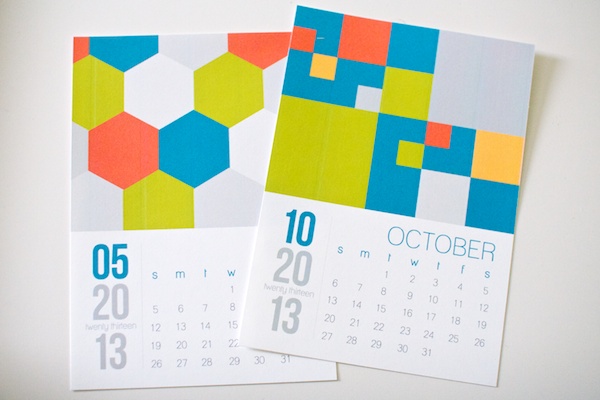
Here’s a little peek at what all 12 of my mini calendars looked like once printed and trimmed:
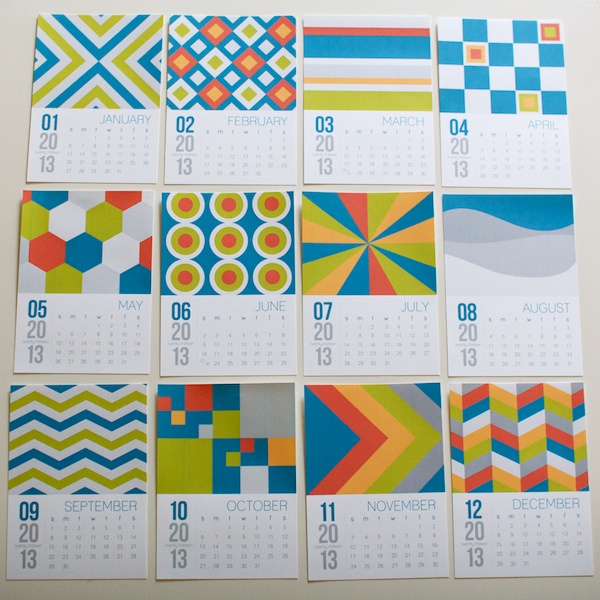
Aren’t they fun? I just love these little guys…
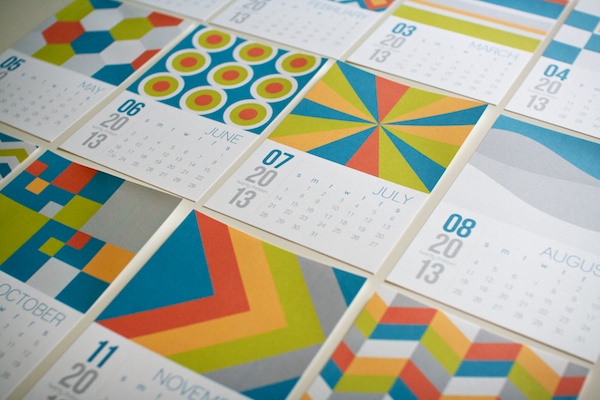
Step 7: Trim & Assemble Your Hybrid Gift Packaging
Once you have your mini calendars printed and trimmed, it’s time to trim and assemble the hybrid gift pocket to put them in.
As a little reminder, this is what the finished pocket is going to look like:

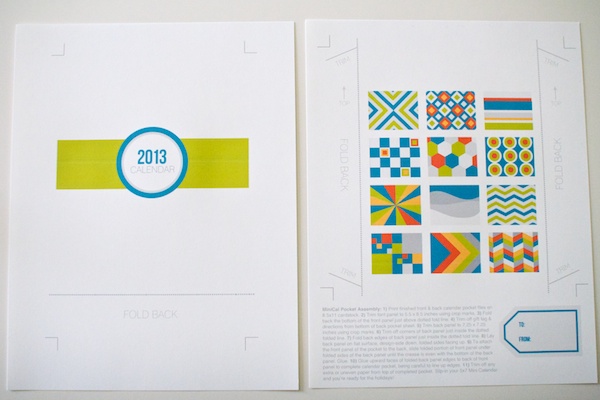
To make your pocket, you’re going to trim and fold following the crop & fold marks included in the pocket files. This is what they look like once printed:
The first step is to trim and fold the front panel for the pocket following the crop marks:
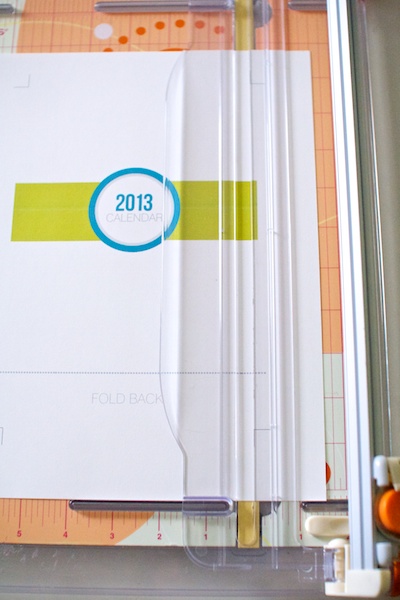
Line up the crop marks on your paper trimmer like so:
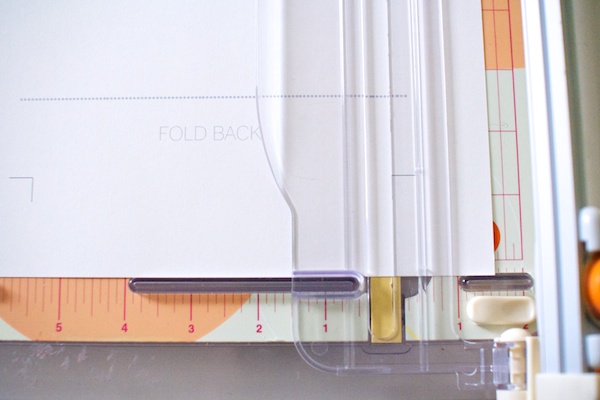
But don’t cut all the way across the paper, you just want to cut to the next crop mark like so:
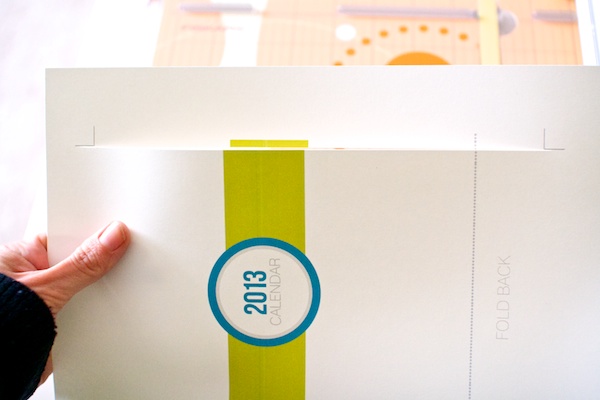
If you trim all the way across the paper, you’ll trim off the crop mark as well which will make it a little tricker to get your pocket to the correct size, especially if you’re trimming out a white pocket like I am.
Keep trimming all the way around until it looks like this:
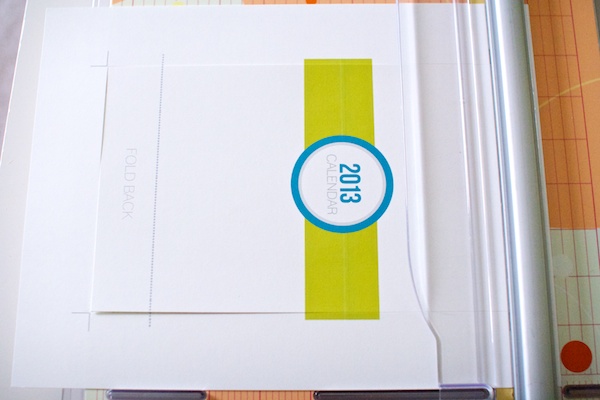
Then pop out the front panel of your pocket:
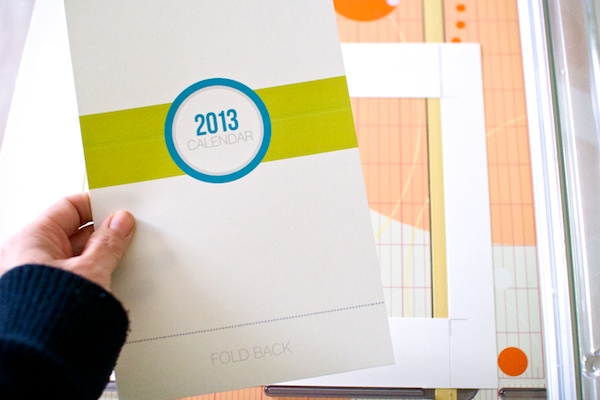
Next trim out the back panel of the pocket following the crop marks. I included assembly directions and a customizable gift tag on this sheet so you’ll want to trim those off first, then trim all the edges:
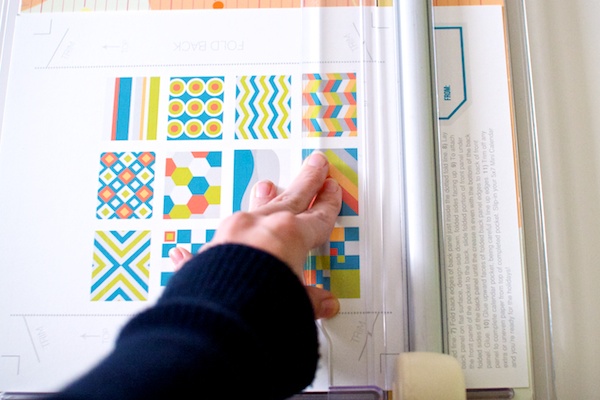
Once your back panel is trimmed, it should be a square like this:
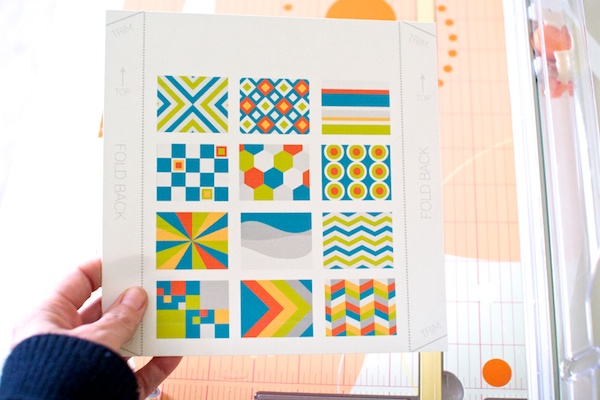
Next you need to trim off the angled corners. This will help your pocket go together more smooth and not get bunchy in the corners. You can use scissors and trim the corners off following the line (it doesn’t have to be perfect) or you can use a paper trimmer like I did:
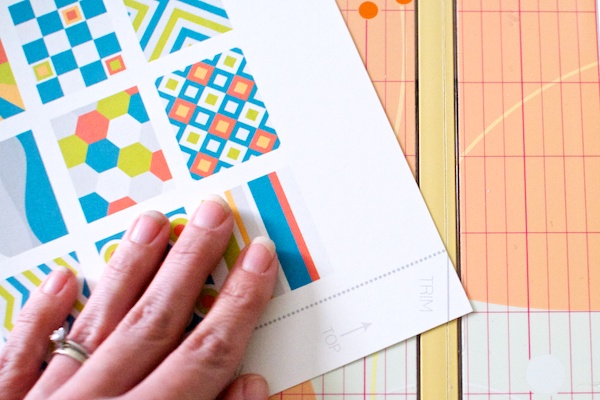
Once you have both your front and back panels trimmed, they should look like this:
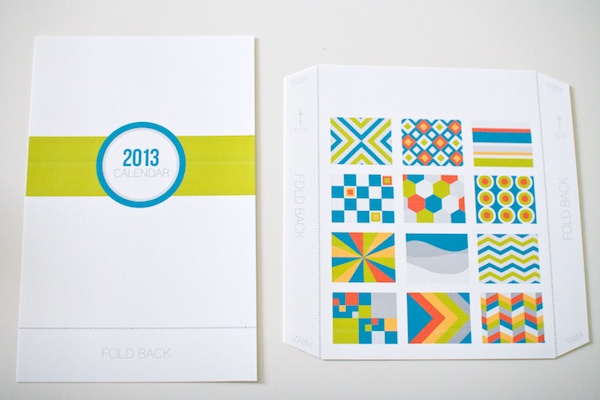
Next we’re going to assemble the pocket!
Start by folding the front panel along the gray fold line. You want to fold just above the dotted line so that none of the line shows on the front of the pocket.
I found the easiest way to get a crisp line was to use a metal ruler along the edge of my desk like this. Just line it up and fold:
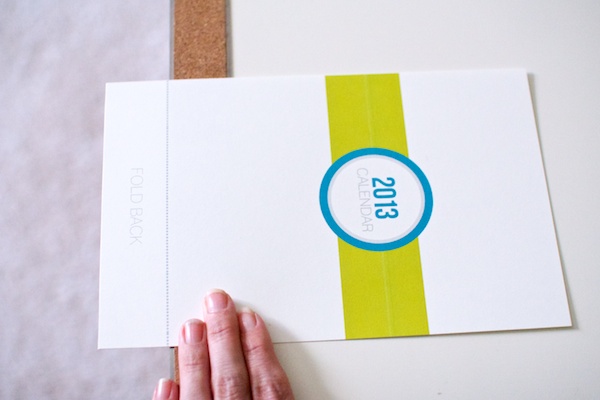
Do the same for the edges of the back panel of the pocket:

If you need to get the line a little crisper, a ruler works great:
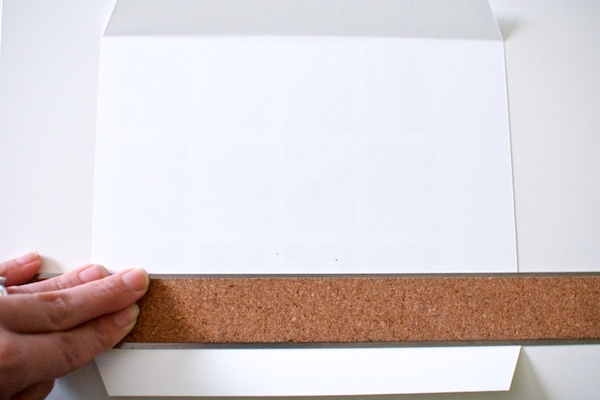
Once your edges are all folded, this is what the pocket pieces look like:
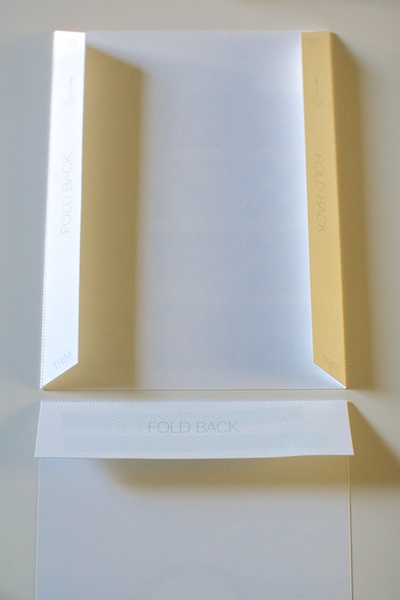
Now we’re going to glue the front and back panels of the pocket together to create our pocket.
Start by laying the back panel design side down with the arrows pointing away from you towards the top of the pocket. Line up the folded edge of the front panel design-side down along the bottom of the back panel and add a bit of glue or tape runner to the folded edge of the front panel like so:
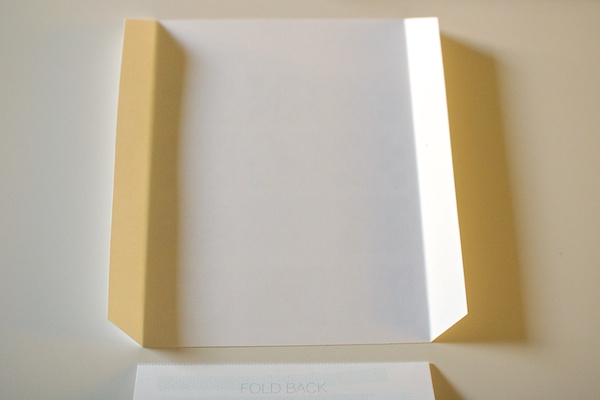
Next, gently fold back the edges of the back panel to give yourself a little more room to work:
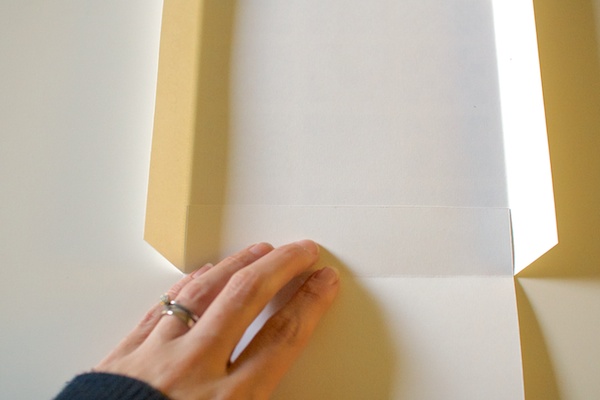
Line up the bottom edges of the two panels and fold the glued edge onto the inside of the back panel to create the bottom of the pocket. Press firmly to make sure it’s glued down nice and tight:
Now add glue or tape runner along the folded edges of the back pocket:
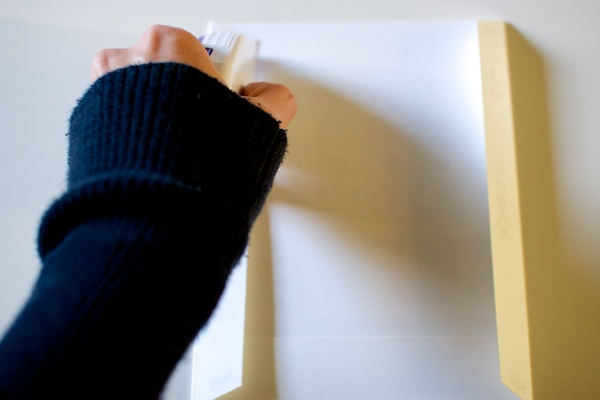
Fold up the front of the pocket and glue it down to the folded edges, being careful to keep the edges of the pocket nice and lined up. It’s a little tricky so slow & steady is the way to go:
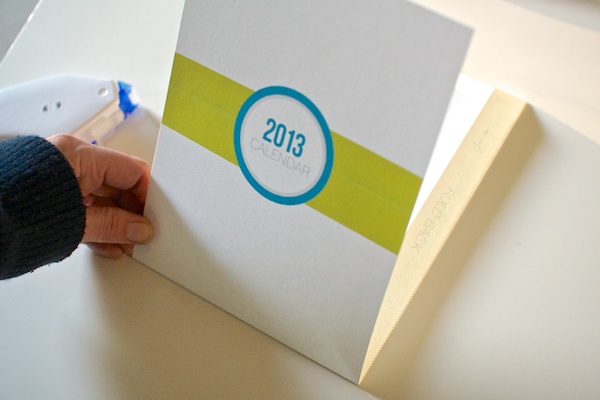
Now you have a pocket!
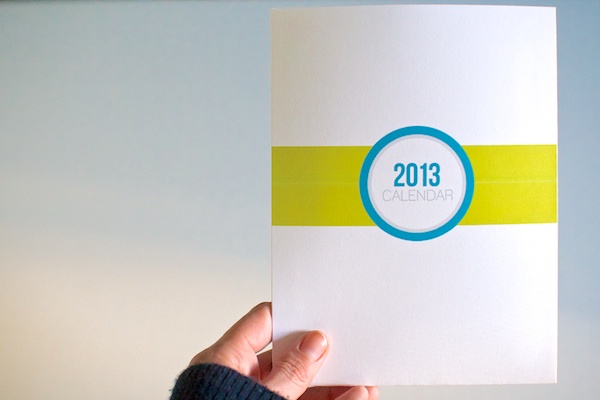
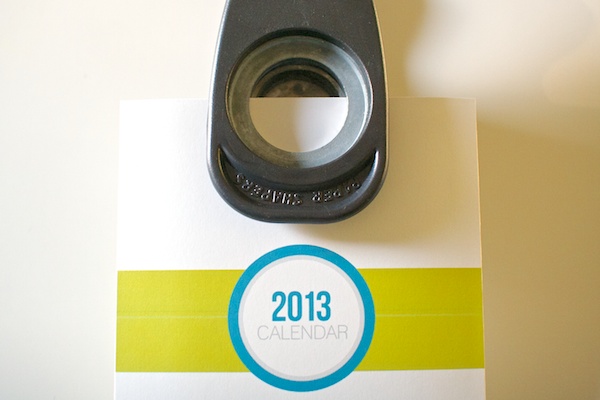
The last step is optional but if you want to add a little design detail to your pocket and make it easier for someone to pull the calendars out, use a circular paper punch to cut a half circle out of the top of the pocket. I used one that was 1 1/4″ wide:
You’ve now finished your mini calendars and hybrid gift packaging! I added a little paper clip by Tim Holtz to my calendars to keep them all together:
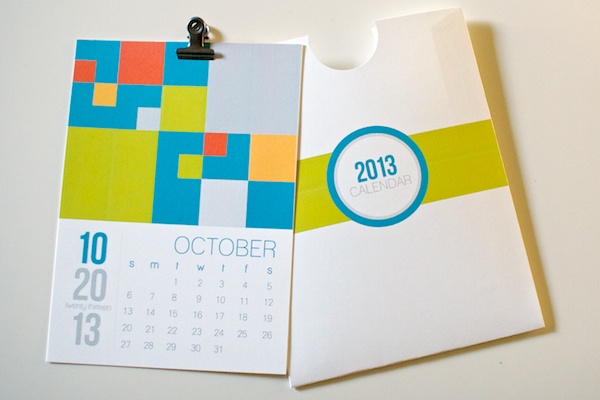
Just slide your calendars into the pocket…
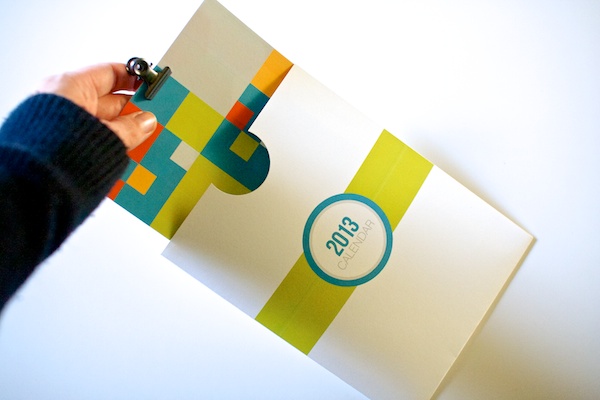
And your mini calendar gift is all ready to go!
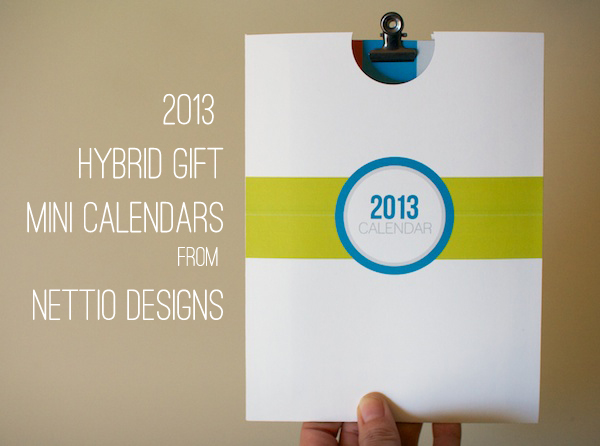
Well that concludes this two-part super-sized tutorial on how you can use my 2013 Mini Calendar templates to create your own awesome holiday gift. As always, if you have any questions, let me know in the comments section!
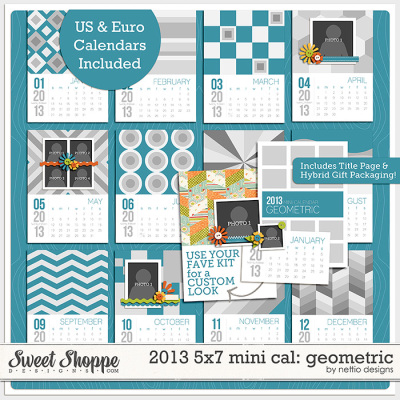
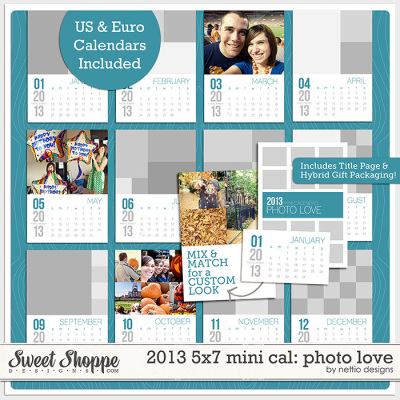
And of course, if you’d like to create your own awesome holiday gift using this tutorial, you can find my 2013 5×7 Geometric and Photo Love Mini Calendar Templates at Sweet Shoppe Designs.
Hi there,
I just found this page and your site today. You wouldn’t happen to know where I can get the template you use above? or the 2013 5×7-inch Photo Love & Geometric Mini Calendars Digital Templates?
Thank you so much,
Hi Stefanie! Those templates were made and sold by me last year but since they were for calendar year 2014, they are no longer available.