Over the weekend at Sweet Shoppe Designs I released my 10 Things I Love About You Mini Photo Book Templates based on my Valentine’s Day mini photo book I wrote about last week. One of my favorite things about this album are the text-based pages. Not only are they the bread & butter of the book’s sentiment but they’re fun to design as well! So today I wanted to share a little tutorial about how I styled the text in my 10 Things I Love About You album.
Here’s a look at the text in one of the spreads in my album. In this tutorial I’m going to show you how I designed the title & journaling on the right page.
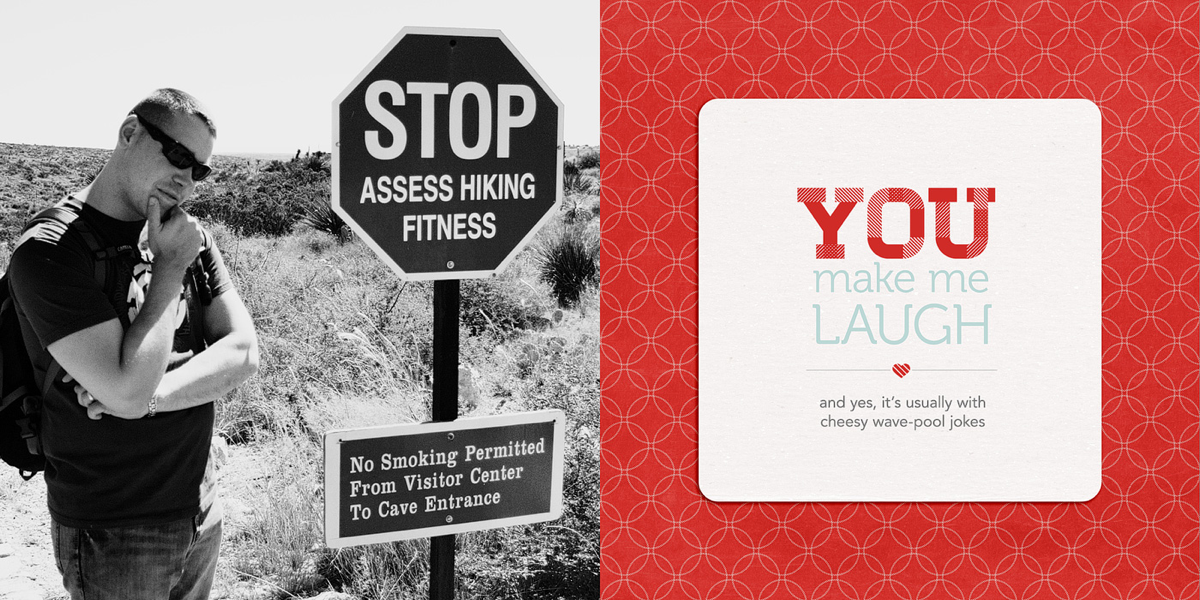
Here’s a little closer look at the text:
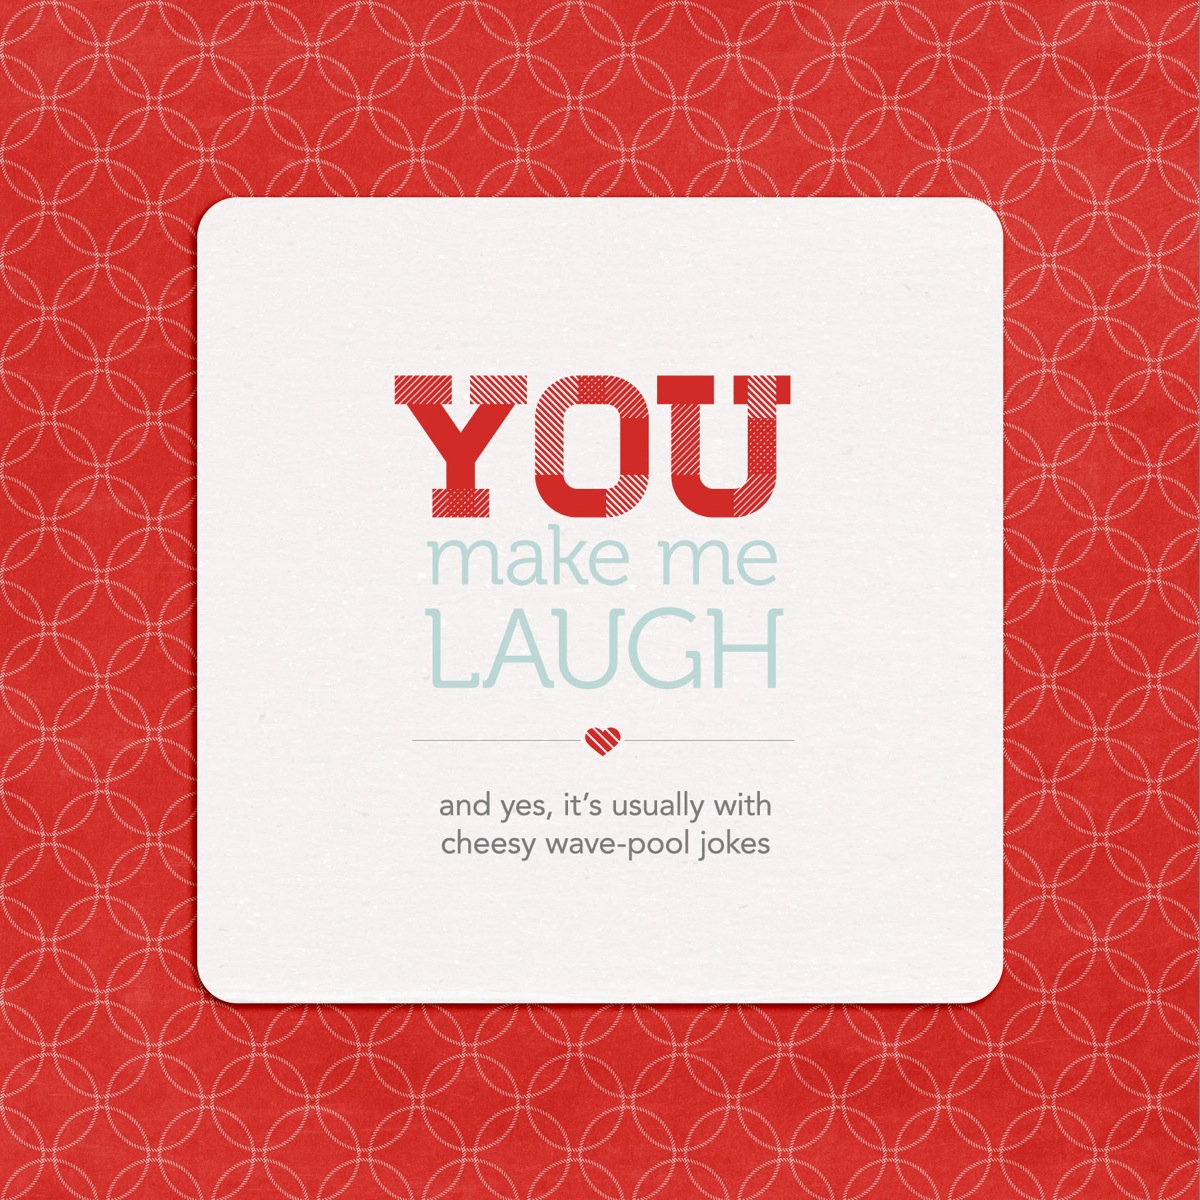
And here’s how I designed the text…
Step 1: Open the template file. It’ll look like this. The large YOU text is included as part of the template but the area below is left blank for you to fill with your own sentiment.
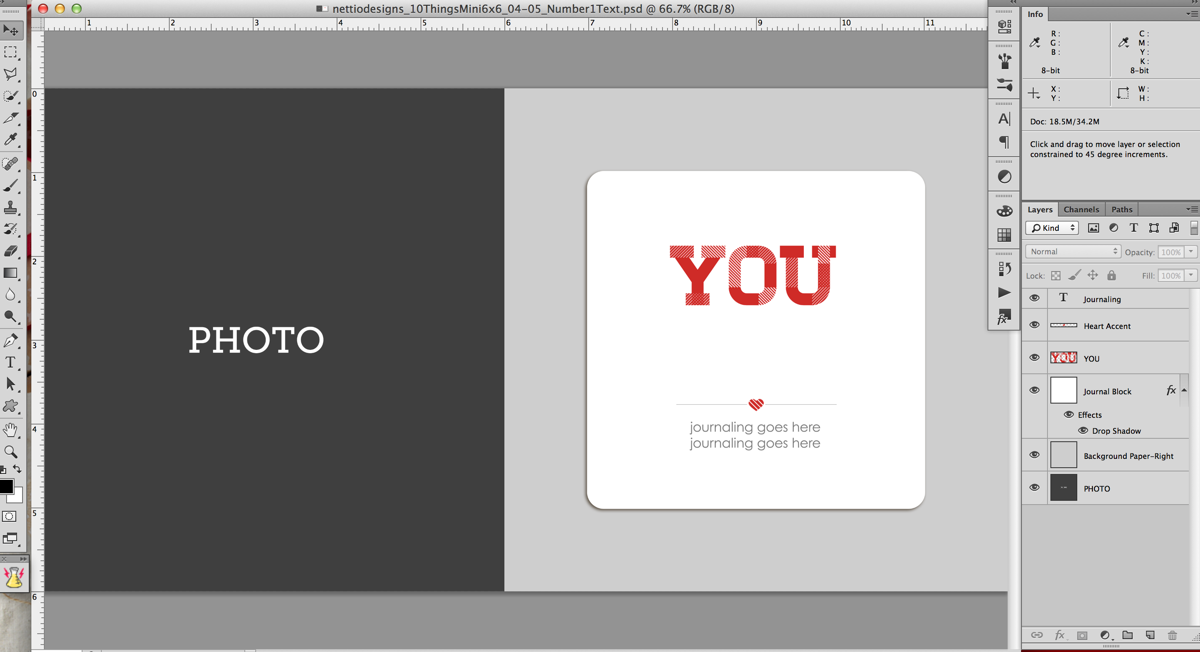
Step 2: Turn on your Rulers if they aren’t on already. Ctrl/Cmd+R will turn them on for you or you can go to View>Rulers in the menu bar. They should show up around the edges of your window.
Step 3: Drag two guidelines out from the rulers – one to the left side of the bottom of the Y and one to the right side of the U. These are going to be your guides for aligning your text.
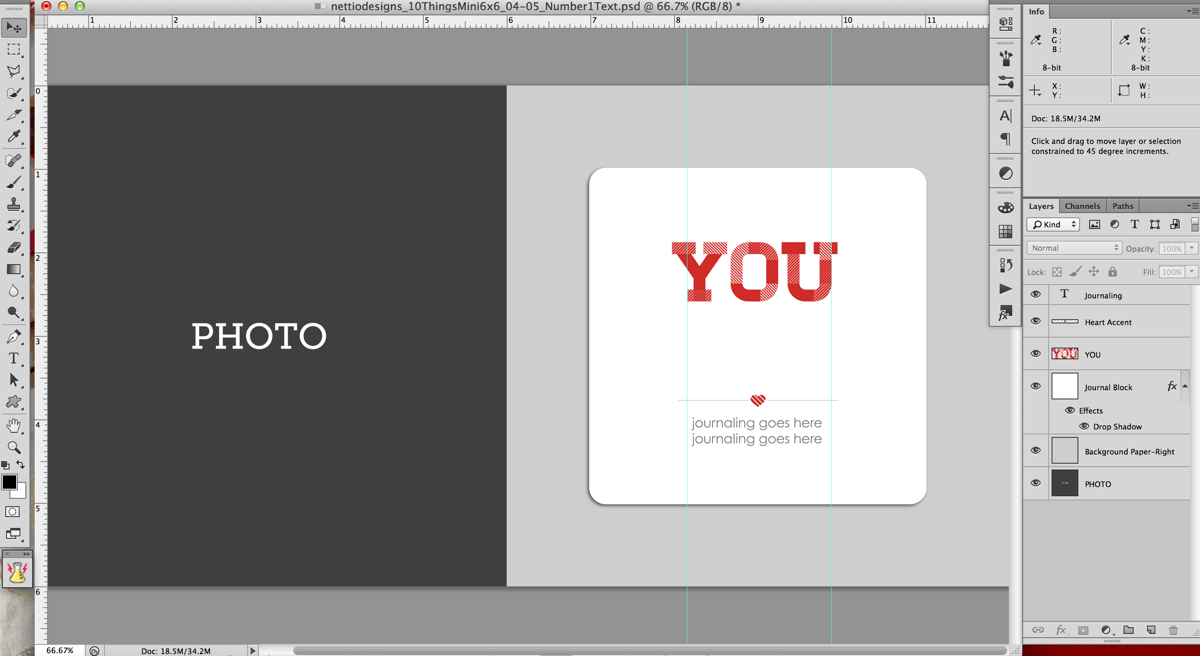
Here’s a closer look. Notice the left guide is lined up with the bottom left edge of the Y, not the top left edge of the Y.
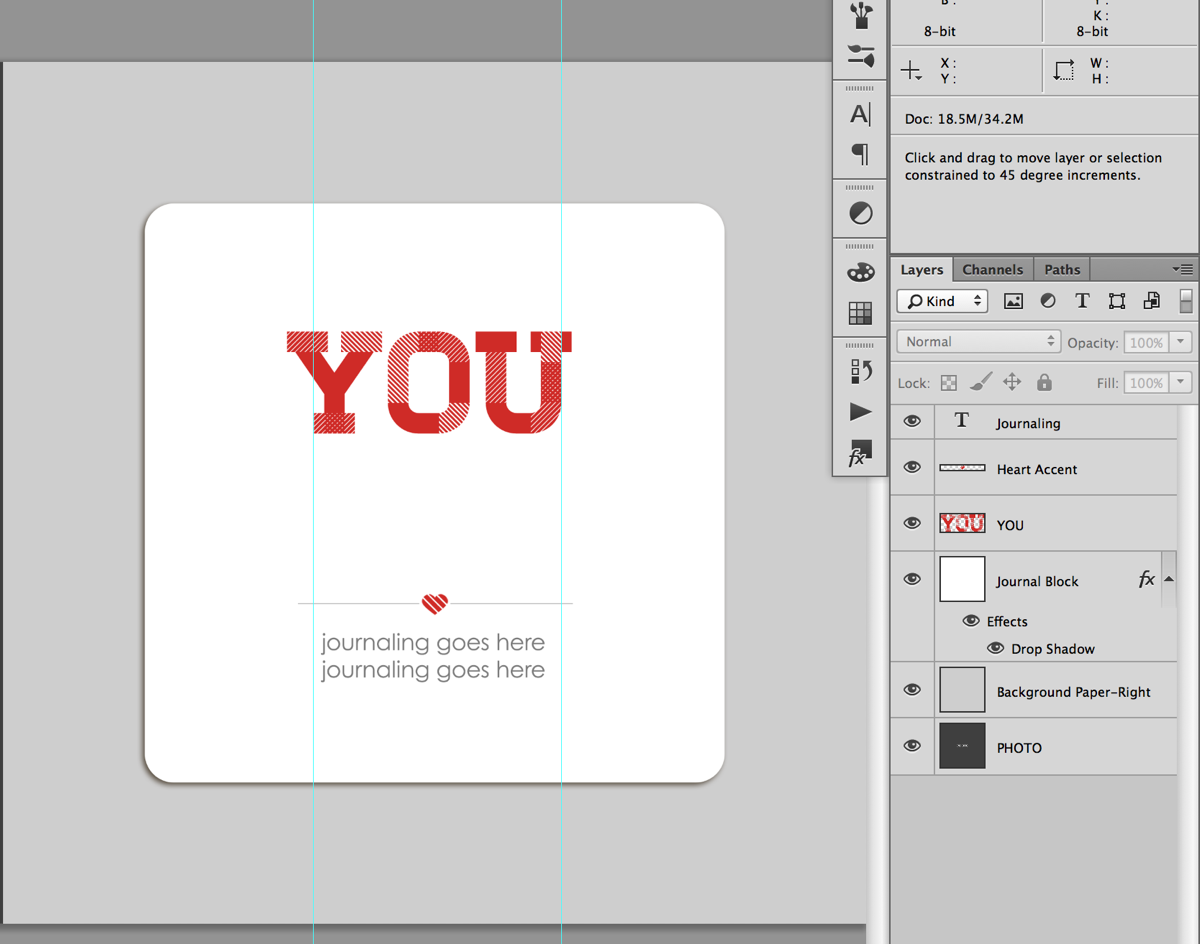
Step 4: Decide what phrase you want to use for your text. I used a post-it note to write down a list of general ideas and then tweaked my exact wording once I was in Photoshop. Keep in mind that for the design, we will be splitting the text into multiple lines, so it tends to work best with a phrase that has some more & less important words as part of it.
For this example I’m going to use “You make me laugh.”
Step 5: Type your text into photoshop, dividing it in to multiple lines as you go. Don’t worry too much right now about which words goes onto which line since we can change it in the next step. Just get all the words in there so you can see what you have to work with.
For my album I used the font Museo which can be downloaded for free here.
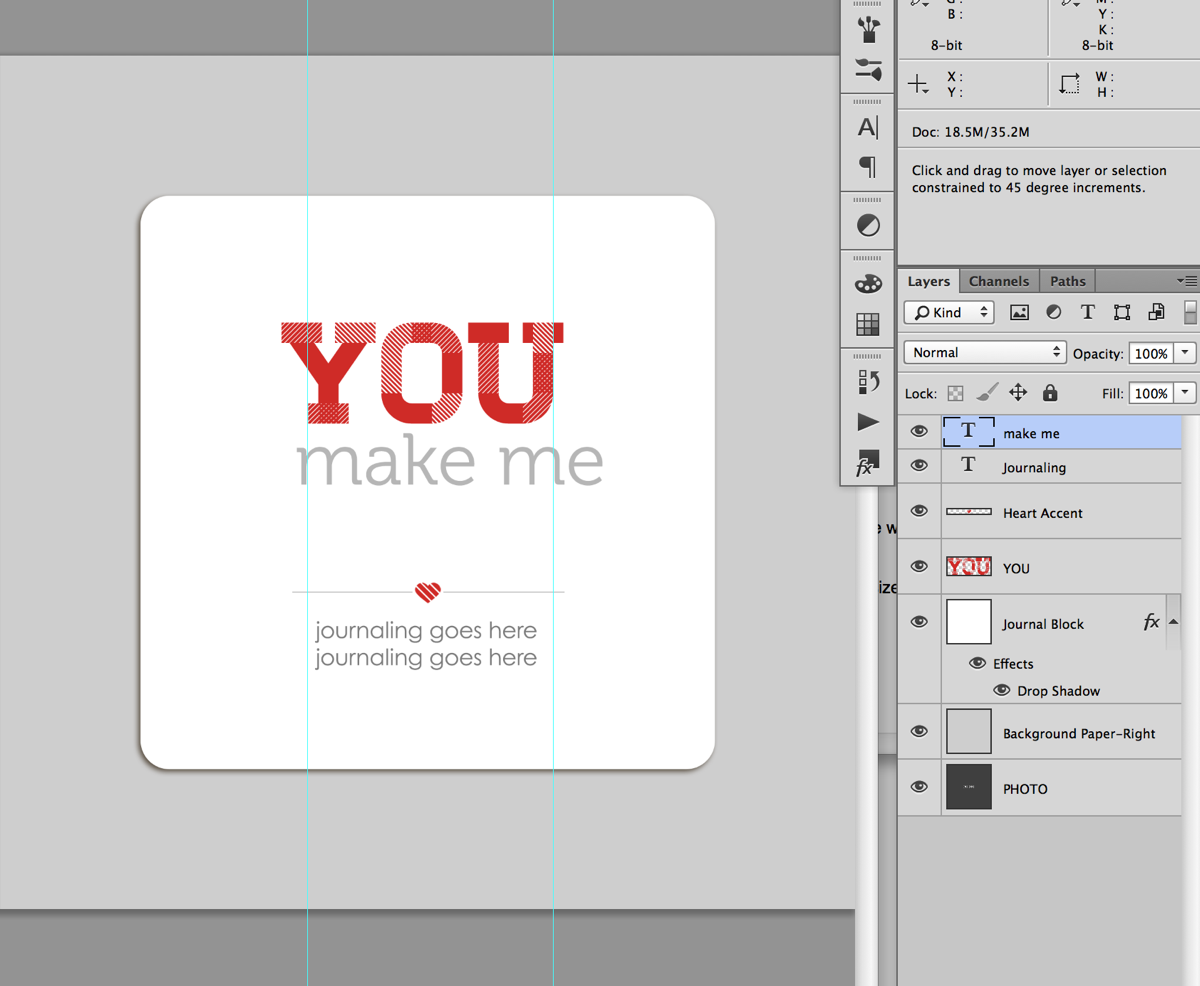
Quick tip: An easy way to create multiple lines of text to type the first half of your phrase first, duplicate that layer (Ctrl/Cmd+J or hold the Alt key & drag) and then replace the text in the duplicated layer with the second half of your phrase. If you need an additional line, you can repeat this process.
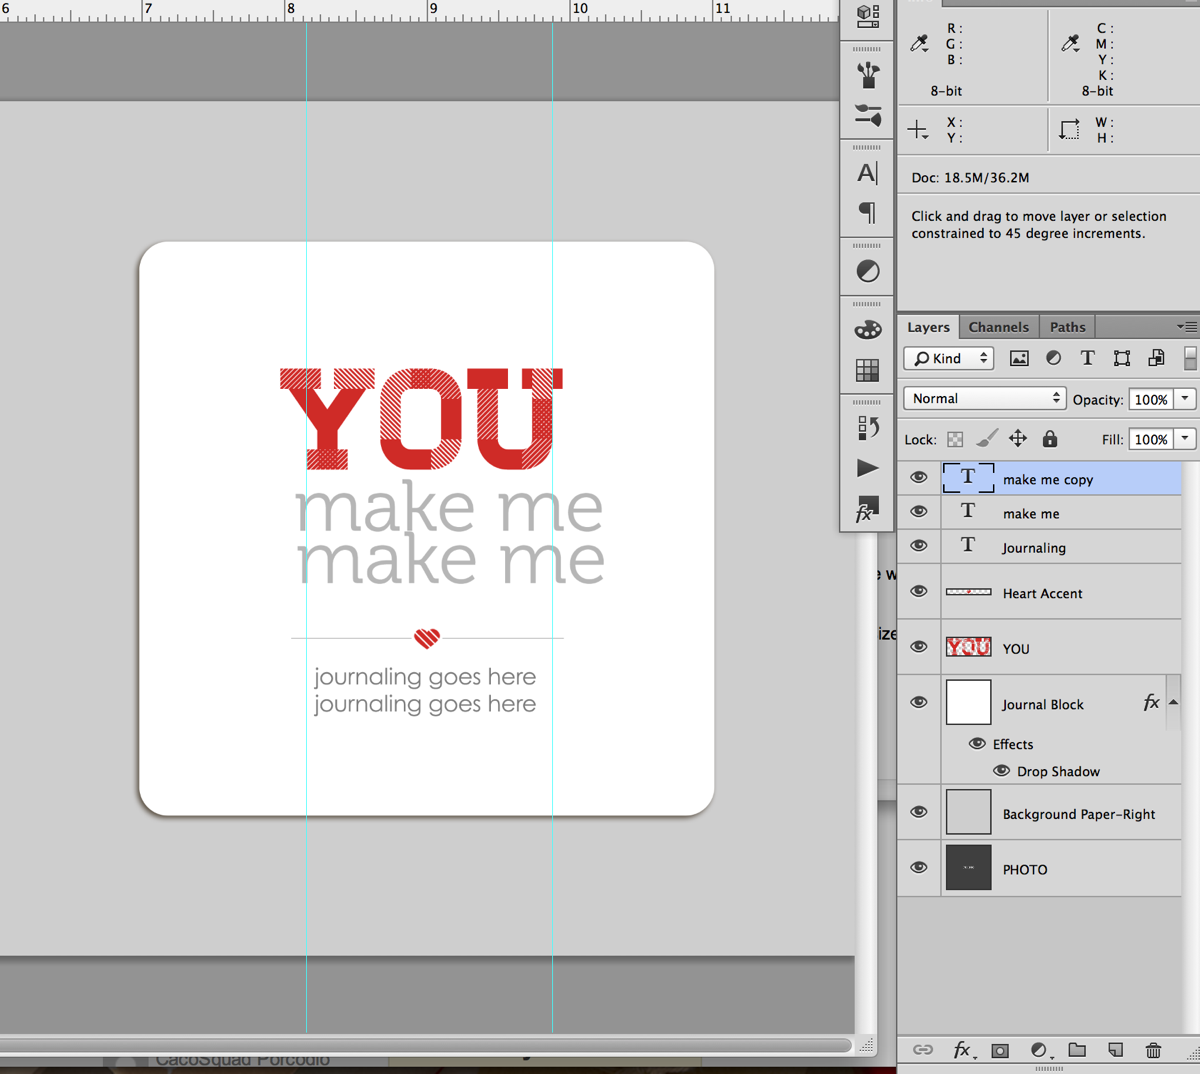
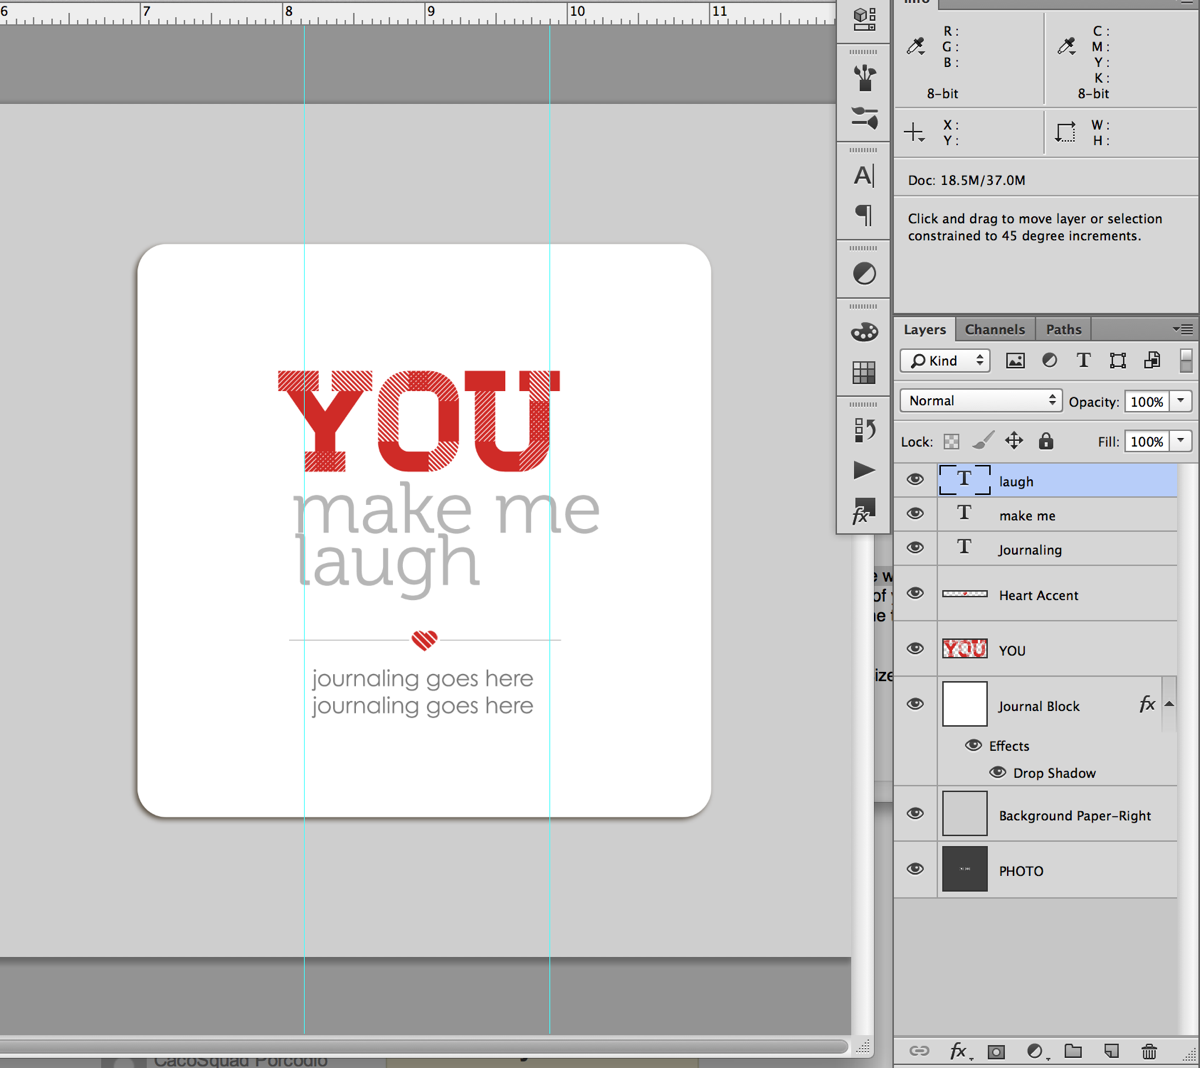
Step 6: Nudge your text layers so the left edge of your text lines up with the left guideline.
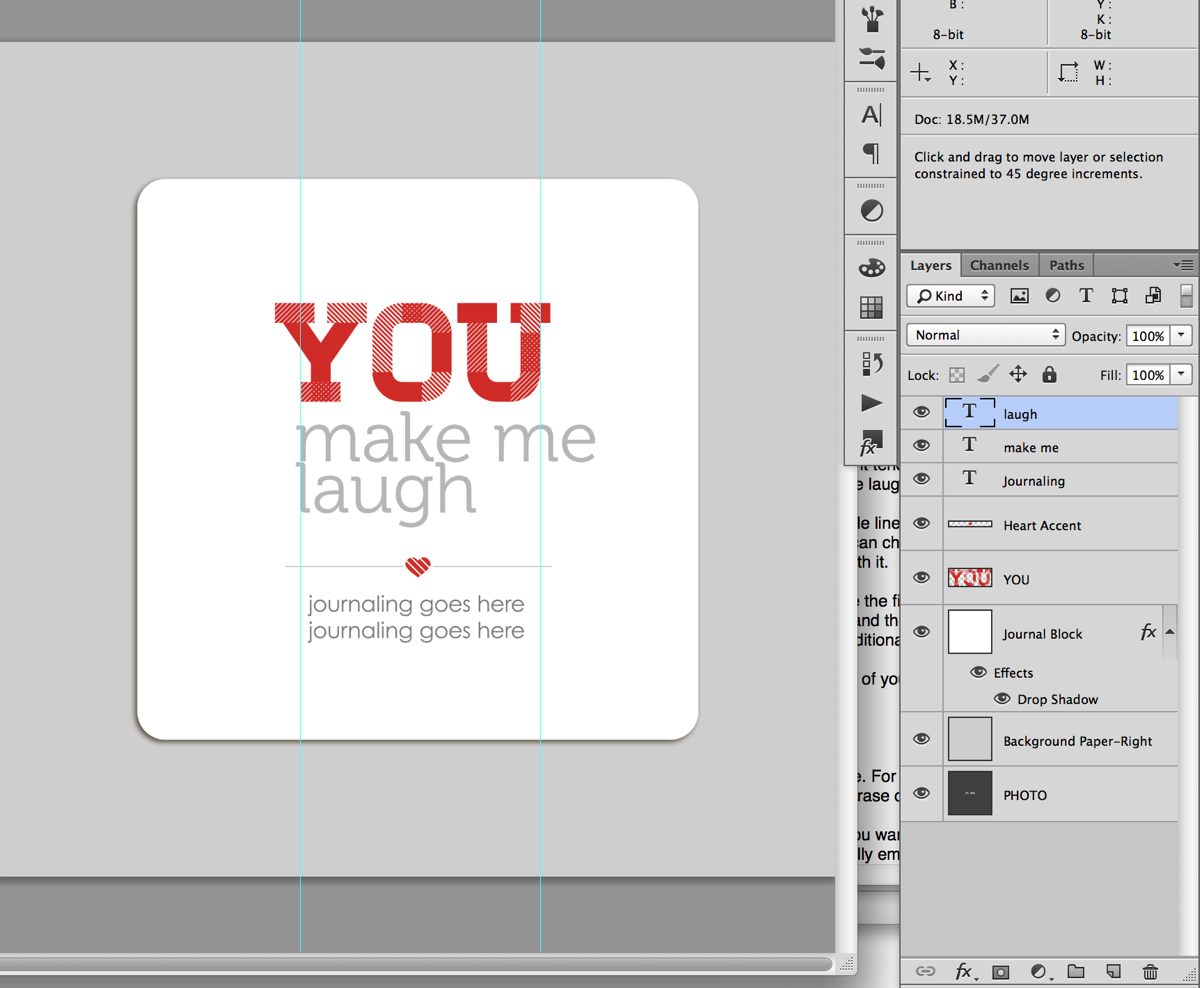
Step 7: Decide on the word (or words) you want to emphasize. For my example I chose to emphasize the word “laugh.”
Quick tip: If you’re having a hard time deciding what word you want to emphasize, try saying your phrase out loud, paying attention to which words you naturally emphasize when you speak. Yes it’ll feel silly, haha, but it helps!
Step 7: Select the text layer of the word you want to emphasize with your Text tool (T) and retype your word in all caps.
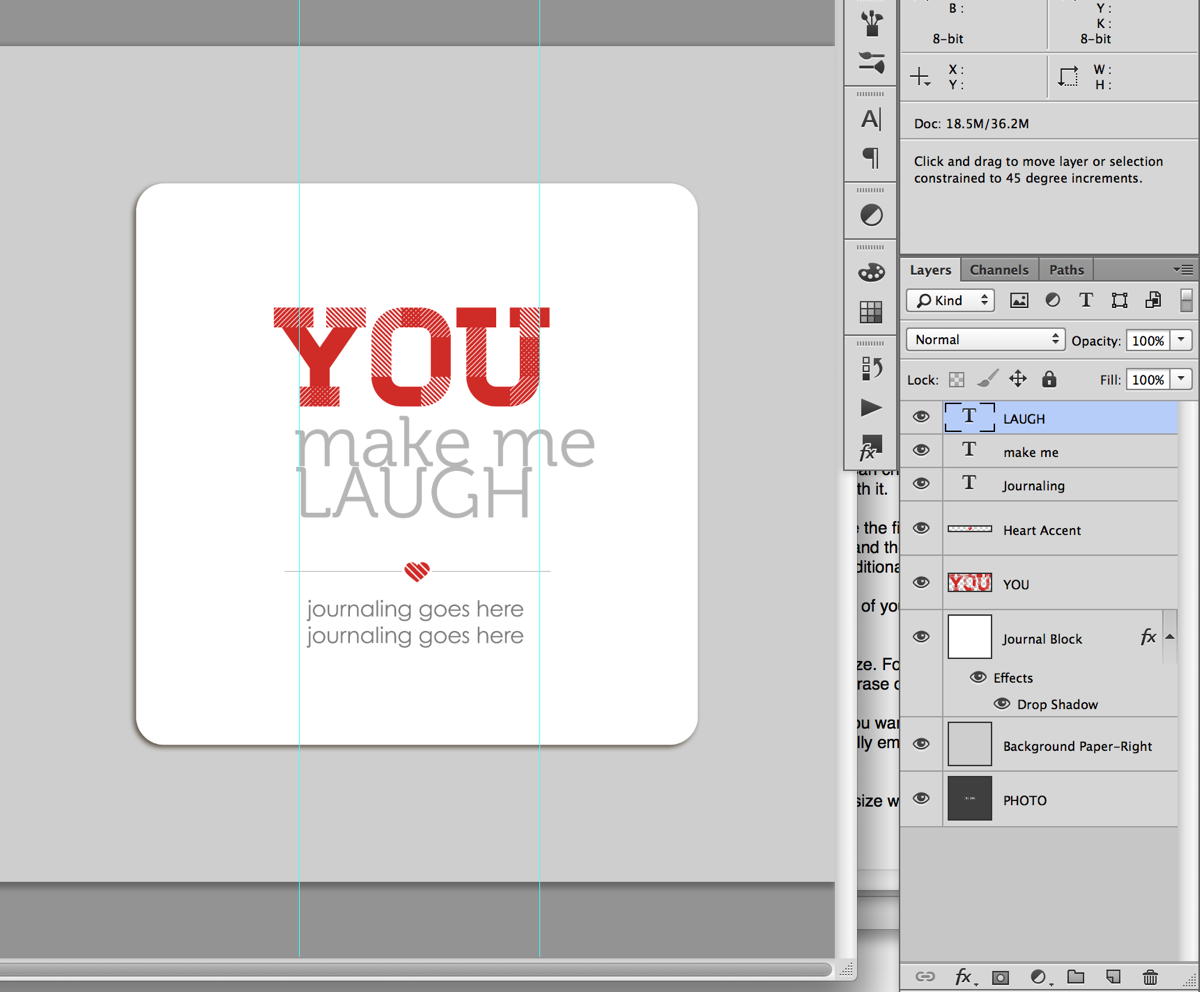
Step 8: With your text tool still selected, hit Ctrl/Cmd+T on your keyboard to Transform the text so the right edge lines up with the right guideline we drew earlier. Depending on the word you chose, you’ll be sizing your text larger or smaller. Once you’re done transforming your text hit the enter key.
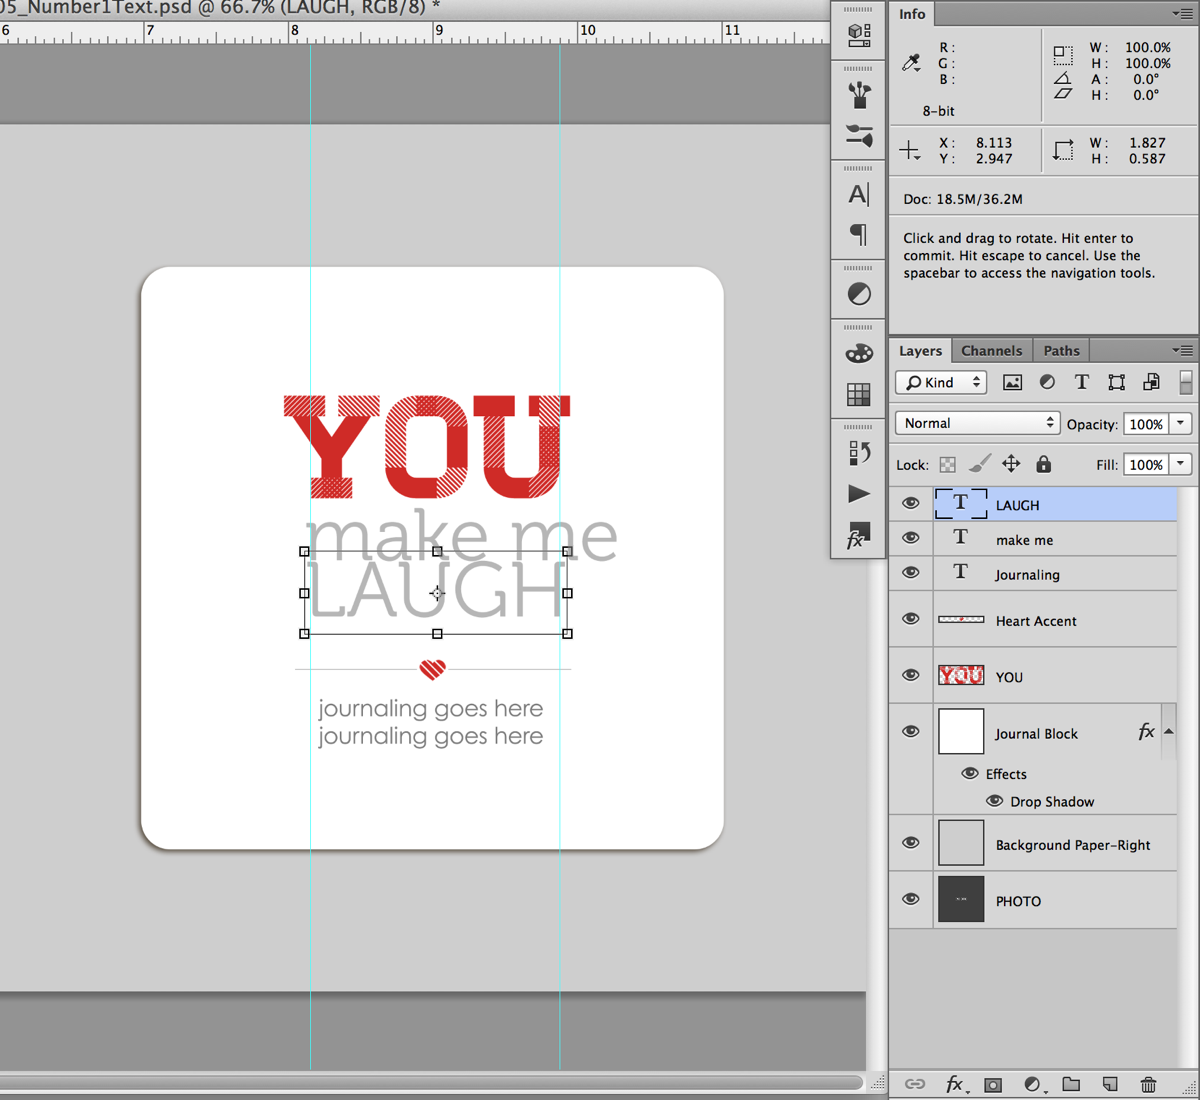
Step 9: Now we’re going to do the same thing with the text we want to demphasize. Select the text layer for the text in the Layers panel and with your Text tool selected, Transform your text (Ctrl/Cmd+T) so it lines up with the right guideline. If you have more than 2 lines of text in your phrase, repeat this step for each line of text.
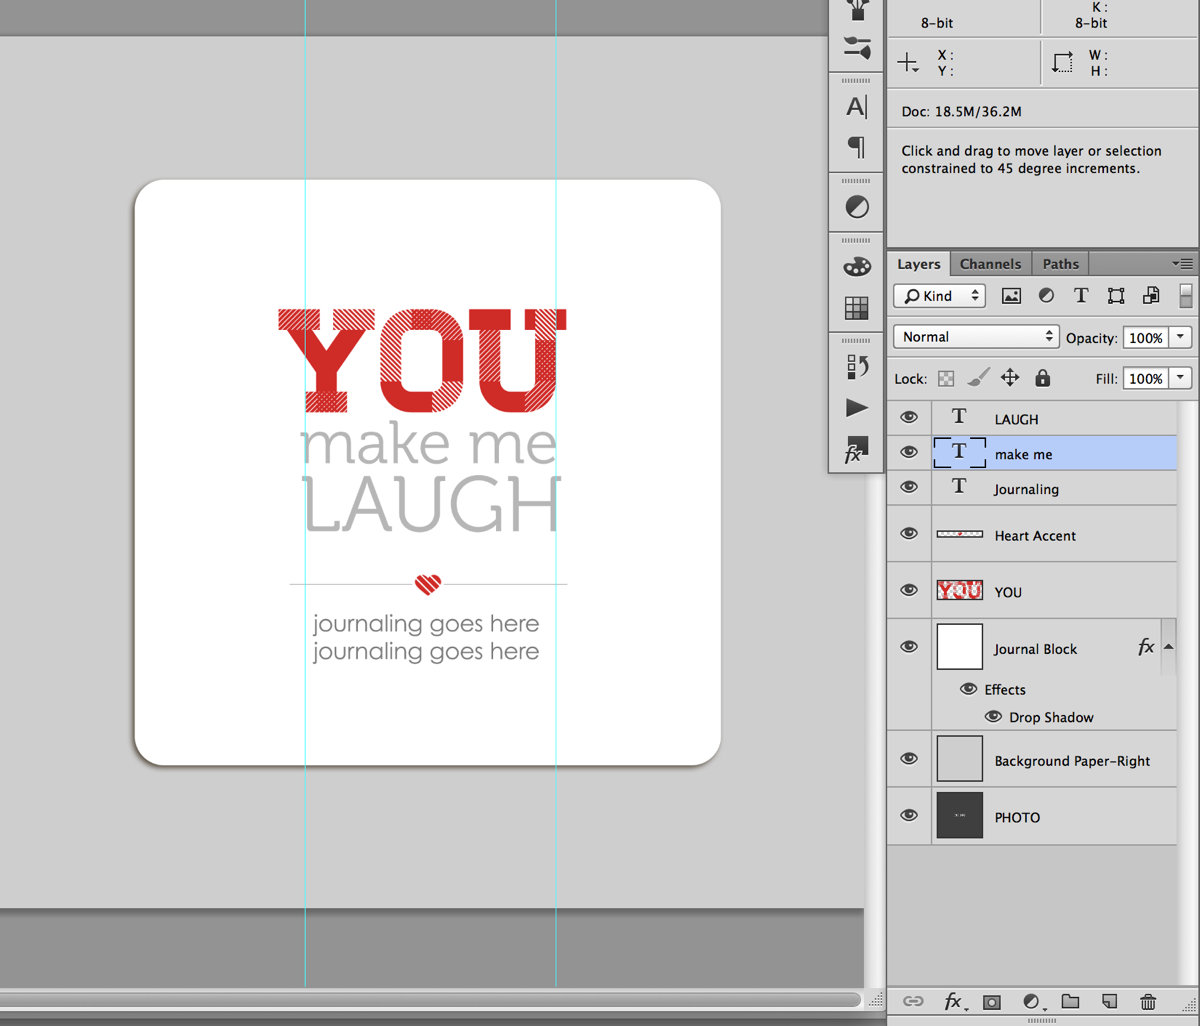
Step 10: Turn off your guidelines (Ctrl/Cmd+;), take a look at your text and see how you’re liking it.
Quick Tip: This is the point in the process where it may take a little trial and error to get a look you like. Try different combinations of words, caps vs no-caps or separating your lines of text differently. Sometimes all it’ll take is a little nudge of the words up or down or right or left to get it to look good to your eye. I usually end up turning the guidelines on and off a few times until I get a look I like.
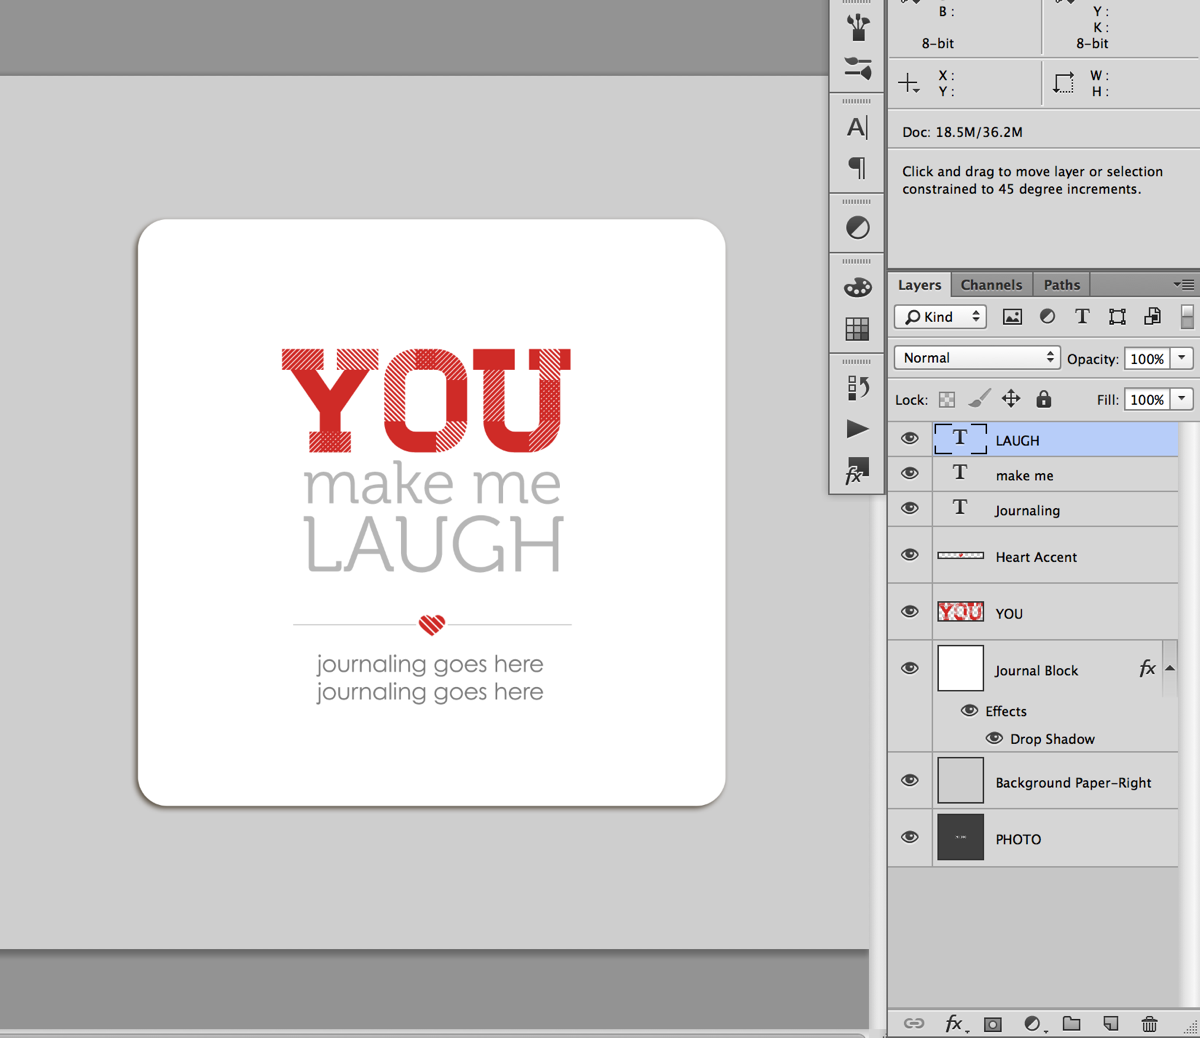
I’m liking how this looks so I’m going to move on to the next step.
Step 11: Once you have your main title text placed the way you would like, add in your additional journaling below the heart accent line and adjust the spacing between the text as needed.
Since my phrase was fairly short, I moved my accent and journaling up just a tad so everything was evenly spaced. If your phrase is long, you may need to move the entire block up text up just a smidge to keep it centered vertical in the journaling block.
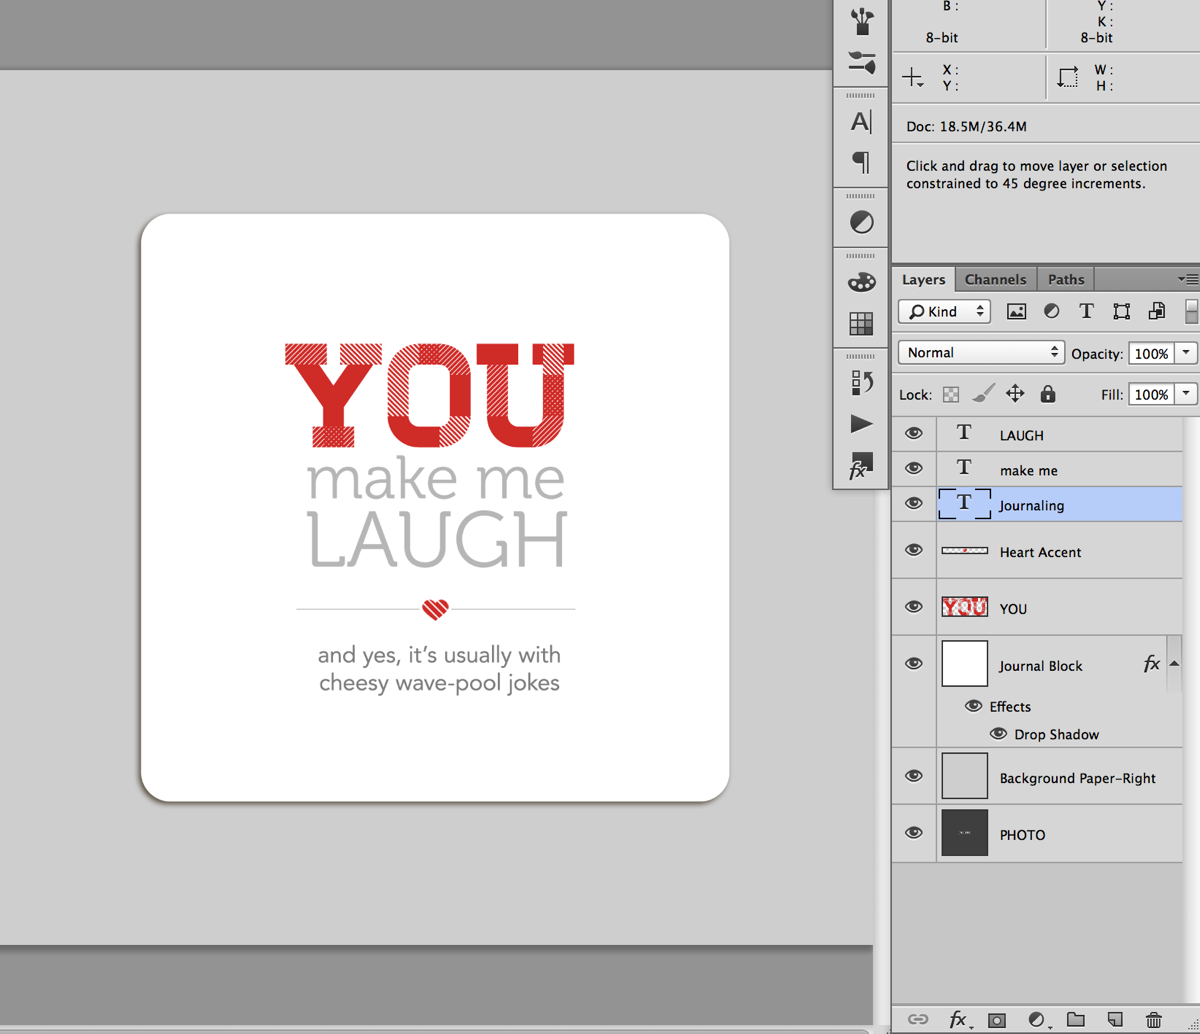
And here’s what my completed page looked like once I added my photo and papers:
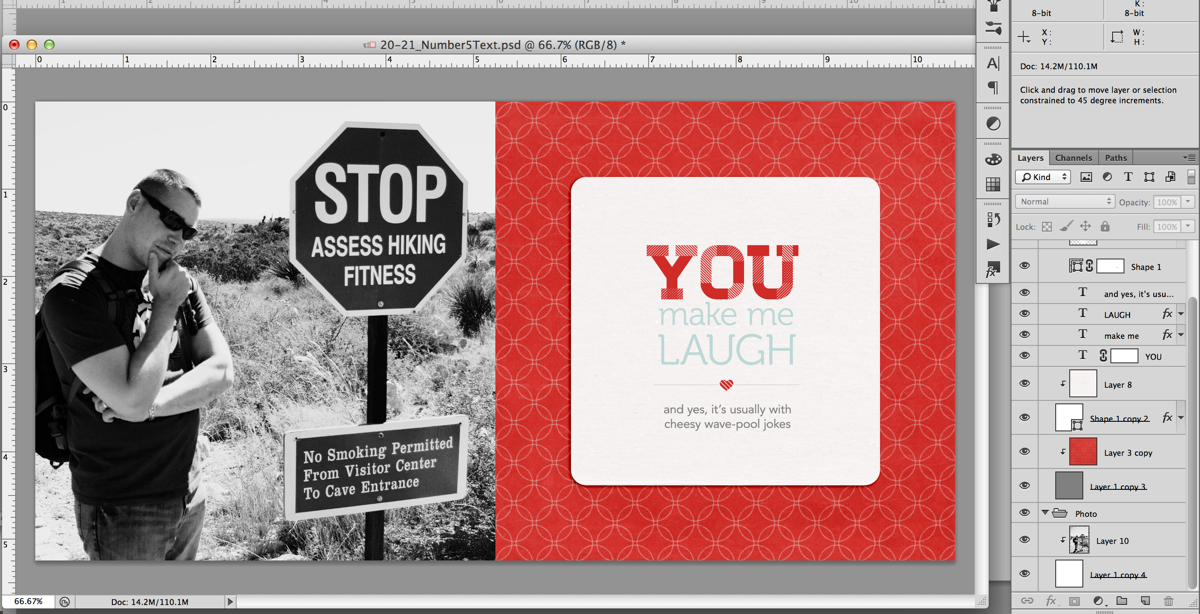
A closer look at the text page:

And my full completed page as printed:

Of course if you’d like to add your text using something other than a font say like a digital alpha, here’s a great example from Team Awesome member Jen using the alpha from Talk Nerdy To Me:
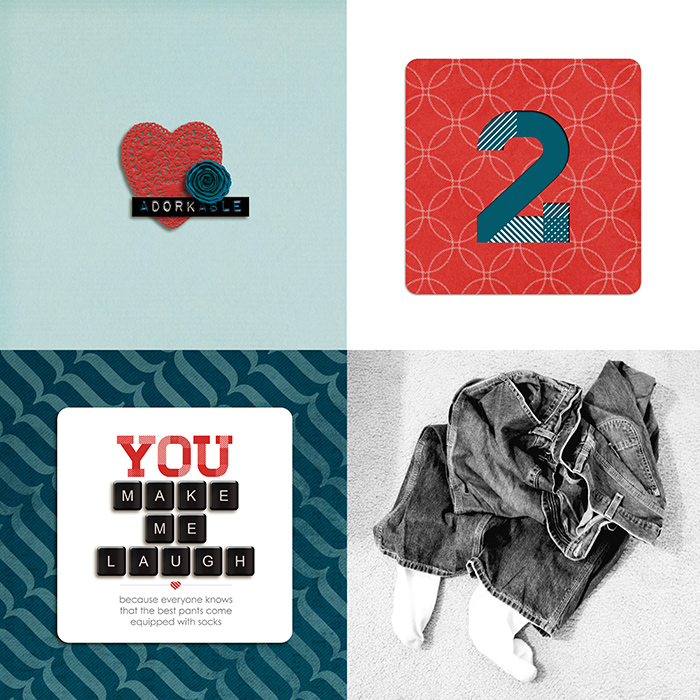
Fun, right? I hope this gives you some tips & ideas for designing and styling your own mini book text. And of course, if you’d like to make your own version of this lovey-dovey mini, you can pick up the 10 Things I Love About You Mini Photo Book templates right here.
Any questions about this tutorial? Feel free to ask away in the comments section below and I’ll be happy to help you out.