Welcome to Project Life, Weeks 9 & 10.
My apologies for the delay in getting this posted this week. I decided to try something different this time and sent all of my photos and cards out for printing through Persnickety Prints and well, waiting 5 days for shipping kind of through me off my game. I’ll share more of my thoughts on sending my Project Life prints out at the end of the post, but for now let’s get on to the pages!
I mentioned in my 30 Days of Lists post that I was going to be incorporating my lists into my Project Life. Well here’s a look at how I’m doing that. Since I needed three page protectors for my 30 Days of Lists, I decided to create a half page for my Week 9 and use the right side of the Week 9 spread for the start of the lists.
Week 9: Feb 25-Mar 3
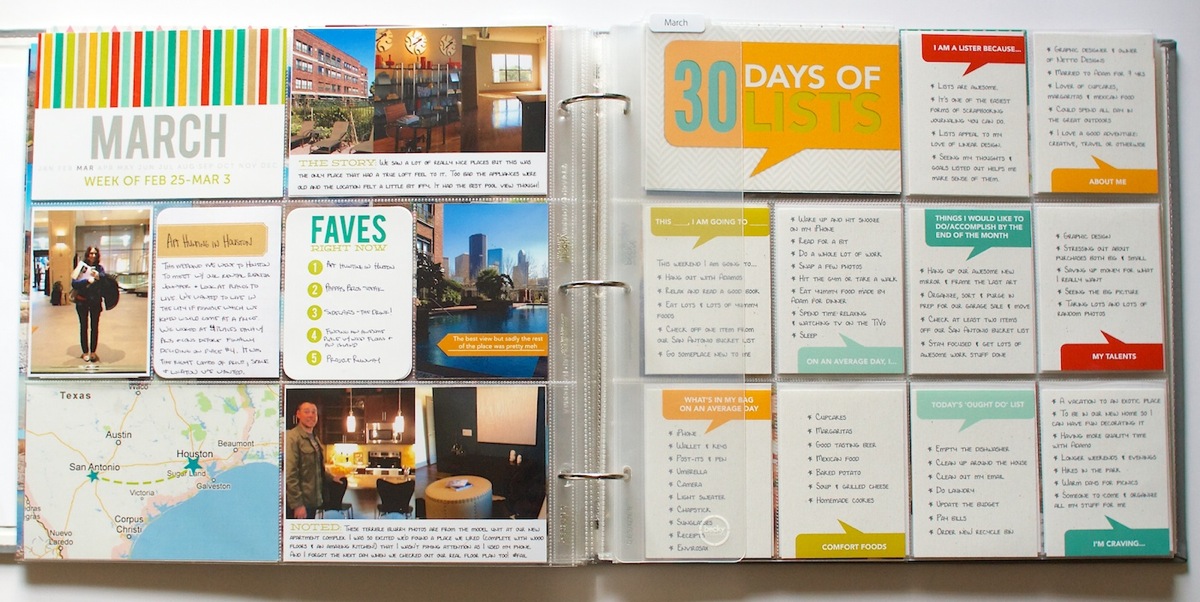
Here’s a closer look at my Week 9 page. Since I didn’t take a ton of regular photos this week, I decided to focus on our weekend apartment hunting trip to Houston.
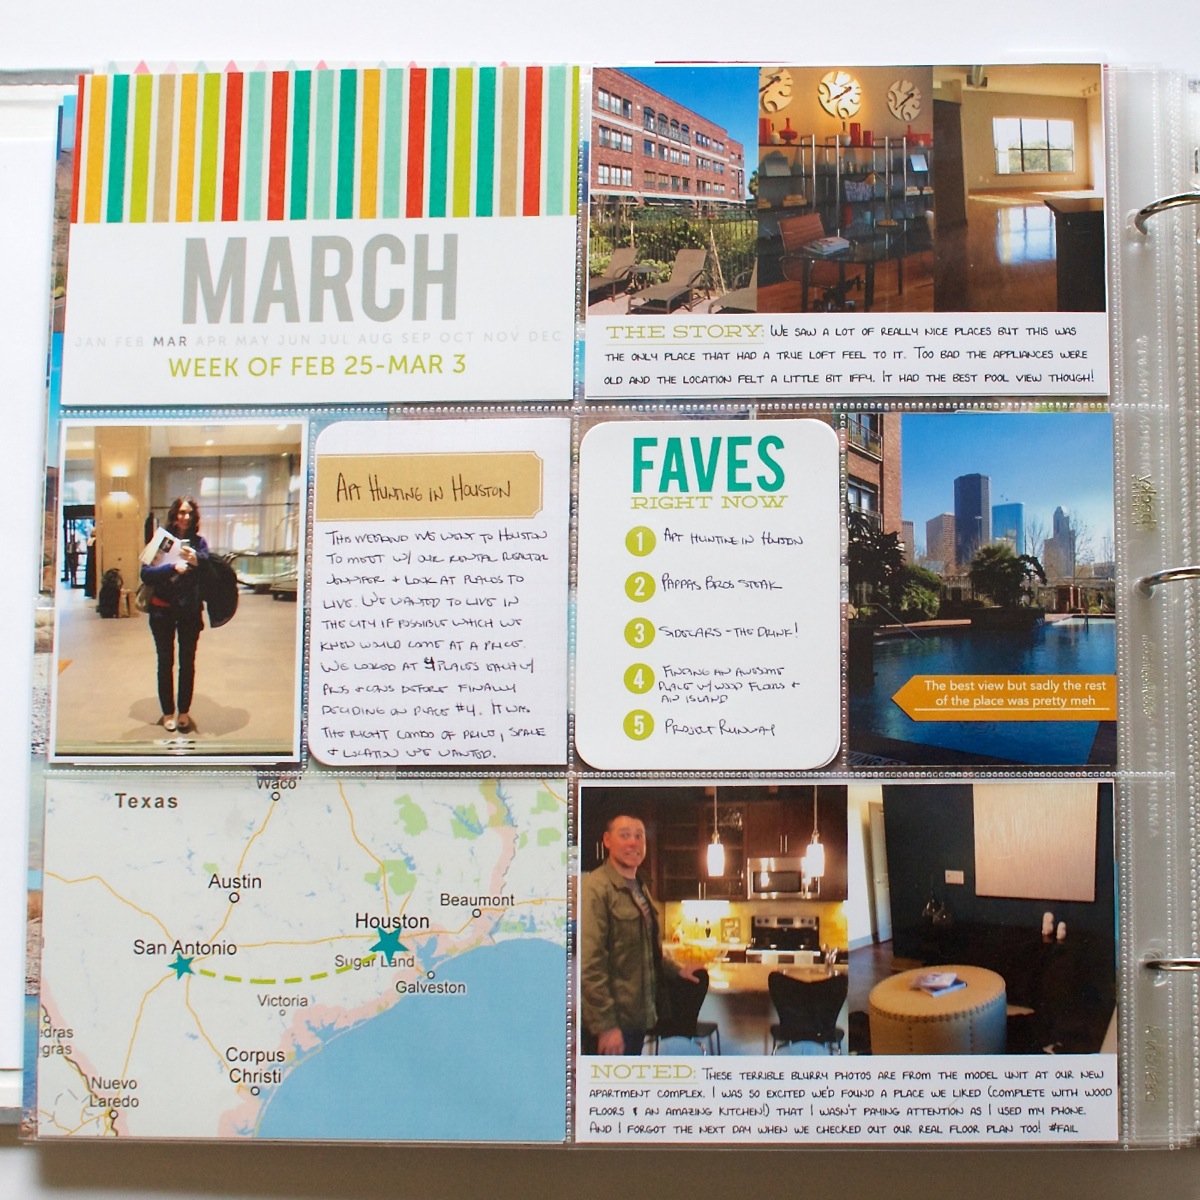
Both the story & noted cards are from my Bits & Bytes: 4×6 Journalers – Graphic mini template set. I can definitely see these becoming one of my most used products this year. The March title cards are all from my Bits & Bytes: 4×6 Weekly Title Card mini templates and all the digital papers from those are from the Oh Snap! digital scrapbooking kit by Libby & Shawna. The yellow arrow, which I added a drop shadow to and had printed directly on the card, is from Mari’s Today 2.0 Arrows digital element pack.
One of the things I decided to try when I sent out my prints was having a bunch of blank Faves cards printed and then handwriting my Faves onto them. What I didn’t love is that their “cardstock” isn’t what I’d call cardstock. It has a coating on it that made it really tough to write on with a pen which kind of defeated the purpose.
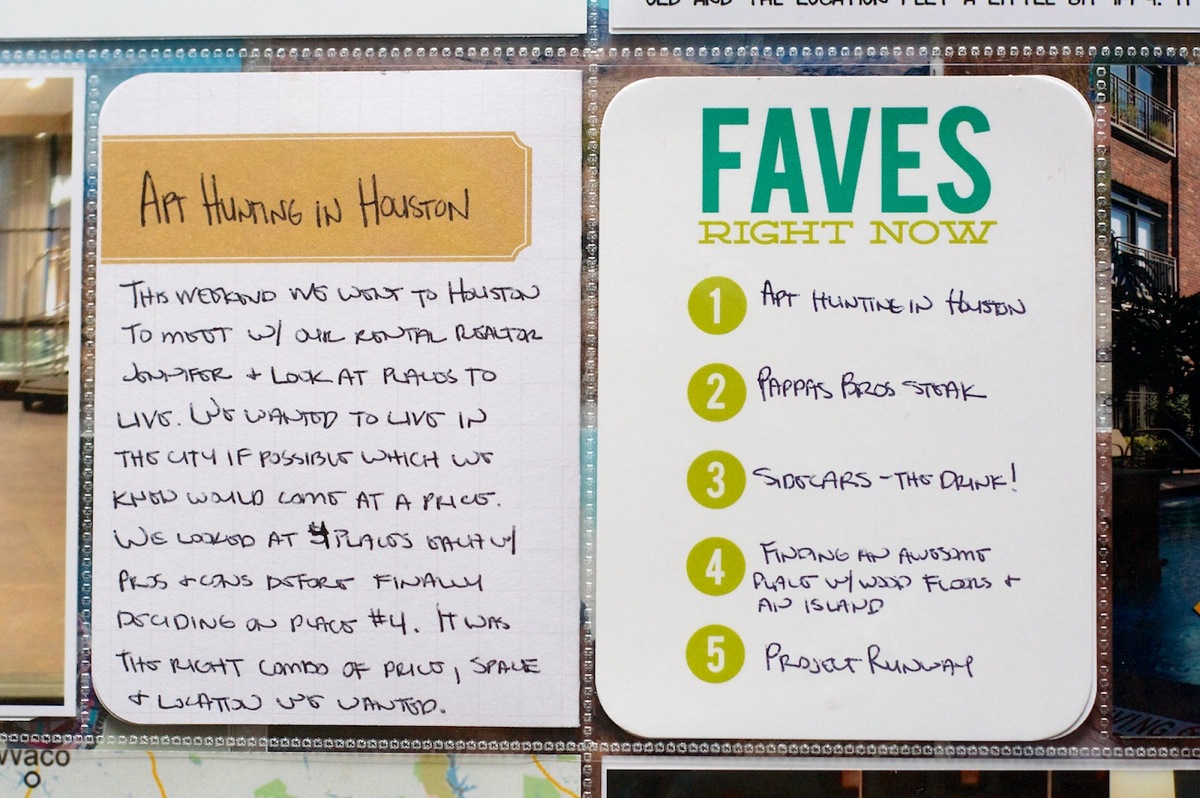
As much as I love the bolder colors on the Faves card and the simplicity of writing my lists out, I’m not sure I’d have these printed like this again. I may even go back and reprint them with my lists already on them just to keep things consistent.
This week I also decided to add back in the monthly Project Life section dividers. I had them in my album originally and took them out since I didn’t feel like I needed them but after 3 months of Project Life, they’re definitely helpful in getting to the correct section.
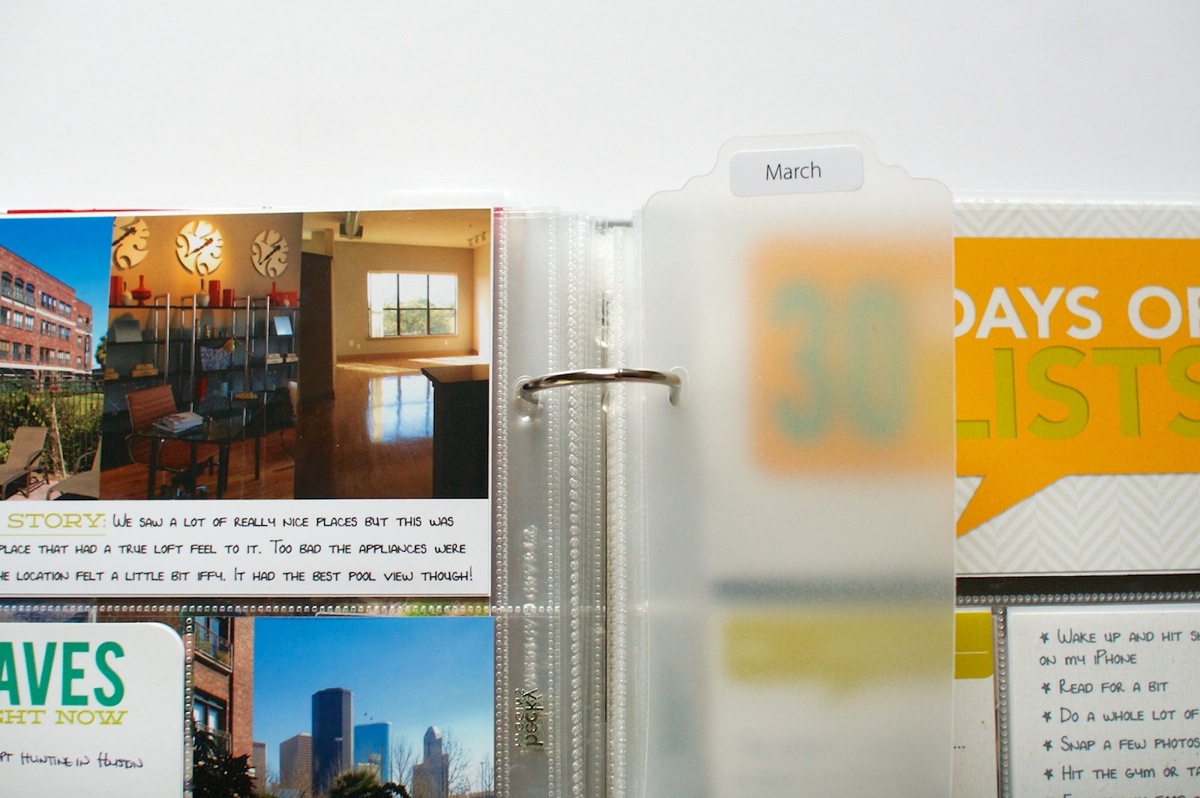
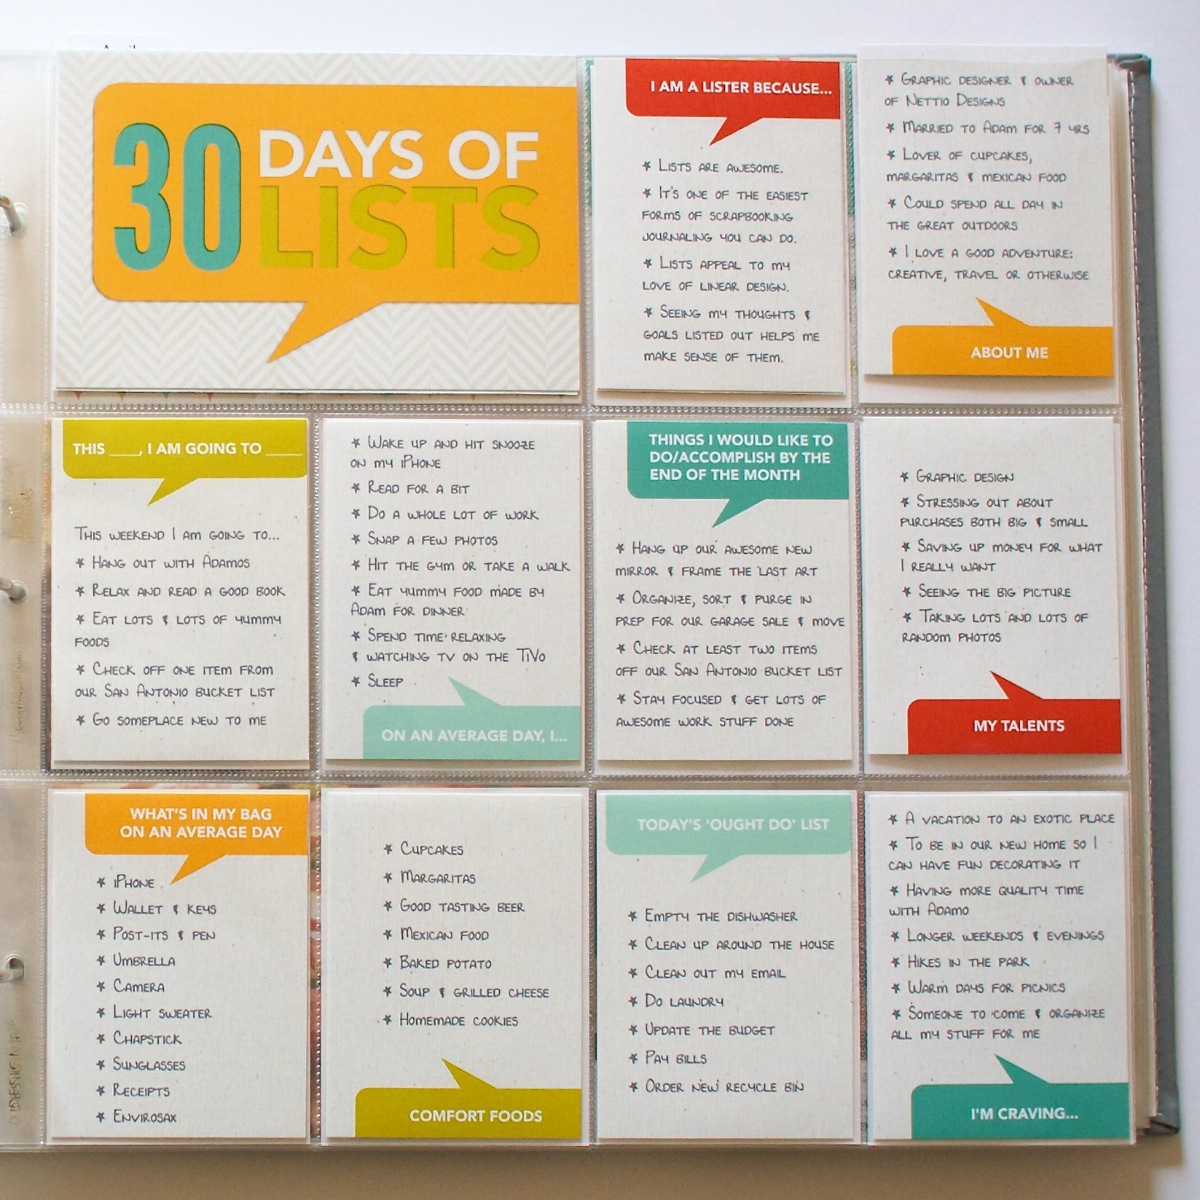
Here’s another look at the right side of the spread – the 30 Days of Lists cards. If you missed my original post about the 30 Days of Lists project, you can find my original post here. All of these cards were made using the templates from my Bits & Bytes: Say What 3×4 Card mini templates in case you’d like to make your own.
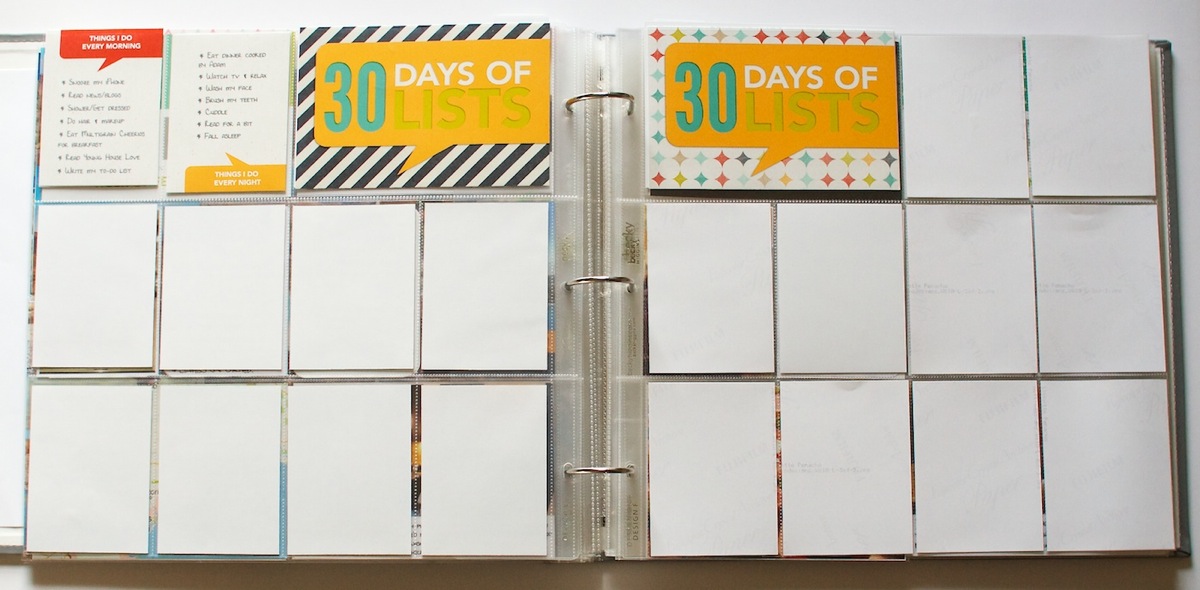
Here’s what the other two pages of 30 Days look like. I’m batch printing my cards so I haven’t added any additional ones just yet.
Week 10: Mar 4-10
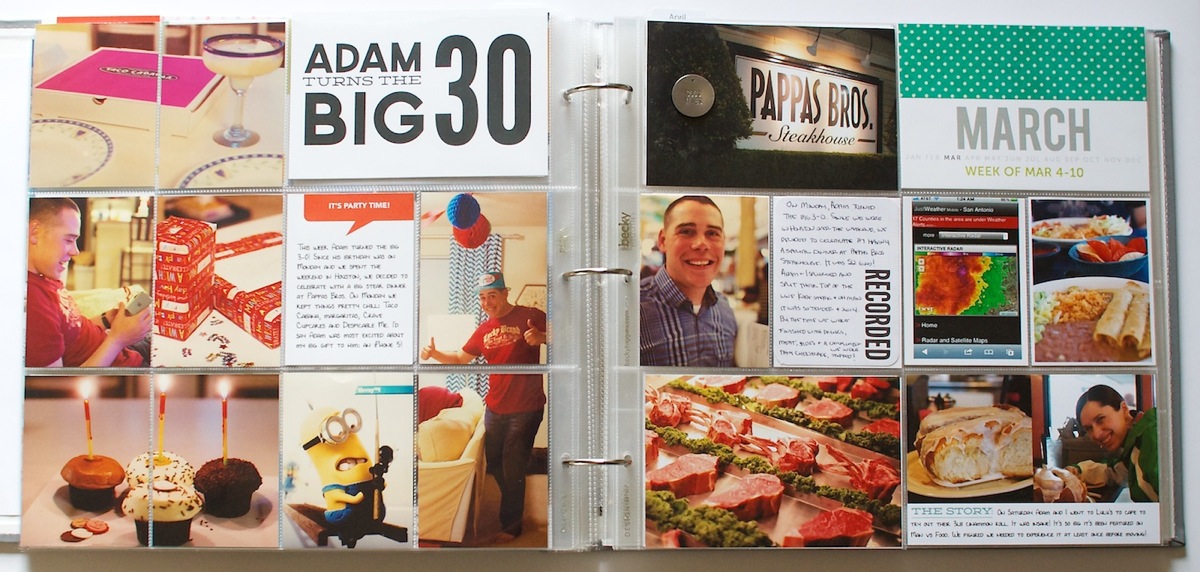
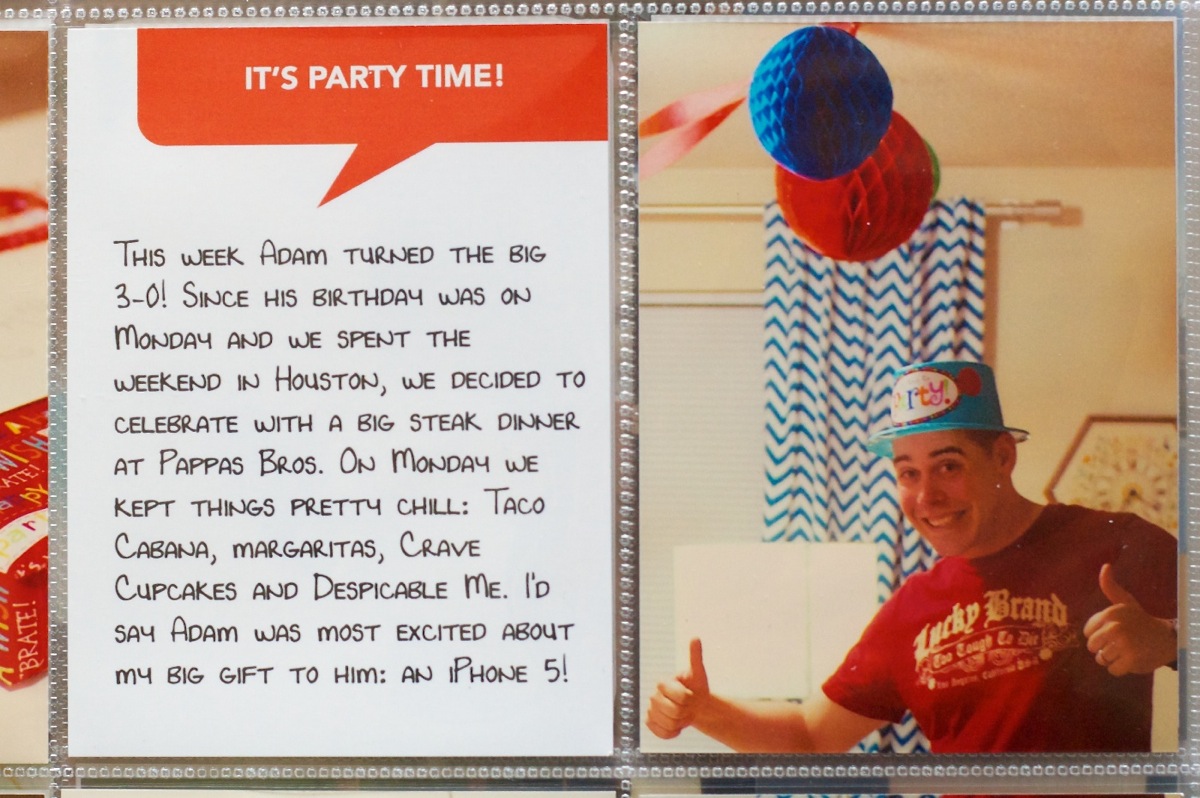
The big event this week was Adam turned the big 3-0 on March 4th! Since his birthday was on Monday, I devoted the entire left side of the spread and an insert for the invent and then used the right side of the spread for regular photos from the rest of the week.
Here’s a close up of the left side 30th birthday spread:
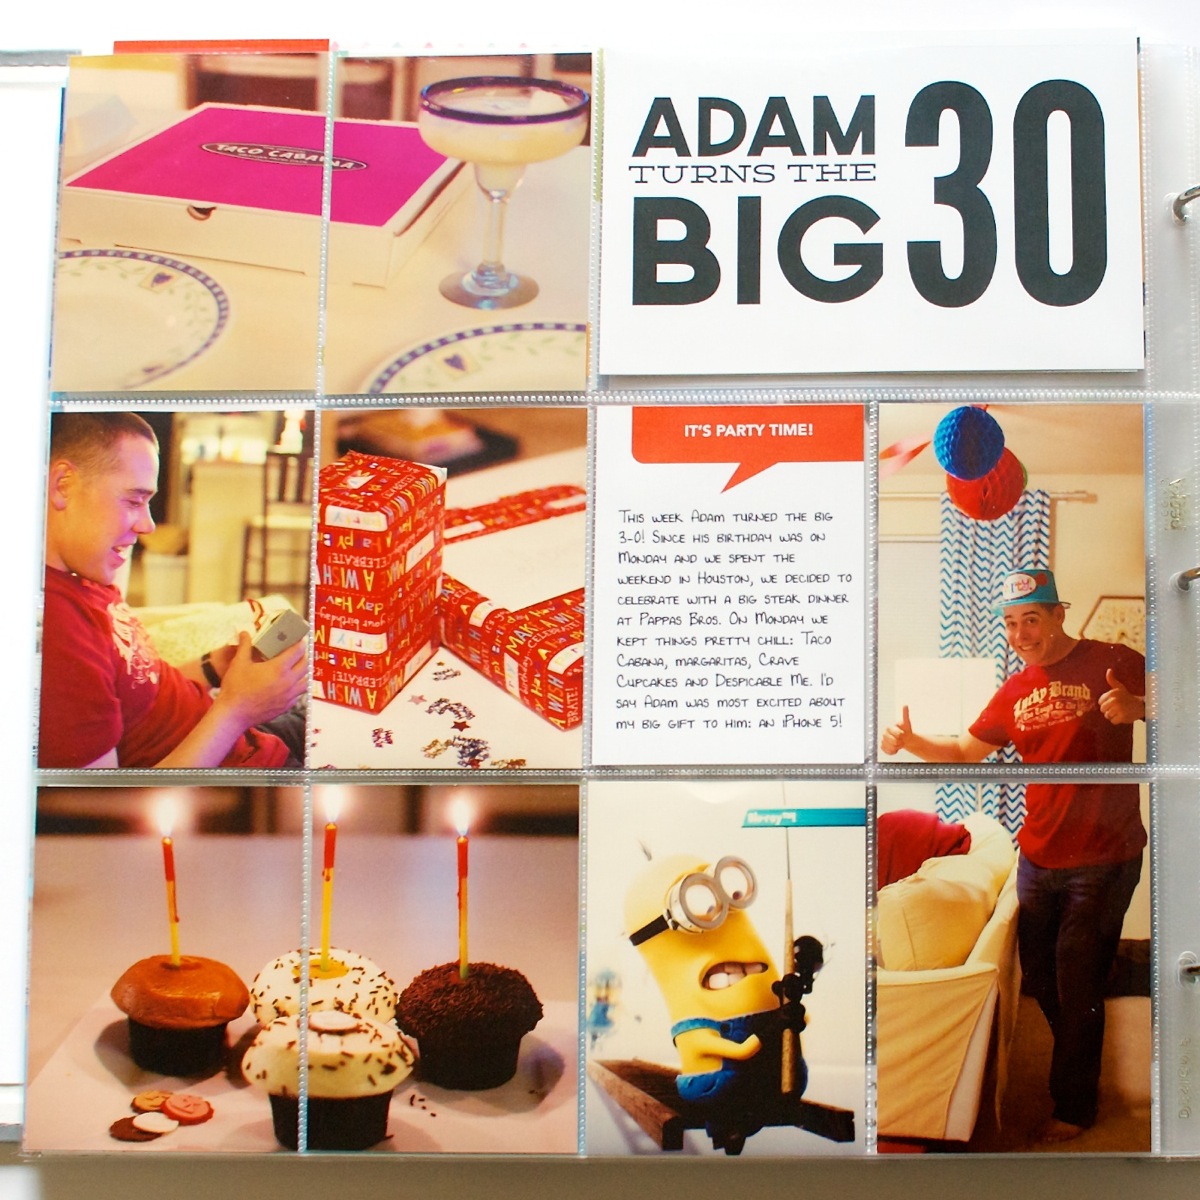
Our big birthday celebration meal happened over the weekend so Monday night we kept it pretty low key: Taco Cabana fajitas, margaritas, Crave Cupcakes (which we’d picked up the day before in Houston) and Despicable Me which Adam picked to watch. I bought him a new iPhone 5 for his birthday and he was really excited to be upgrading from my old iPhone 3GS finally.
Scrapbooking-wise: I’m totally diggin’ the chopped vertical 3×4 photo – will definitely be using that technique again.
On this page I also included another one of my Bits & Bytes: Say What 3×4 Cards in his fave color: red.
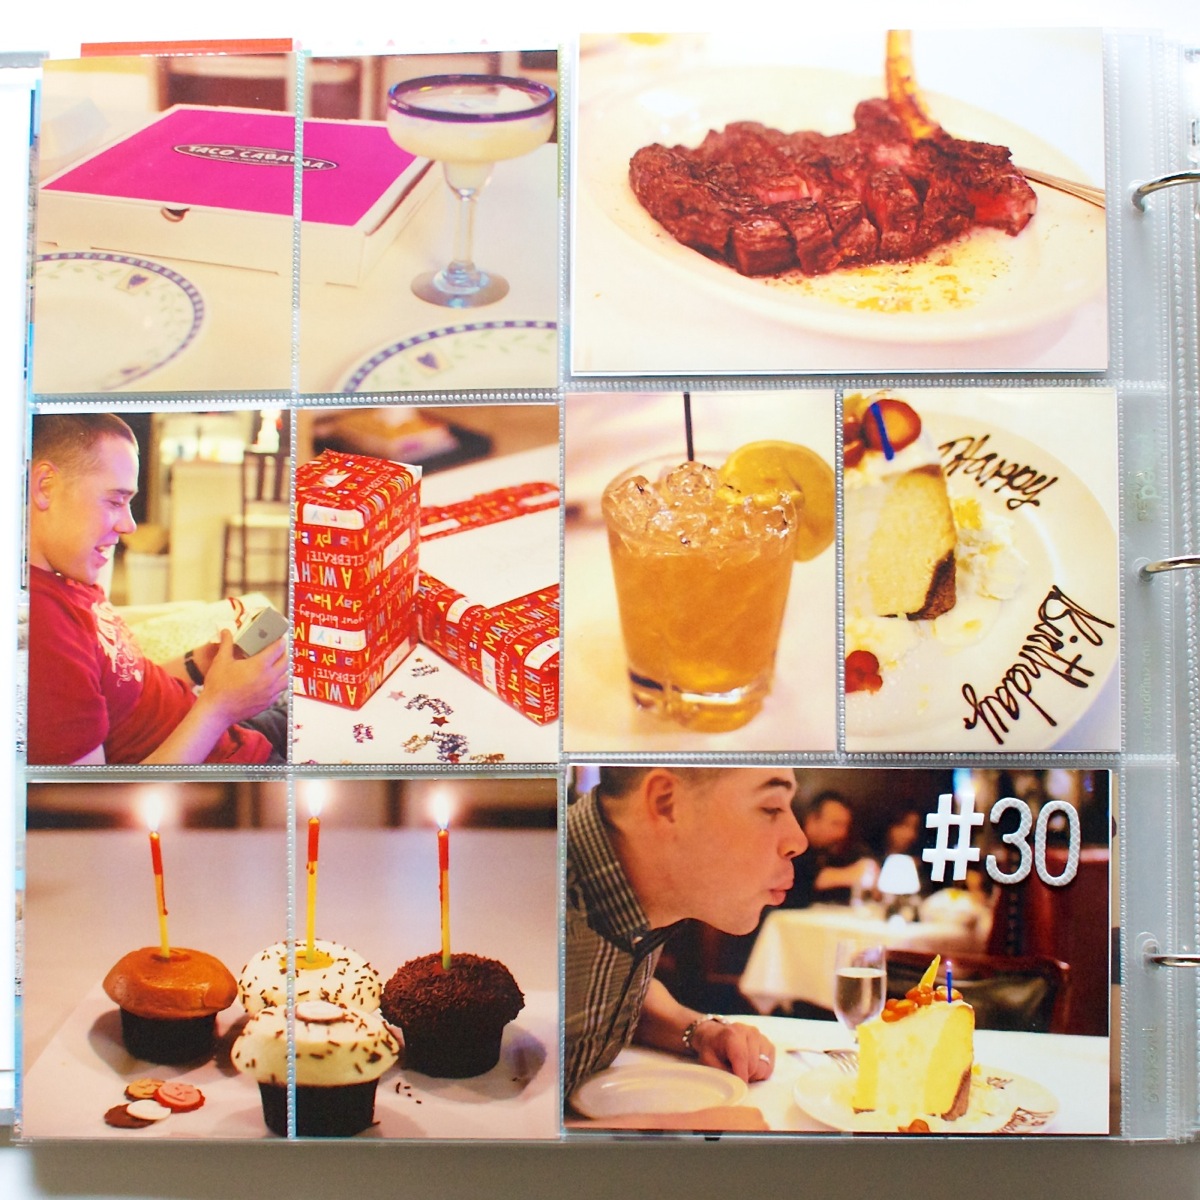
In the middle of the spread I included a Project Life insert showcasing photos from his big 30th birthday dinner. Since it technically happened on Saturday, it should be in Week 9 but I decided it made more sense to include it with the other birthday stuff in Week 10.
One of our 30th birthday traditions has been to celebrate with a fancy expensive meal. For my 30th birthday last year we went to Uchiko in Austin (which is Top Chef winner Paul Qui’s restaurant). For Adam’s birthday he chose to go to Pappas Bros. Steakhouse in Houston. We’d been once before but it was fun to go back!
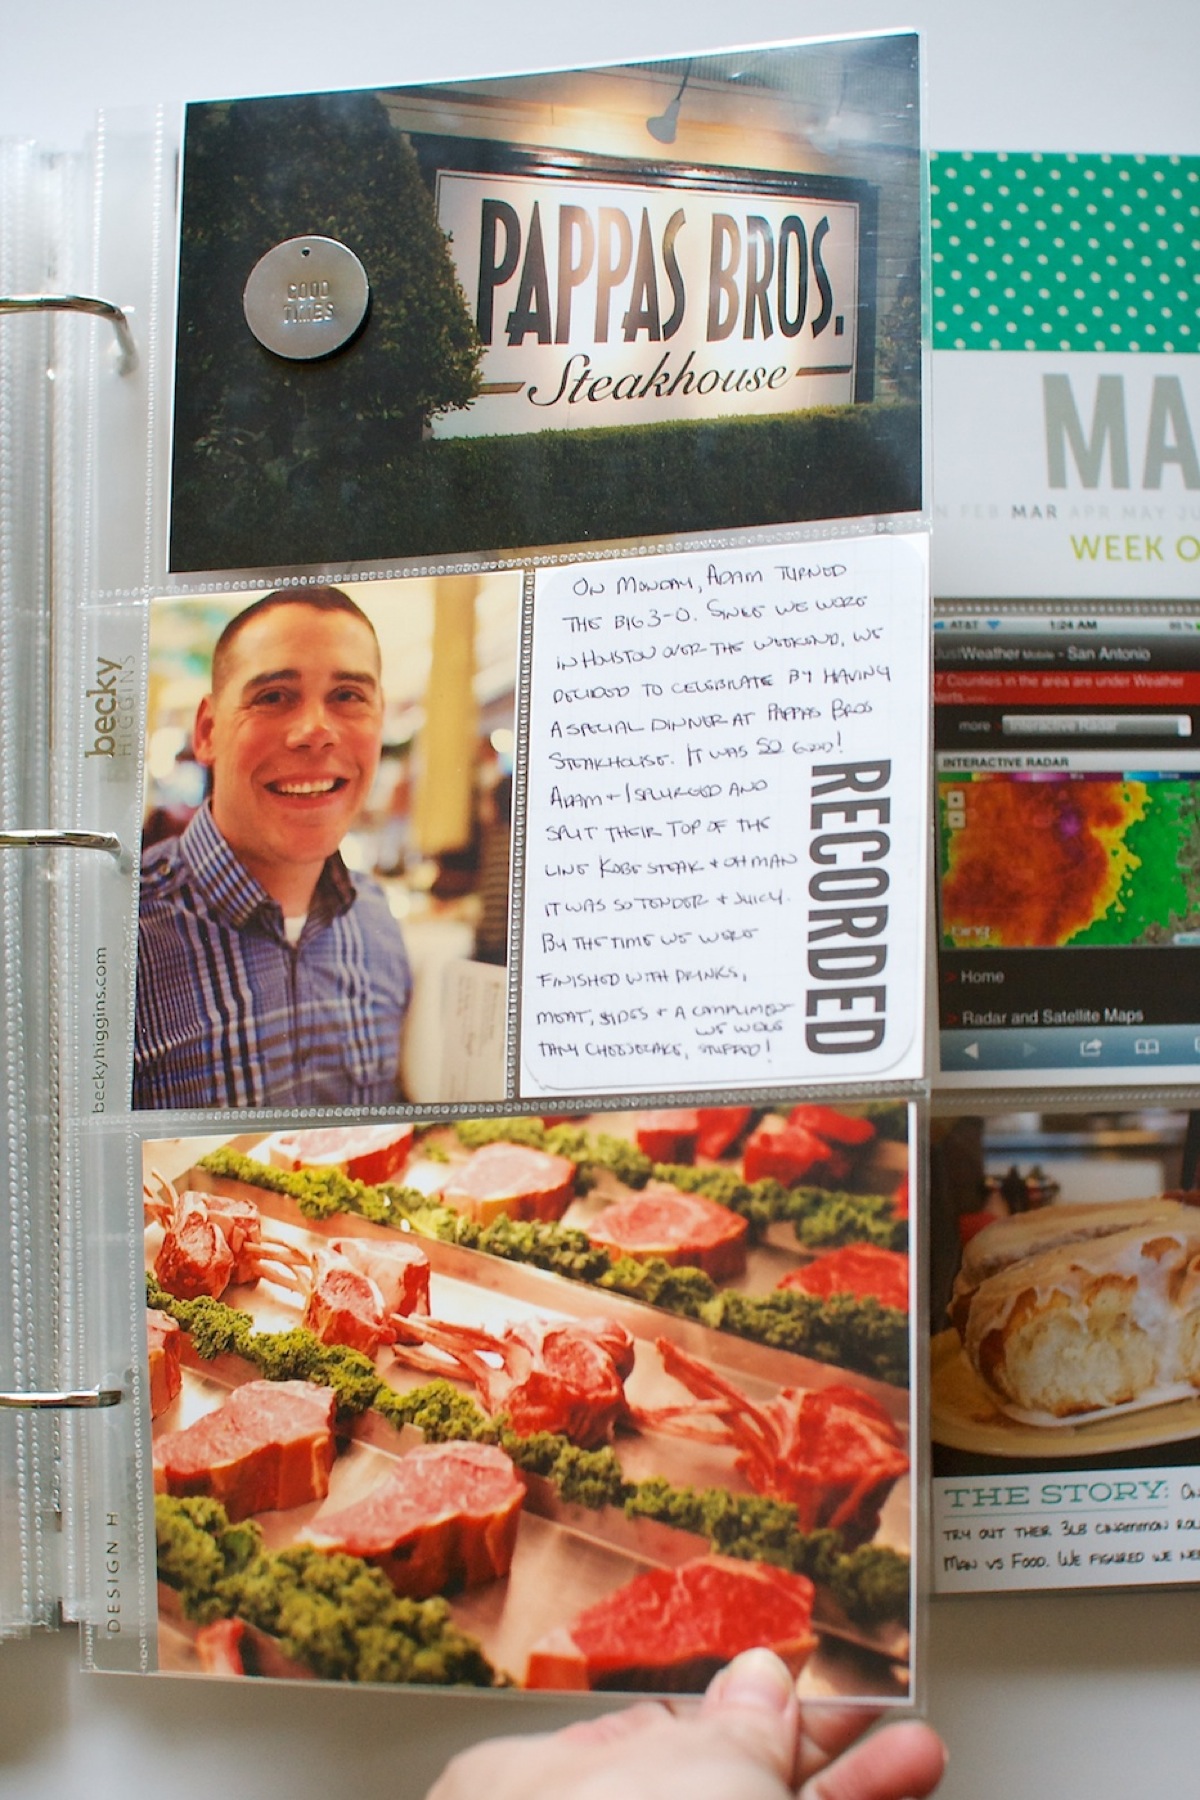
The photos on the right side of this image are the backside photos of the insert. Adam and I split one of their Kobe beef steaks and OMG, it was SO good. By the time they brought him complimentary dessert we were stuffed.
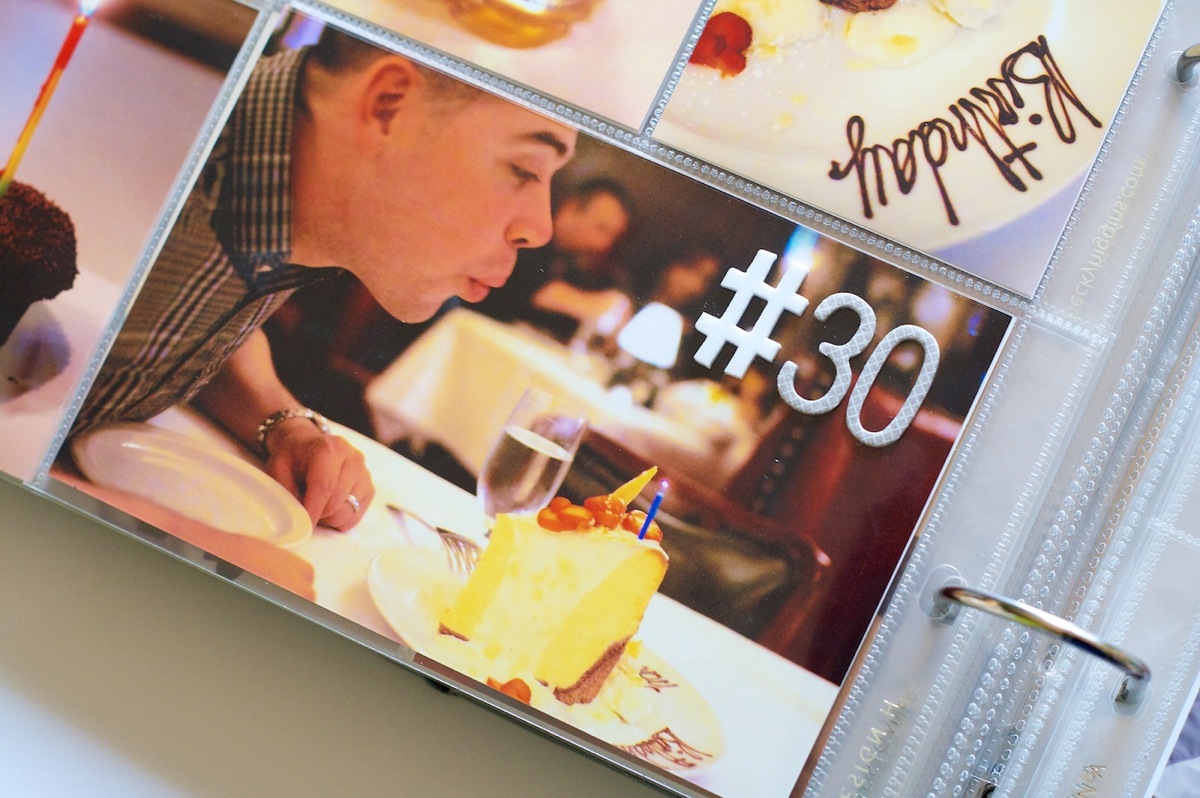
I added a couple Thickers on here to mark his birthday. I didn’t realize so many alphas didn’t include the number symbol! This was the only one I found in my stash.
Here’s a look at the completed Week 10 spread:
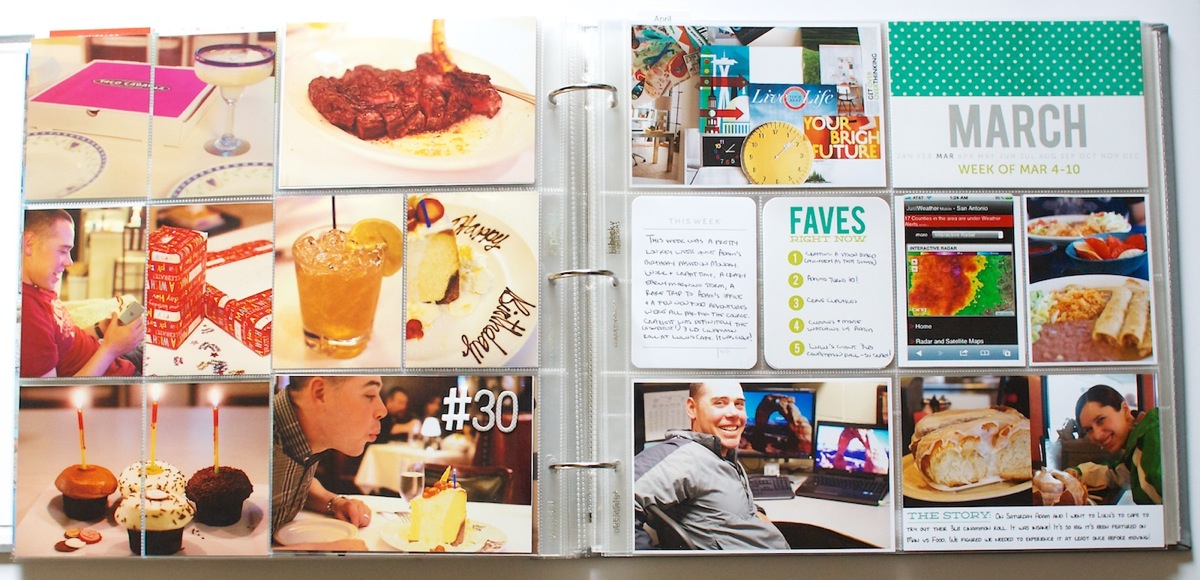
And a closer look at the rest of Week 10. It was a pretty low key week filled with craftiness, a crazy 1am storm, a random stop at Adam’s office (1st time I’d been there!) and of course new food adventures because we love our good eats, haha.
The This Week card came from the March Studio Calico kit and The Story card is from my Bits & Bytes: 4×6 Journalers – Graphic mini template set.
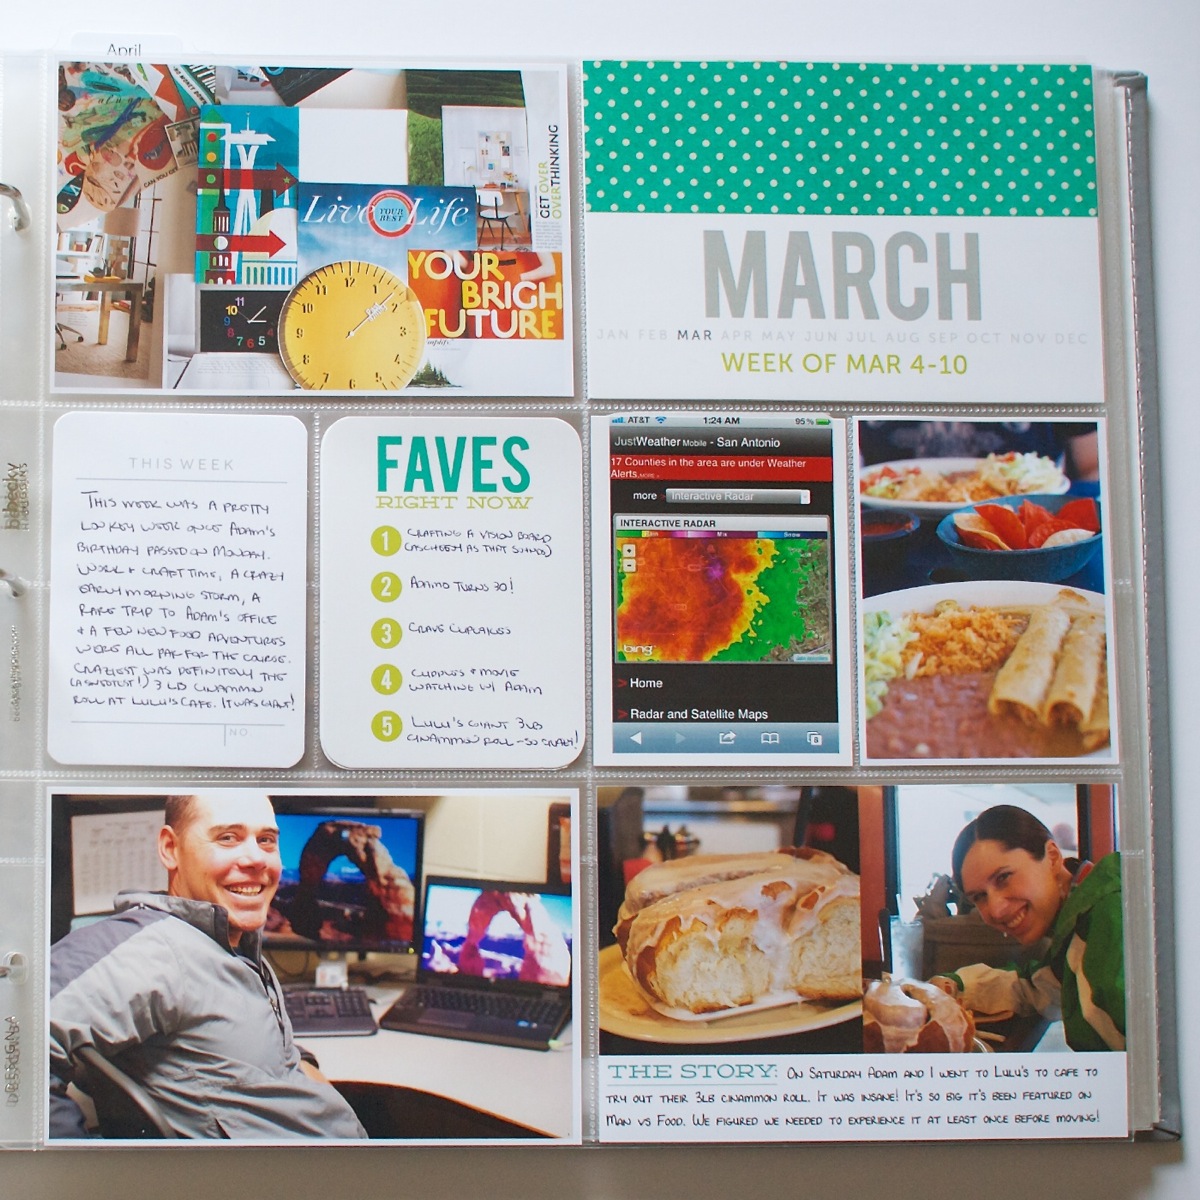
I just have to point this out because it’s so awesomely hilarious to me. One of my goals for March was to check two items off our “Before We Leave San Antonio” bucket list and getting the 3 pound cinnamon roll at Lulu’s Cafe was one of the items on our list. This place has been featured on Man vs Food and well, how can you go wrong with a cinnamon roll bigger than my head? It was the height of gluttony and no we didn’t finish it all in one sitting. We ended up having it with eggs for dinner that night and again for breakfast the next morning. And no, it was definitely not Paleo, haha. It did however taste almost exactly like the Holiday Inn Express cinnamon rolls which was pretty funny.
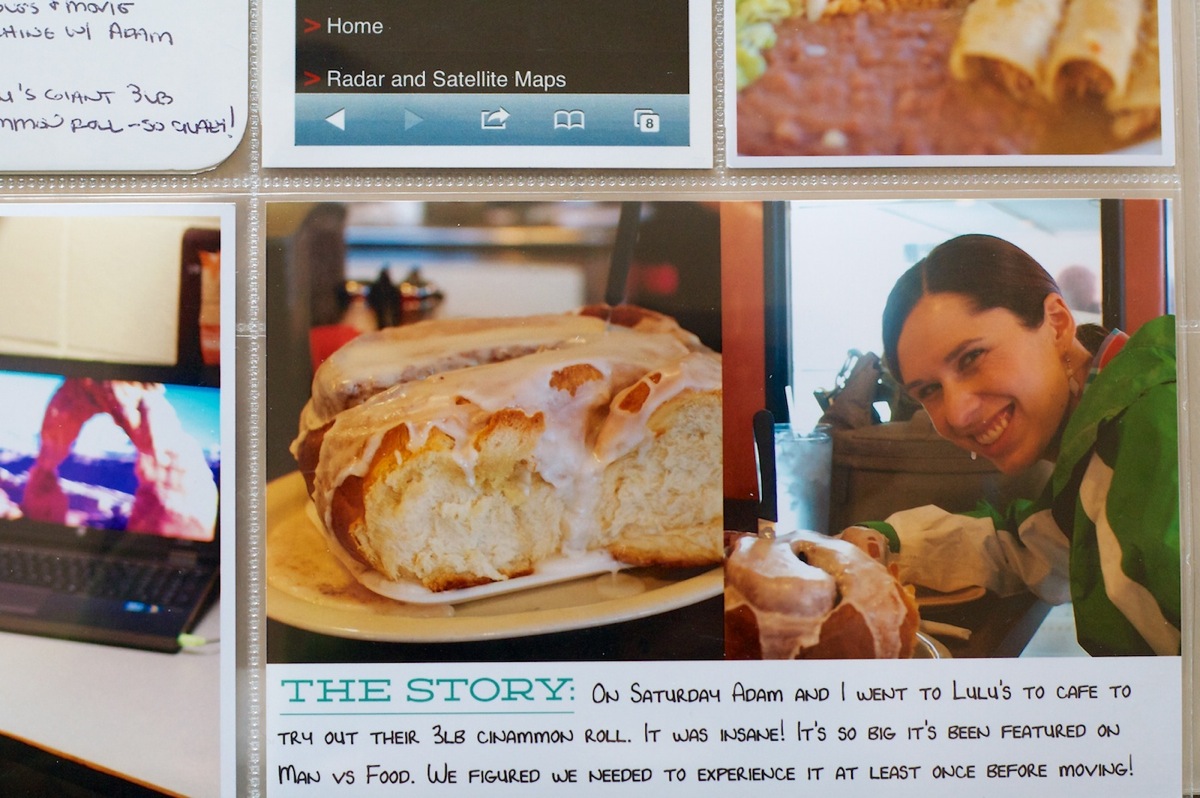
Random thoughts this week:
As I mentioned at the beginning of the post, I decided to try printing all of my Project Life photos and cards through Persnickety Prints and I have mixed feelings about that decision.
On the one hand the prints are GORGEOUS. The colors of the photos and cards were 100% true to what I see on my screen which isn’t true when I print from home or printed from Target.
On the downside, I hated waiting for shipping. I ordered my prints on Wednesday and while Persnickety processed my order really quickly – within in a few hours – they didn’t ship out until Thursday. With the weekend that meant they didn’t arrive until Monday which made it tough to share my Project Life pages on Monday like I’d planned. So while I loved the quality, I’m not sure it’s something I have time wait for every week, but we’ll see.
Here’s a few pictures from my order. One thing I didn’t love was the envelope of images itself was heavily taped within the box. I know they do this so the prints don’t move in shipping but I don’t know if I just didn’t open the box properly or what because they were a pain to get out. The poor outer envelope didn’t survive the process, haha.
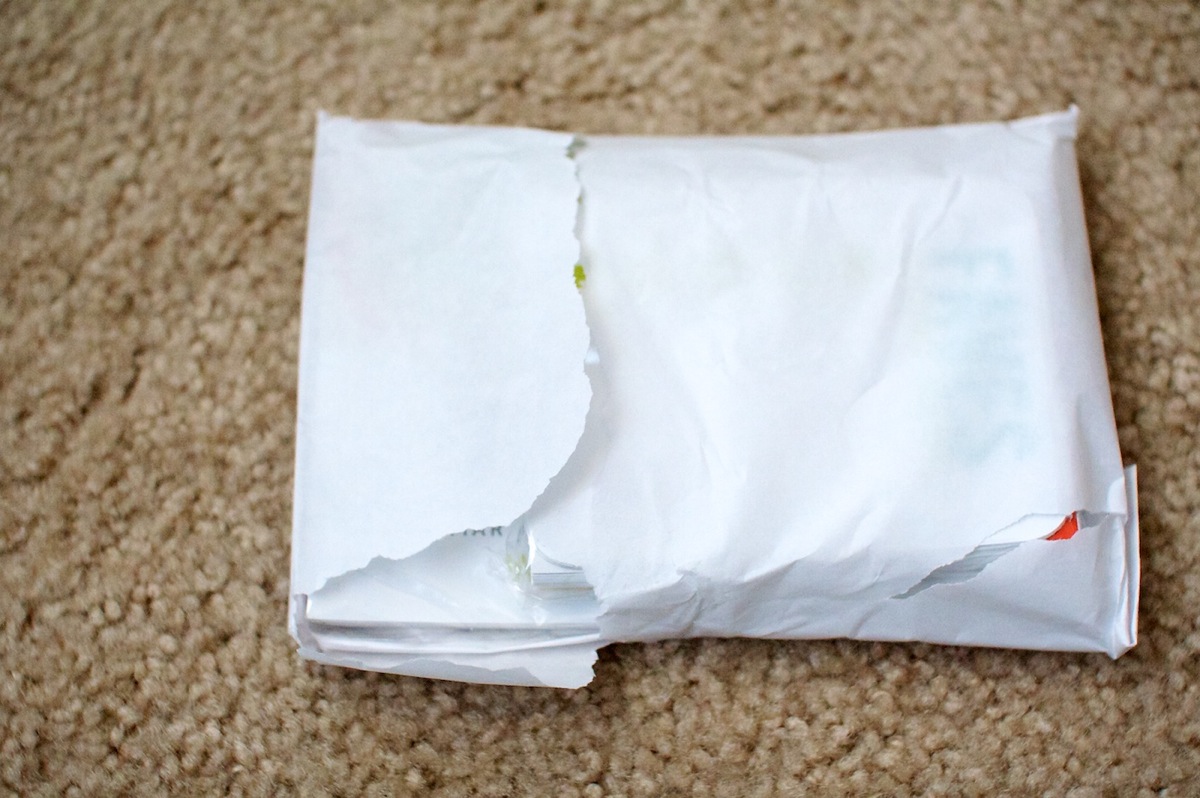
They came packaged in two sizes: 4×6 & 3×4 with all the photos and card stock cards mixed together:
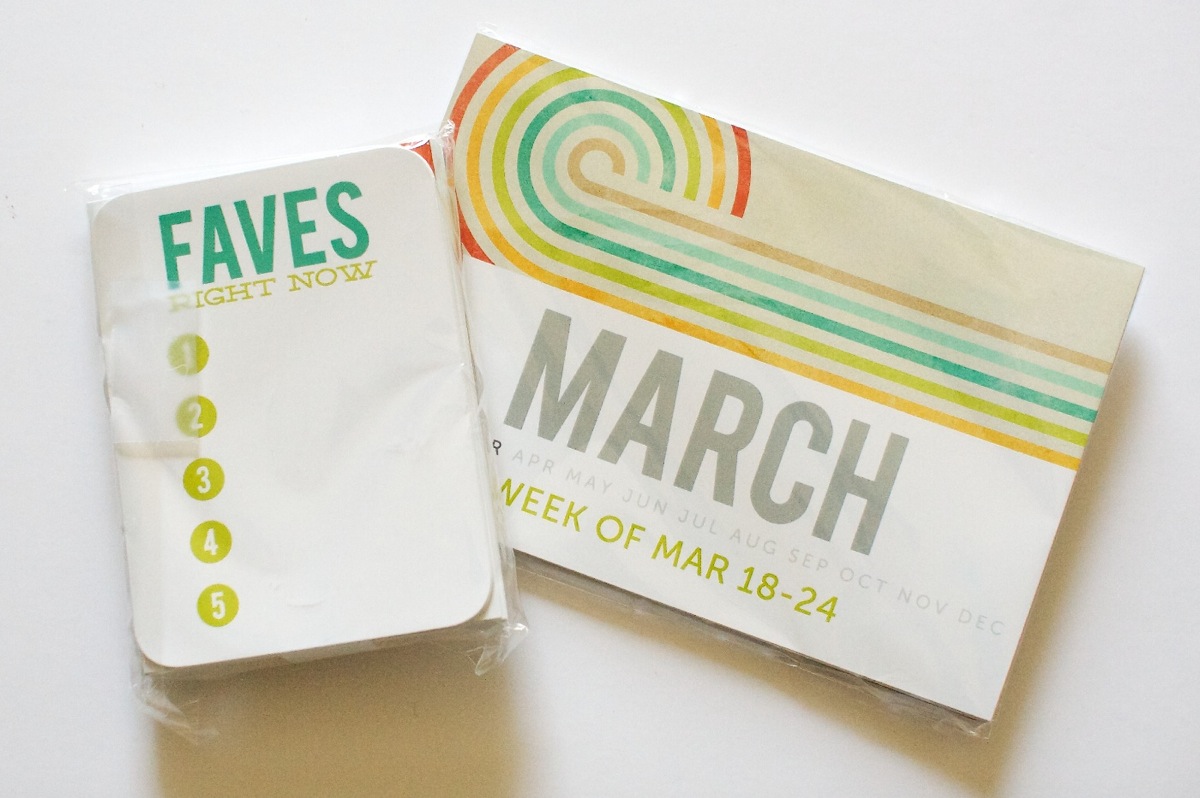
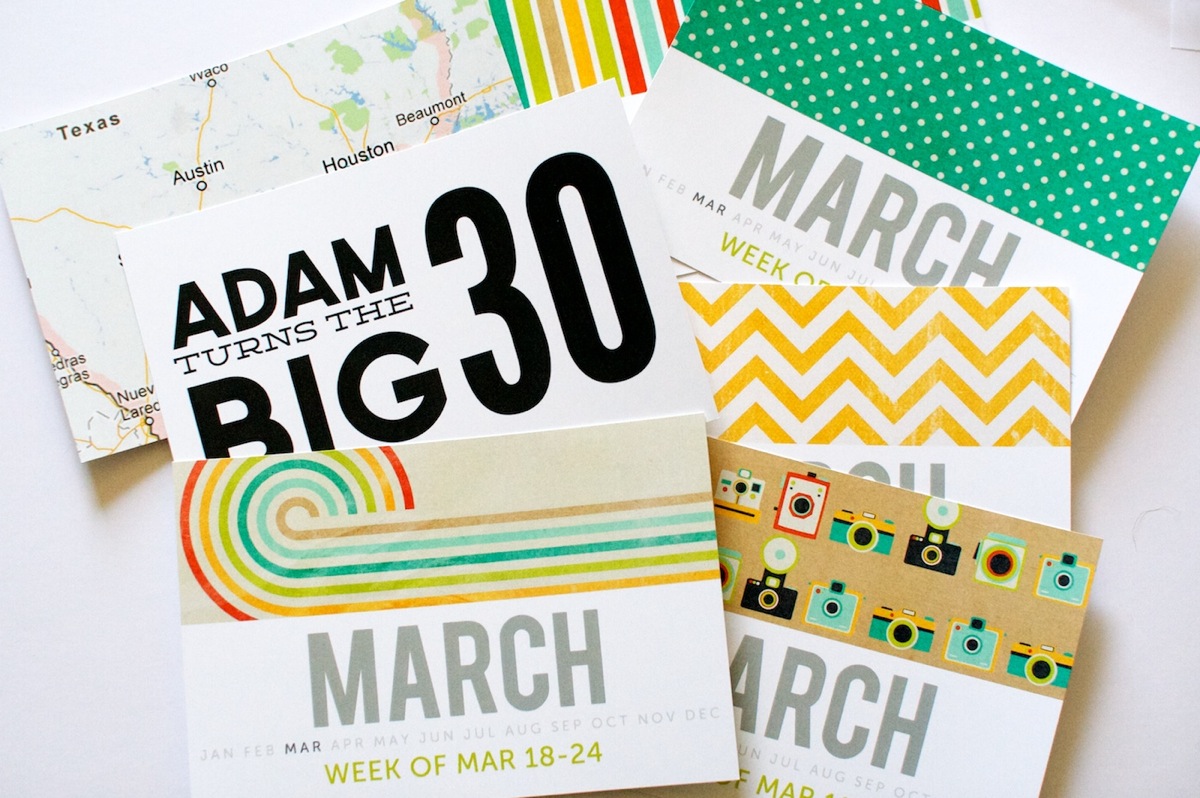
Here’s what all the 4×6 card stock printed images looked like. I loved how bold and saturated the colors looked – I’d definitely consider having my weekly title cards batch printed there again next month. All the digital papers used on my title cards are from Oh Snap digital kit by Libby & Shawna.
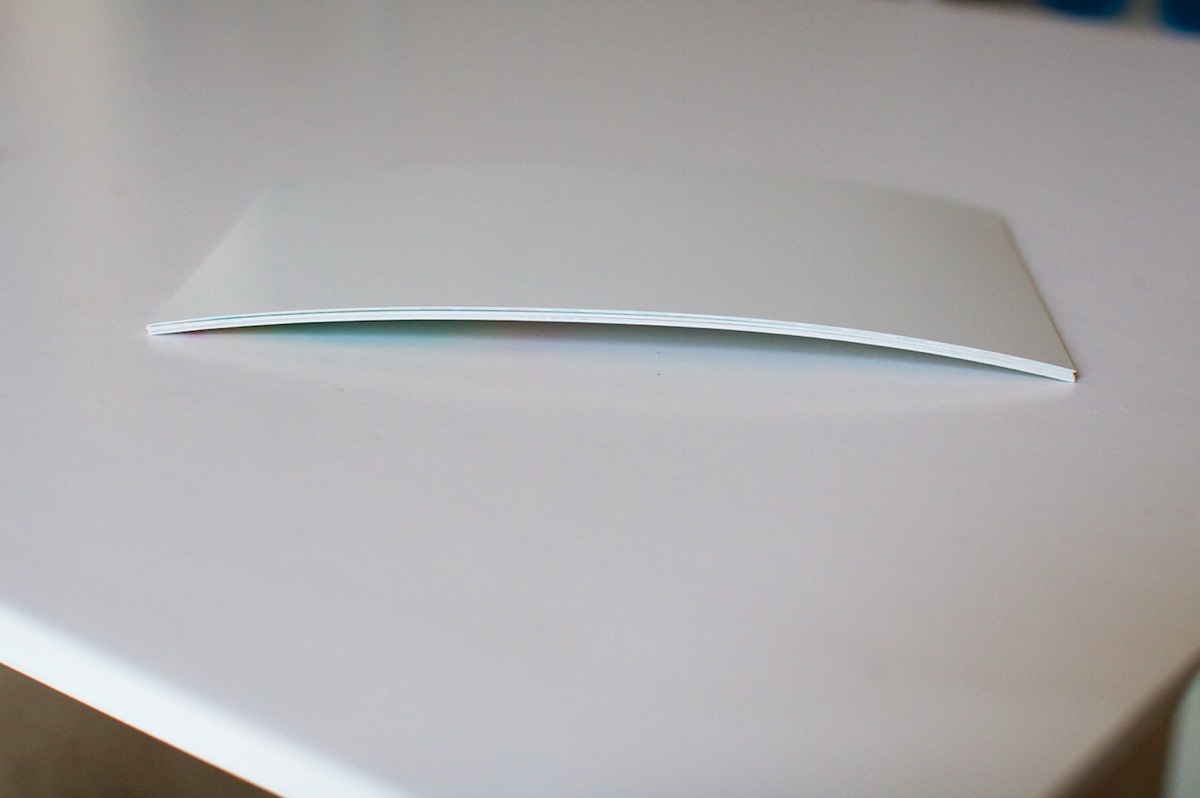
One other downside to the card stock cards was all of them came pretty significantly curled. It wasn’t really an issue for the cards I was putting into the Project Life page protectors but I’d also ordered a bunch of the Instagram Polaroids which I’d planned to clip and hang and they’re currently sitting under a pile of books in hopes I can flatten them out.
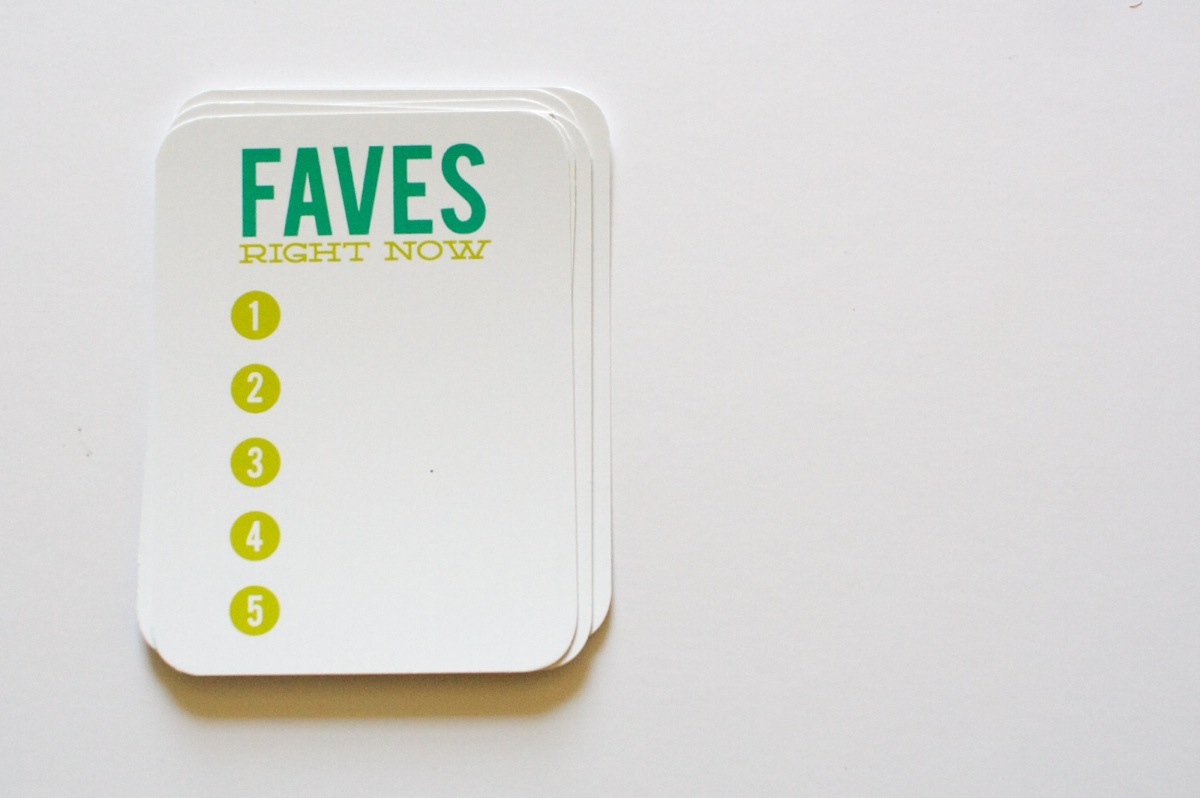
Here’s what the 3×4 card stock Faves cards looked like without the writing on them. I LOVED the saturated colors but not being able to write on them was pretty much a deal-breaker. It’s possible if I used a different pen it might work better, but being left-handed, I suspect the type of pen that might work would probably result in smudge central if I attempted to write with it.
Overall I was happy with my Persnickety Prints Project Life printing experience but I don’t know if it’s something I’ll continue to do every week.
Well that’s it for this Project Life 2013, Weeks 9 & 10 birthday-tastic update! How are you doing with your Project Life album? Can you believe Week 10 means we’re almost 1/5 of the way done? I’m quite proud of myself for keeping up with it this long.
Project Life is a memory-keeping system created by Becky Higgins. New to Project Life? Learn more here & find all my Project Life posts here.
Lynnette, try the American Crafts slick writer. I’m a lefty too, but when I’m careful I don’t have any issues with it, and it’s meant to write on slick surfaces (hence the name, lol).
Oh thanks for the suggestion! I think I actually have some of those but they dried out in like 2 seconds so I wasn’t too impressed, haha. And I want to say that they’re “fine” pen wasn’t fine enough for me but I’m picky that way. Maybe I’ll give them another shot and see.
Great seeing your pages Lynnette, love the bright graphic style you have.
Thanks Libby!
I was going to suggest a Slick Writer too. Or my new favorite permanent pen is the Bic Mark-It fine (but you might like the ultra fine).
http://www.bicworld.com/us/products/details/102/mark-it-ultra-fine-point-marking-ultra-fine-point
Which of the cardstock options did you order from Persnickety and did you have the same paper for your photos and your filler cards? I l ove how vibrant all the colors are!
Thanks for the suggestion Christi! I’ll have to check those out.
As far as Persnickety Prints, I chose the glossy photographic paper for my photos and the cardstock for all of the filler cards so no, the paper wasn’t exactly the same. The cardstock does have a bit of gloss to it though which I think helps with them being so vibrant. HTH!
This is great, but I like print on the physical cards available from Project Life, Me & My Big Ideas, and SN@P! Cards. I use templates from http://www.smpljournal.com. The templates are very easy to use and come in a variety of formats, photoshop/photoshop elements, Microsoft word, and others. Check them out if you like the physical cards, but wanted to print on them. Oh, and there is no need for tapes or temporary adhesive to hold the cards. Great printing system for journaling.
I hope it helps some of you.