 We’re nearing the end of our Summer Love Mini Course which means it’s time to start thinking about finishing touches, like printing. Today Team Awesome member Amy is sharing her tips for printing your Summer Love Mini Album. Take it away, Amy!
By now our Summer Love Mini Album is getting close to being finished which means it’s time to start thinking about on important aspect of any album: printing!
There are so many different album printing options to choose from, but the main two are printing as a bound photo book, or printing on photo paper and putting in an album. Both are great options, but it’s up to you to decide how you want to gaze upon these lovely summer memories you’ve compiled in the coming seasons and years.
Photo Book Printing
First we’ll look at some photo book options available. The Summer Love Mini templates are designed to print at 6×6 inches so it would be important to make sure the company you choose has that size available. Both AdoramaPix and Artscow offer 6×6 photobooks.
If your photobook printer of choice doesn’t offer 6×6 photobooks, 7×7 or 8×8 would also be acceptable as long as you save your layouts at the highest quality possible. You could also add a simple border to your 6×6 pages to make them 7×7 or 8×8 as well.
This site has a breakdown of the top ten photo book printing services: 2013 Best Photo Book Services. That website provides you with the links to those 10 service websites, so take a look at the comparison charts and see if there is an option or two for you there.
Two services not on that list that are still worth looking into are Blurb and Mpix. Lynnette has previously published articles sharing her experiences with both companies so be sure to check out the following helpful links:
- It’s Blurbtastic
- Designing a Hybrid Mini Photo Book (and printing with Mpix)
- Video Tutorials on Creating a Photo Book and Uploading to Blurb
The Daily Digi also has a great review of 12 photobook printers here.
The only service I’ve personally tried is Blurb, and I am a happy customer so I have not seen the need to try anything else 🙂
What to Look for in a Photo Book Service
The things you want to keep an eye out for when you’re choosing a photo book service are:
- Good quality printing and paper options. Upgrading your paper option will cost more, but it’s usually worth it. Your pictures really pop when they are printed properly and on great paper.
- The ability to create a custom cover. I love my Blurb books all the more since I was in charge of the design process from start to finish, including the cover created by me in Photoshop!
- The ability to customize the pages yourself. Some photo books will force you to use their pre-made templates, but for printing our Summer Love Mini Album, we need to be able to upload our layouts and have them print full bleed on every page.
- Fair pricing. Upgrades will cost you more money, so you need to figure out what’s important to you. Also, most printing companies are based in the USA so if you live in a different country, take shipping and customs costs into effect. Sometimes this can double the cost of your photo book! Before you order, check online for coupon or promo codes that can save you some pennies, or sign up for e-mail newsletter lists and order during the next sale.
Individual Page Printing
Your other option is to print your layouts on photo paper and insert into a scrapbook. This site has a breakdown of 10 printing services: 2013 Best Scrapbook Printing Services so that is worth checking out. Lynnette uses Persnickety Prints for all her prints (her review can be found here) but I personally print all my digital layouts at my local Costco. I find that printing on glossy photo paper really bring out the detail in my photos, elements and shadows.
There are many printers to choose from, but I will show you a quick way to prepare your 6×6 Summer Love Mini Album pages on 12×12 prints ready to go for Costco (in Photoshop).
How to Print Four 6×6 Pages on One 12×12 Page at Costco
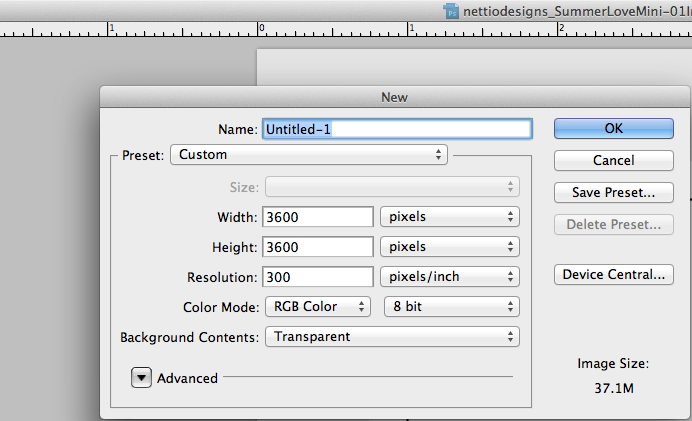
Step 1: Create a new document at 300dpi and 3600×3600 pixels or 12×12 inches.
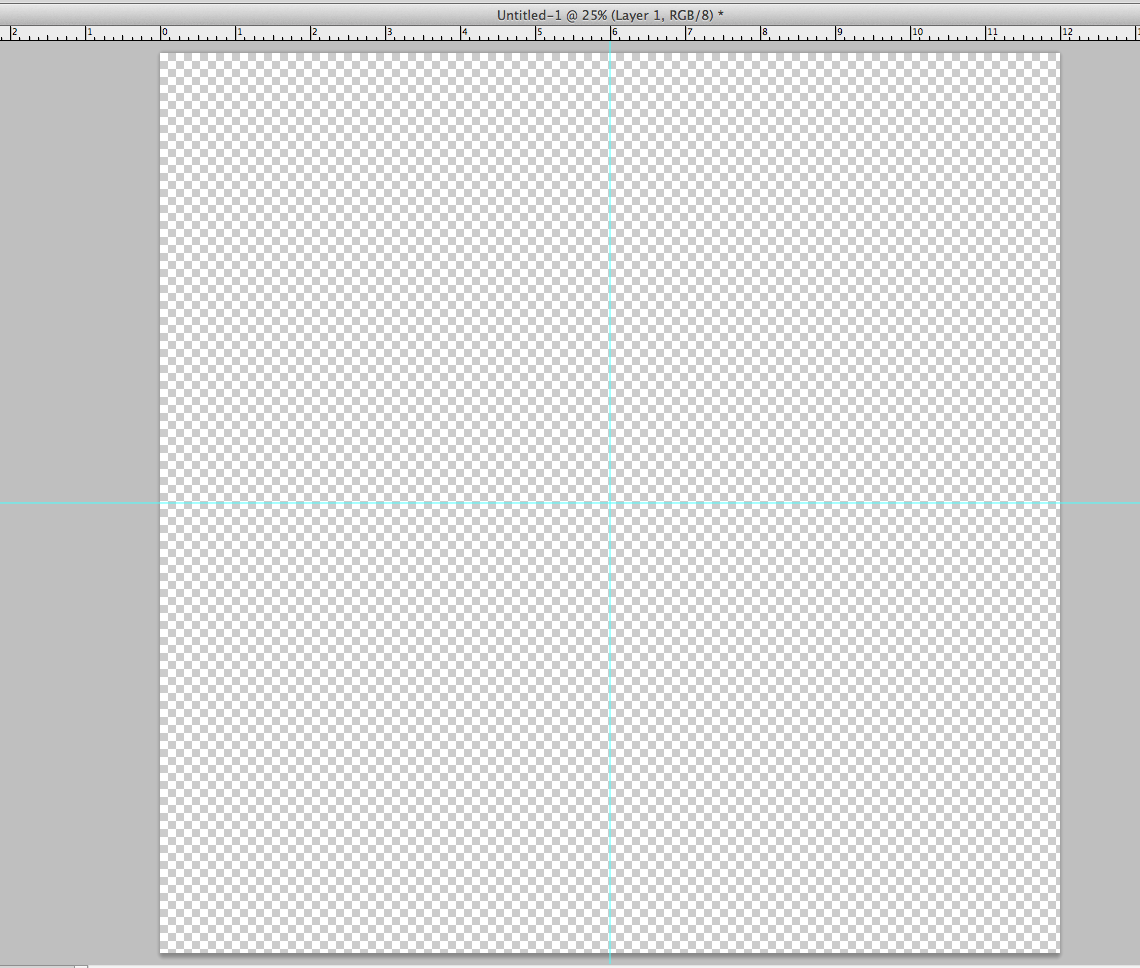
Step 2: Create guides at the 6 inch (or halfway) mark vertically and horizontally. You can do this by selecting the move tool, turning your rulers on if they aren’t already (shortcut is ALT+R on PC or Command+R on a Mac) and dragging out from the rulers to reveal a blue guide line.
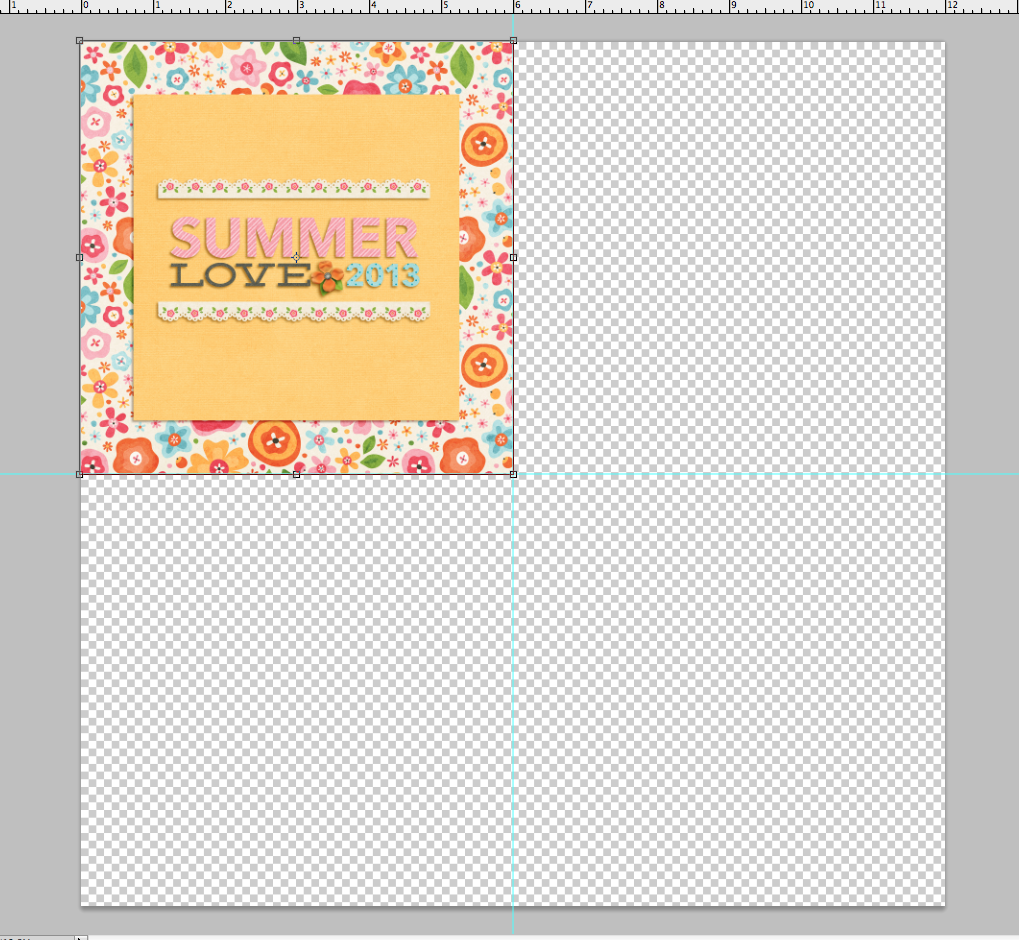
Step 3: Save your layouts at .jpgs and then drag them onto your 12×12 canvas, lined up with the guides you created.
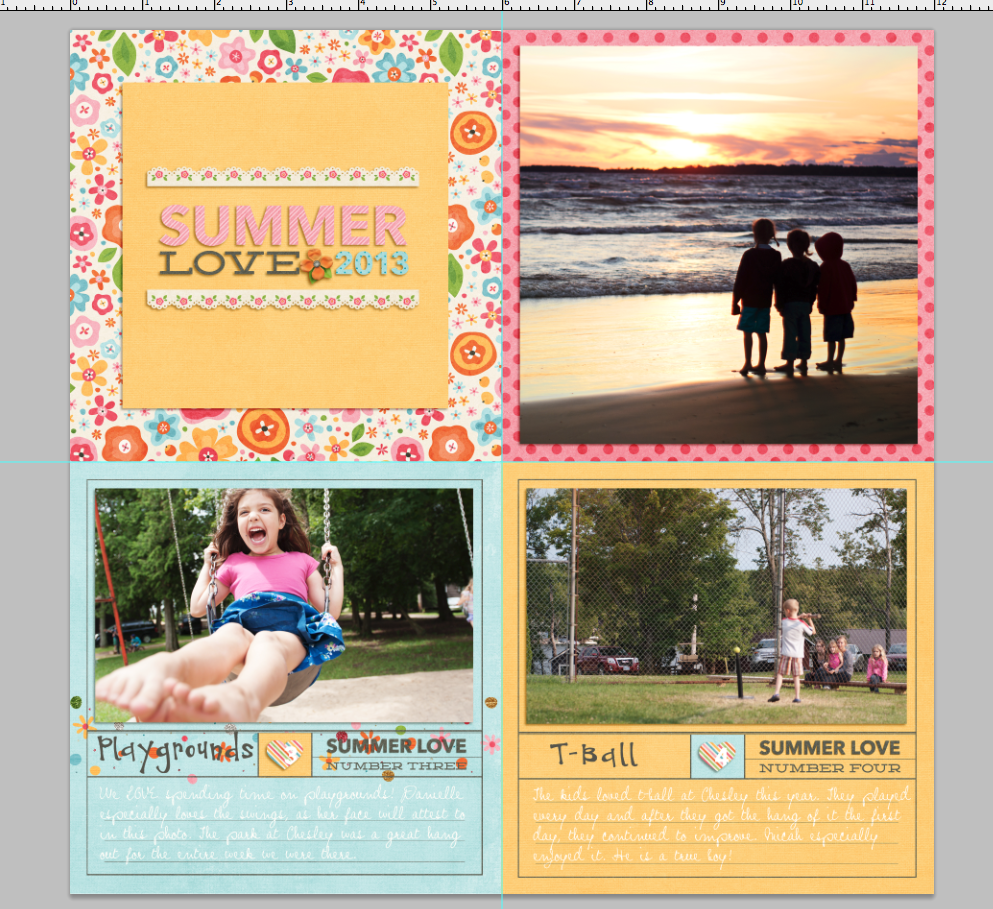
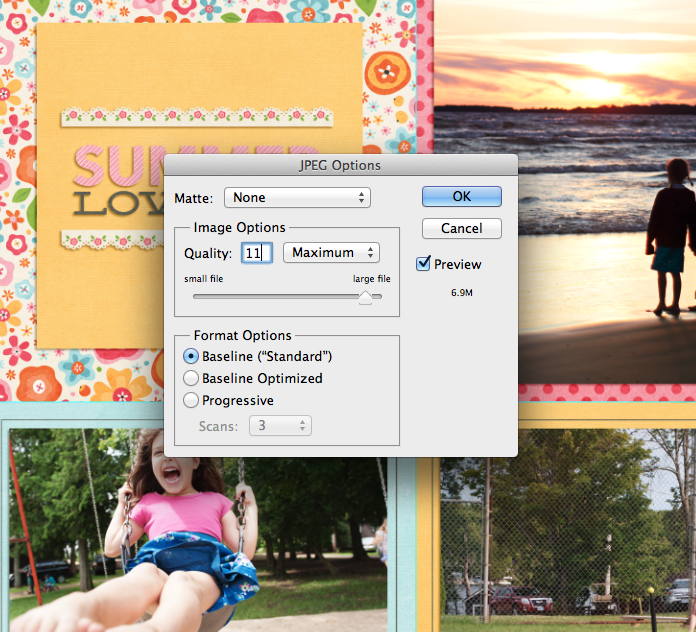
Step 4: Once you have four of your layouts on the canvas, save it as a .jpg. I save at the highest quality possible, which was 11 for this print since Costco will not allow uploads to their photo site over 8mb.
Step 5: Once you have your album set up into these 12×12 .jpgs, upload them to the Costco website software and order them as 12×12 prints. Like I said, I prefer glossy, and make sure you have the border option unchecked and don’t allow them to color correct your prints. Once you pick them up (or have them shipped to you), use a paper cutter to chop them up into individual layouts and insert into the 6×6 album of your choice!
As you can see here, there are a lot of different printing options out there. I hope this helps you narrow it down a little bit. Happy Scrapping!
Thanks so much Amy! If you have any printing questions, feel free to ask them in the comments section below. And if you’re looking for ideas for binding your non-photobook printed pages, I’ll be sharing some ideas for that next Tuesday.
Coming up next…On Thursday, August 1st, Team Awesome and I will be sharing our Summer Loves No. 7 & 8 and our summer currentlys. See you then!
[catalyst_hook_box name=”summerlovesignup”]
__________________________________________________________________
Previous Summer Love Mini Course posts:
View all Summer Love Mini Course posts here.
