 Aw, sad day, the final day of the Summer Love Mini Course is upon us. If you’ve followed along with us this summer, WOOHOO, 1000 gold stars to you! I hope you’ve enjoyed our mini album adventures this summer.
Of course we have one final post for you today, in which myself and Team Awesome members Jen & Sara will be sharing some photos of our completed albums and photos books to give you an idea how it’ll all look when your album is all printed out. *Spoiler alert: all the work this summer was totally worth it.*
Both Sara and I chose to have our Summer Love Mini Albums printed as 6×6 photobooks from AdoramaPix. This was my first time printing with AdoramaPix and let me just say, they’re a little pricey but the quality is SO worth it.
By Lynnette
Here’s a look at the cover of my mini album. It’s hard to tell from the photo but the cover actually has this really nice metallic sheen to it.
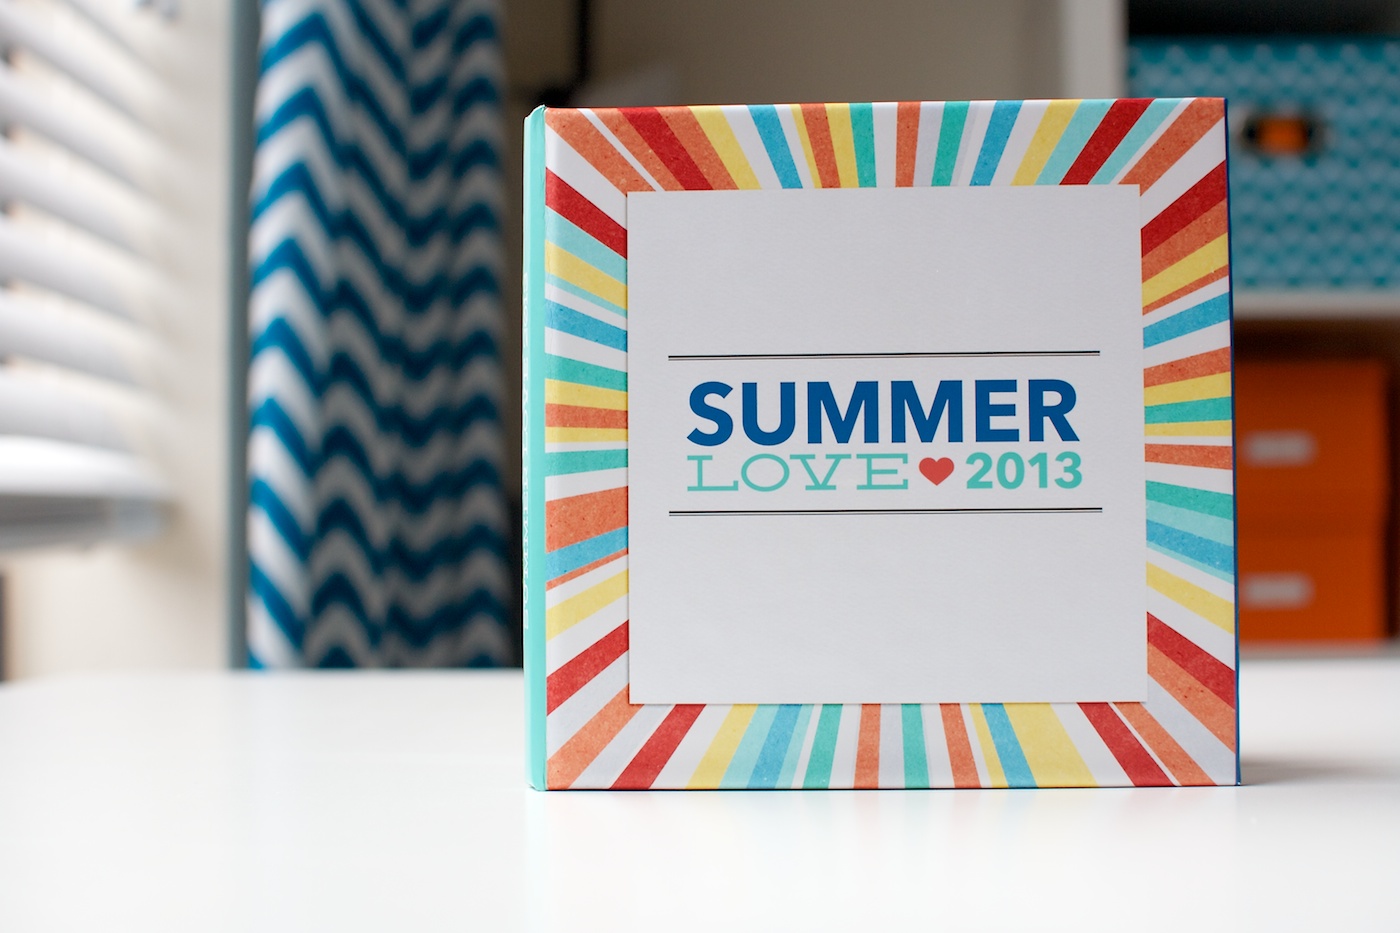
I created a custom cover for my mini album. If you want to do this I highly recommend downloading AdoramaPix’s Photoshop cover templates because even using those it took me a few tries to get it just right. It printed exactly how I wanted so I was happy to see that after all the trouble I had.
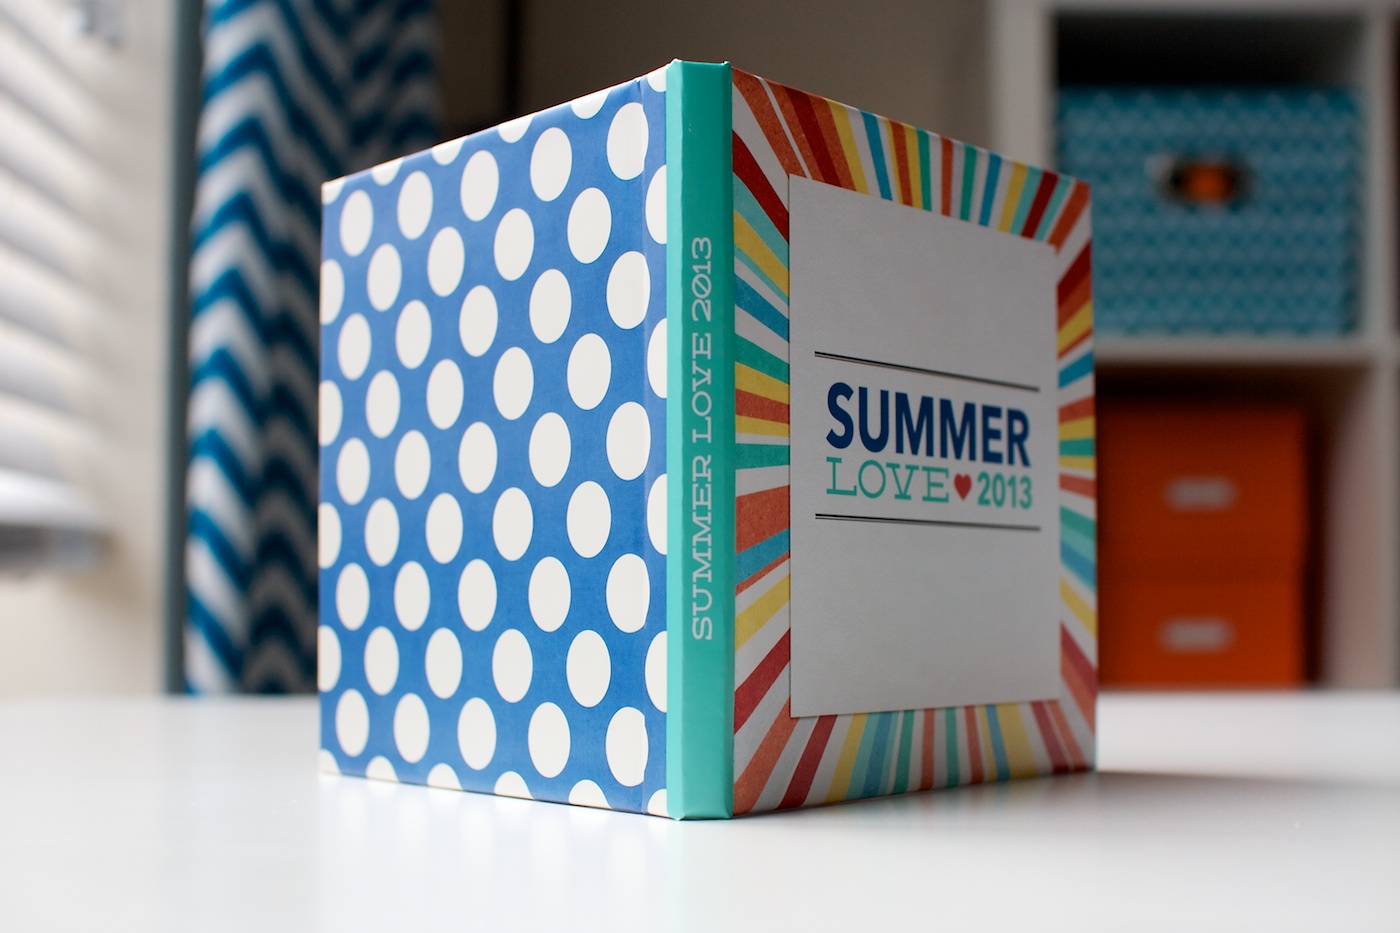
Back of the album. The cover is really nice and sturdy – I had no trouble standing it up on it’s own and I definitely wouldn’t worry too much about people looking through it.
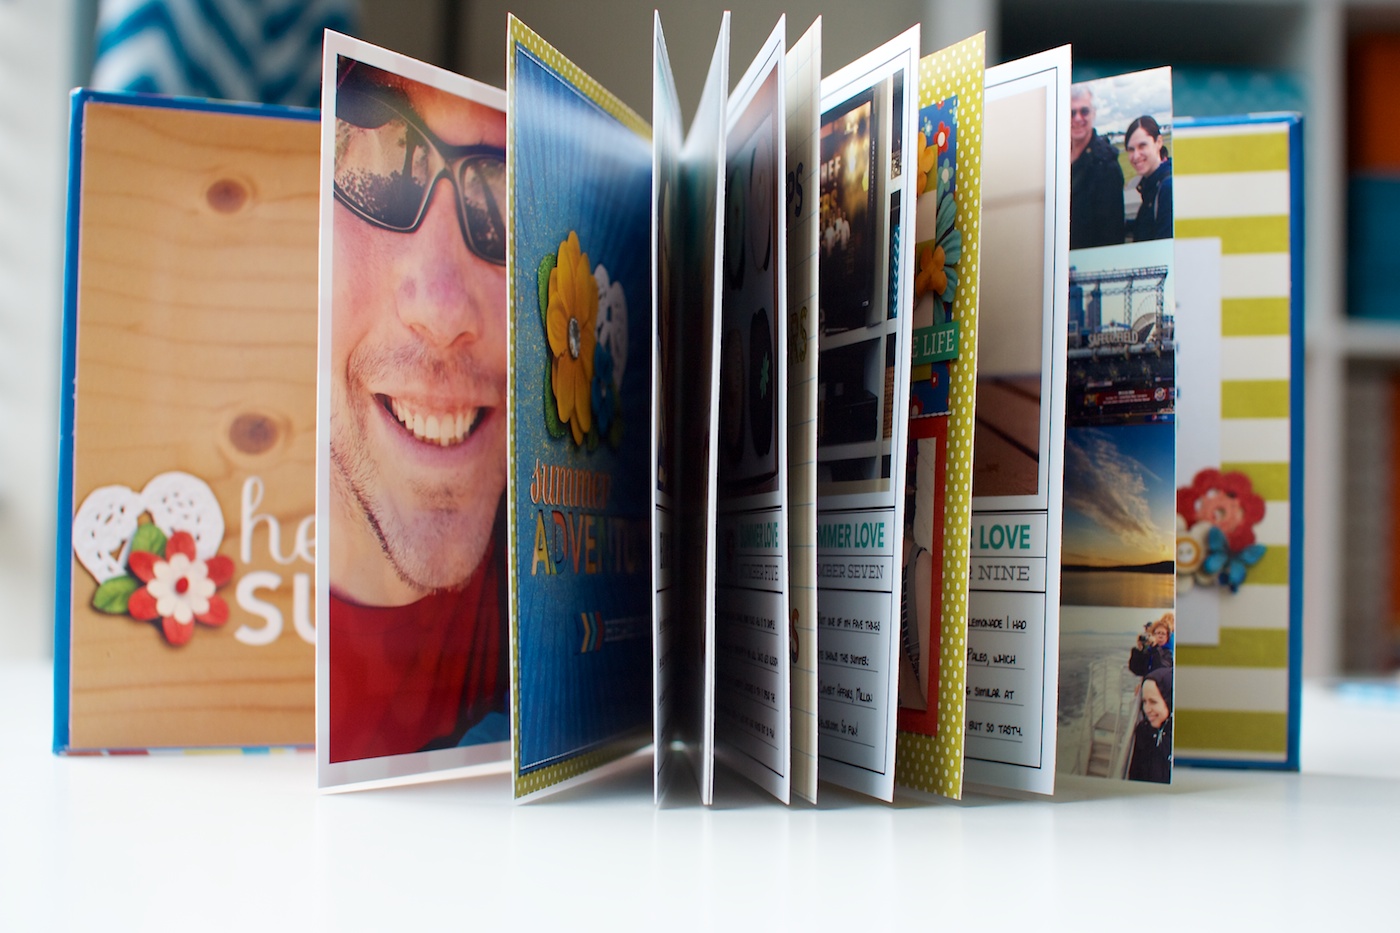
The inside pages are nice & sturdy – much sturdier than any other photo book I’ve printed before. They aren’t as thick as chipboard. I’d say, they’re more like a really thick card stock.
One of the options when creating your photo book is to either add a set of free blank pages at the front and back of your album or to have the first and last page of your album be glued to the front and backside of the cover. I chose to go with the glued option and while I was worried it might be weird, I really like how it turned out.
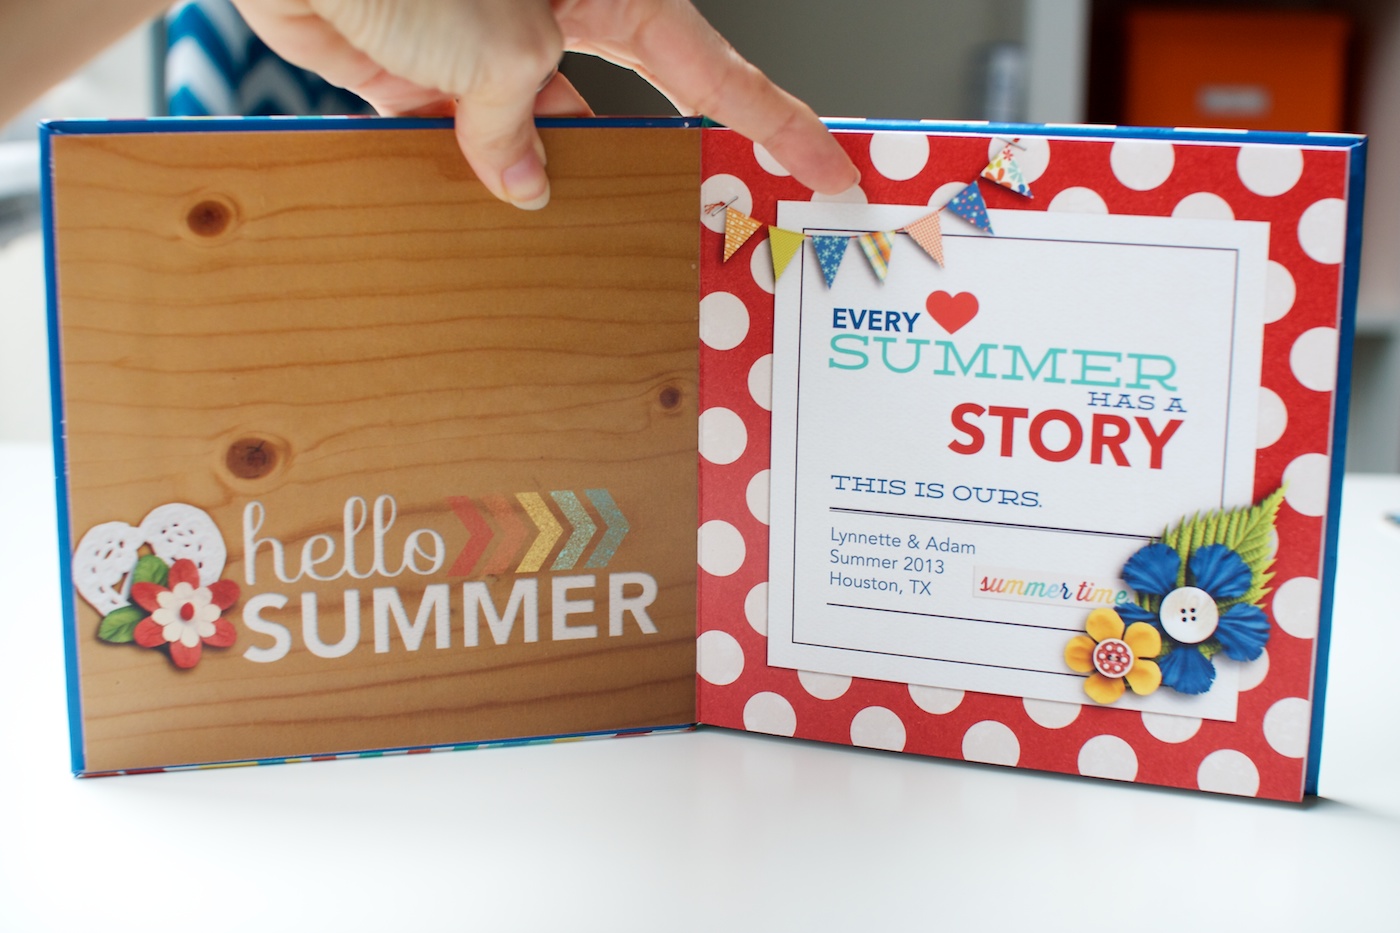
One of my favorite features of the AdoramaPix photo books is the lay flat binding. No worrying about details getting lost in the gutter of the book which is awesome for digiscrap pages.
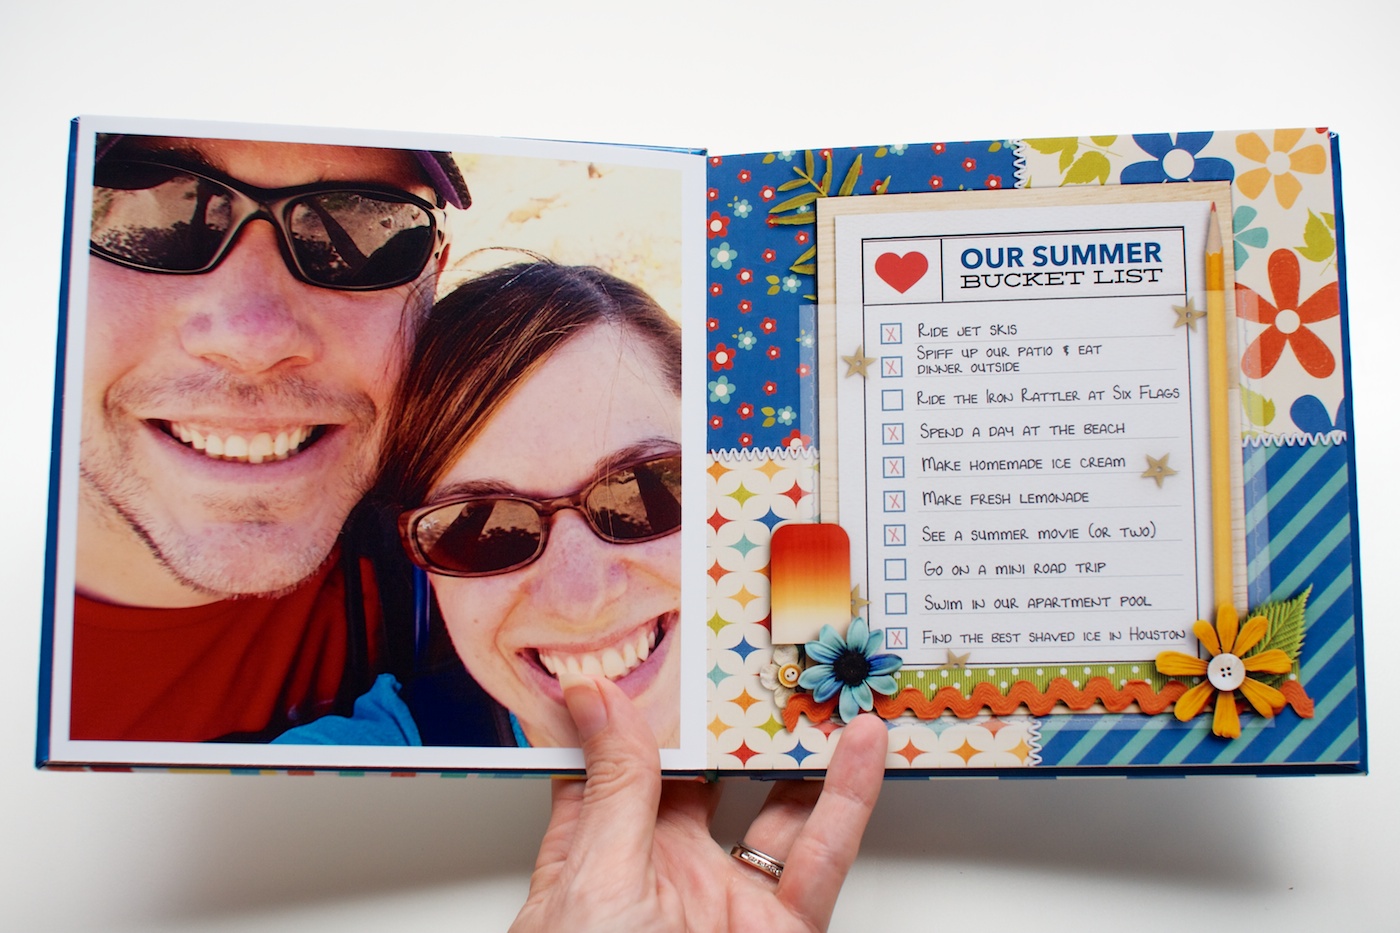
Here’s a few more of the interior pages of my book:
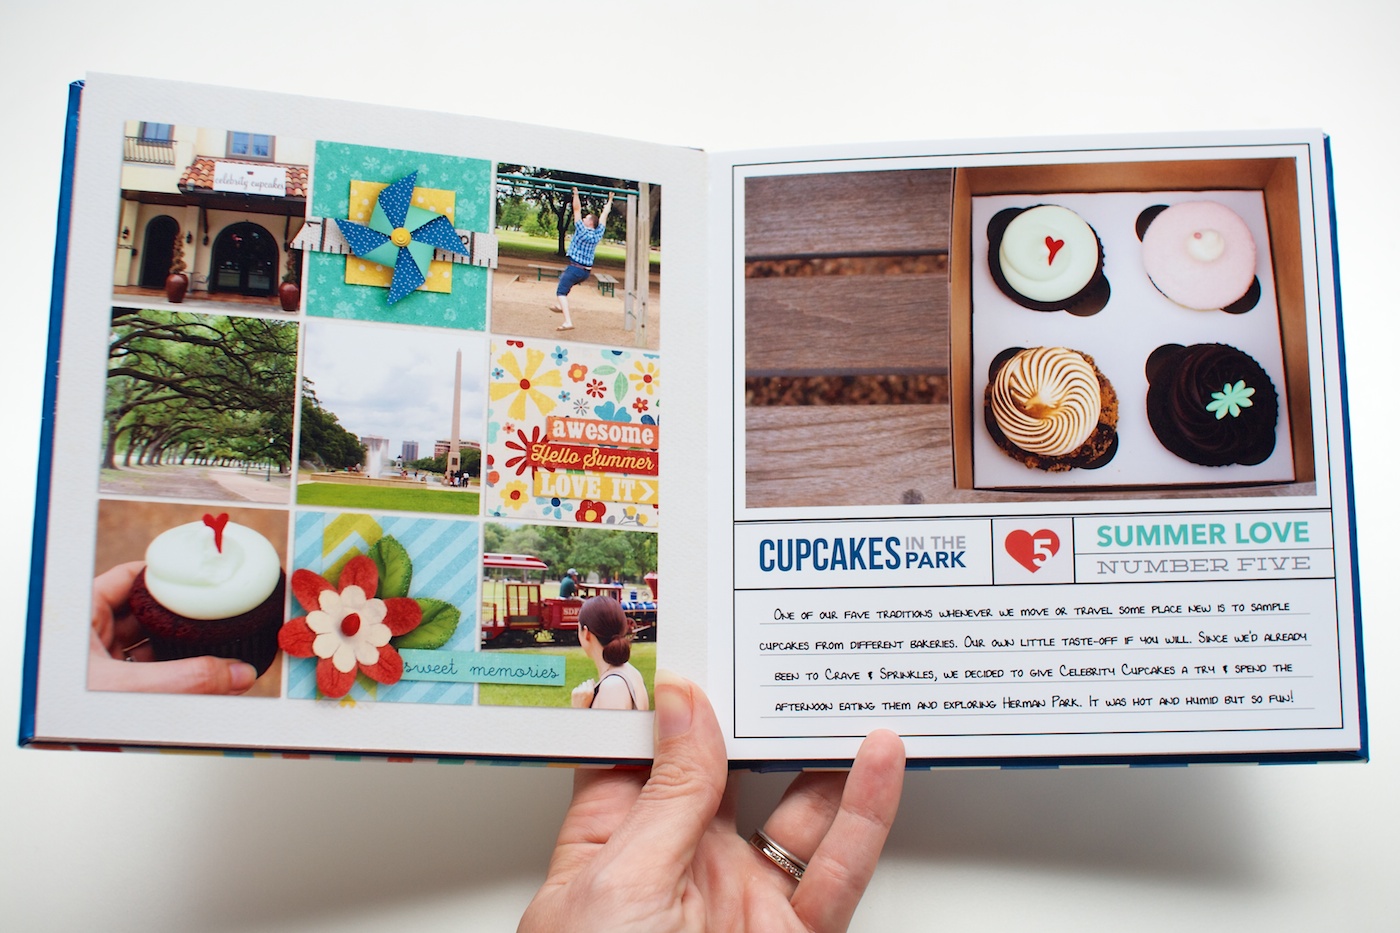
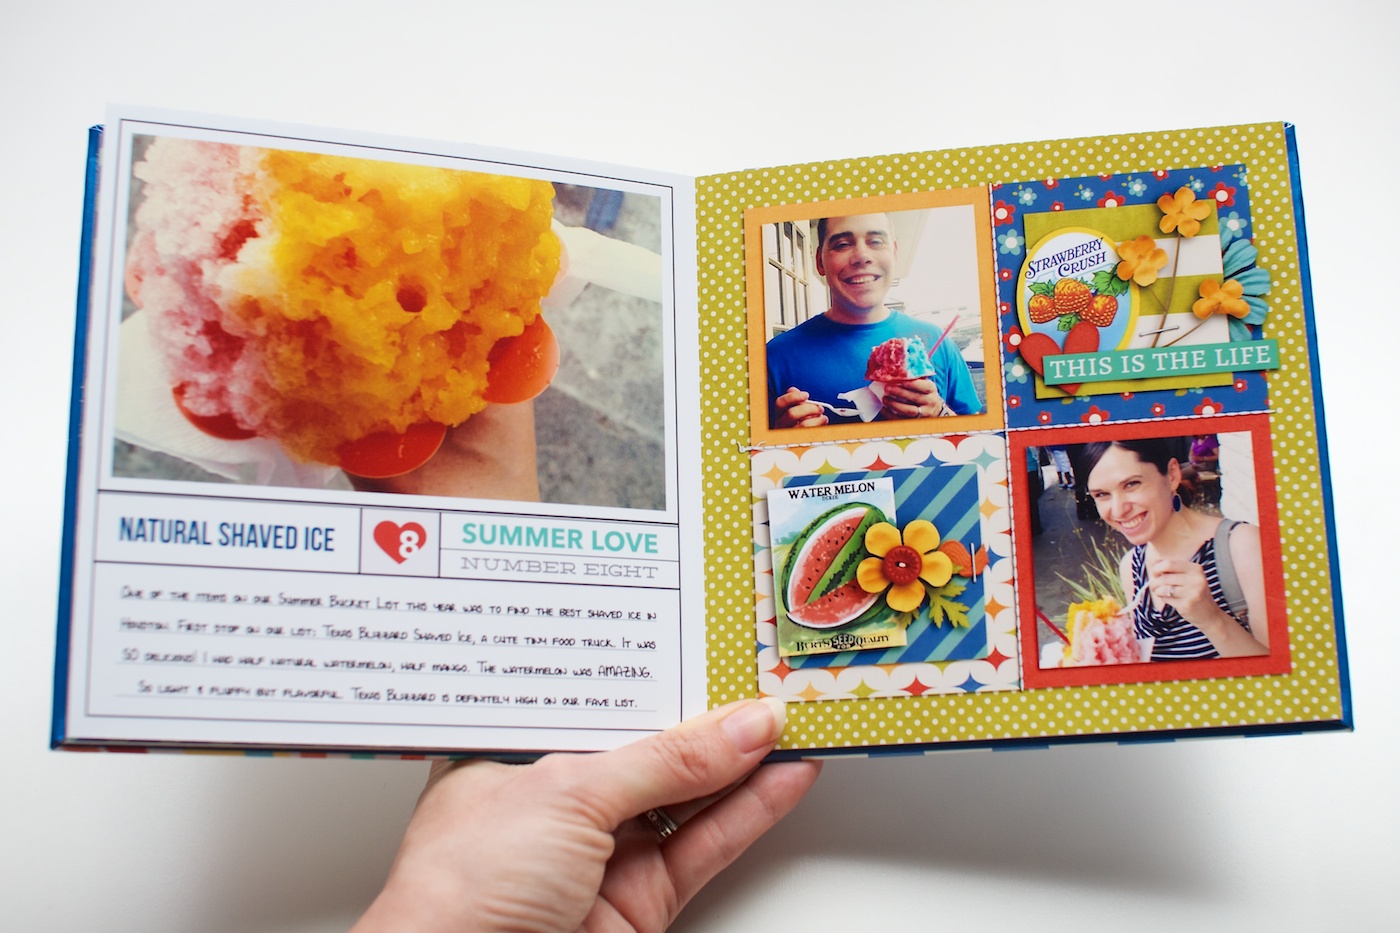
This grid page on the right had me a bit nervous because during the upload process, it showed I had quite a bit of important stuff outside the safe-zone (you know like tops/sides of heads, haha). I debated about shrinking down the grid and printing it with a border instead but I loved the full-bleed look so much I decided to take a chance – and I’m so glad I did! Only a tiny bit of edges got trimmed off and nothing anyone would ever notice.
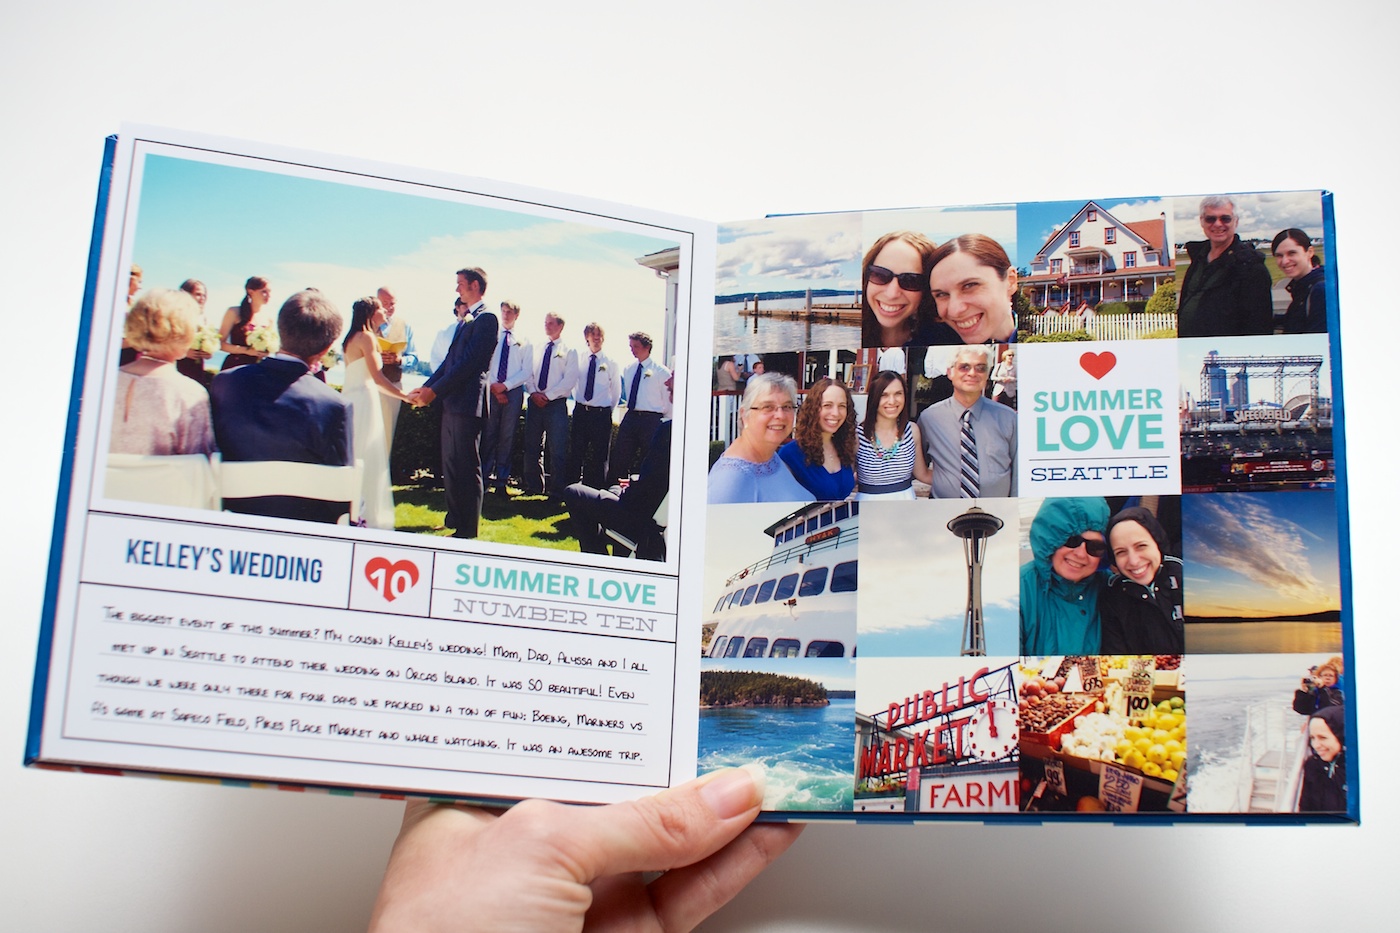
A look at the final page in the album. The Goodbye Summer page is glued down to back of the cover but you really can’t tell when looking at the album – it just looks like a normal page.
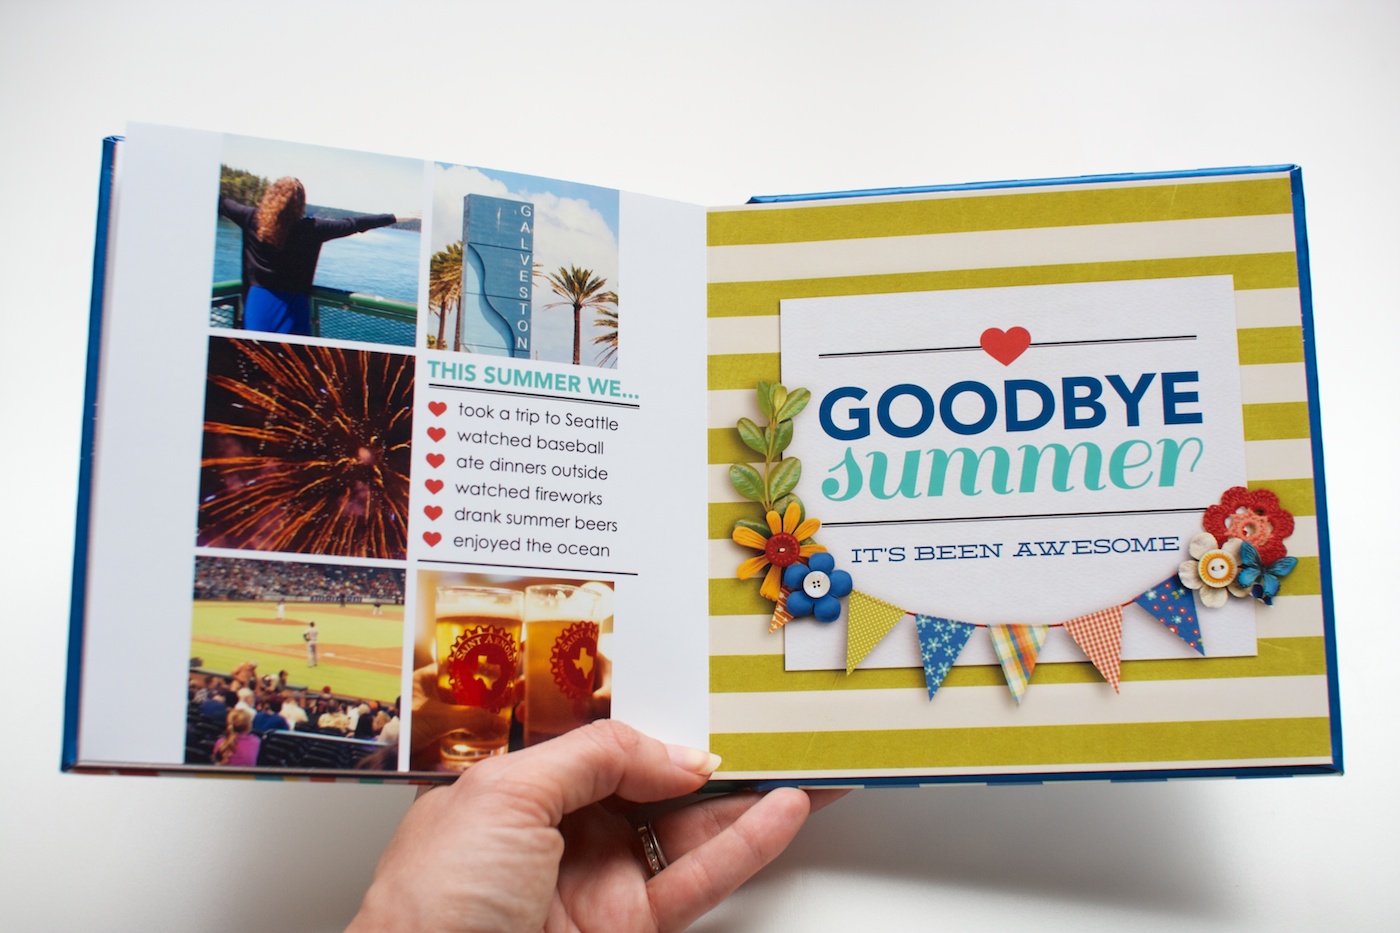
A funny story – I don’t know if you can tell from the photo but the green & cream striped paper looks like it has some creases in it and when I first got my book, I had a momentary panic when I was like, “Oh no, is it wrinkled?”
…And then realize the “wrinkle” was on the digital paper and not the actual book, haha. #digiscrapperfail
Overall I’m highly impressed with my AdoramaPix photo book and would definitely consider ordering from them again in the future. They get the Nettio official stamp of approval.
By Sara
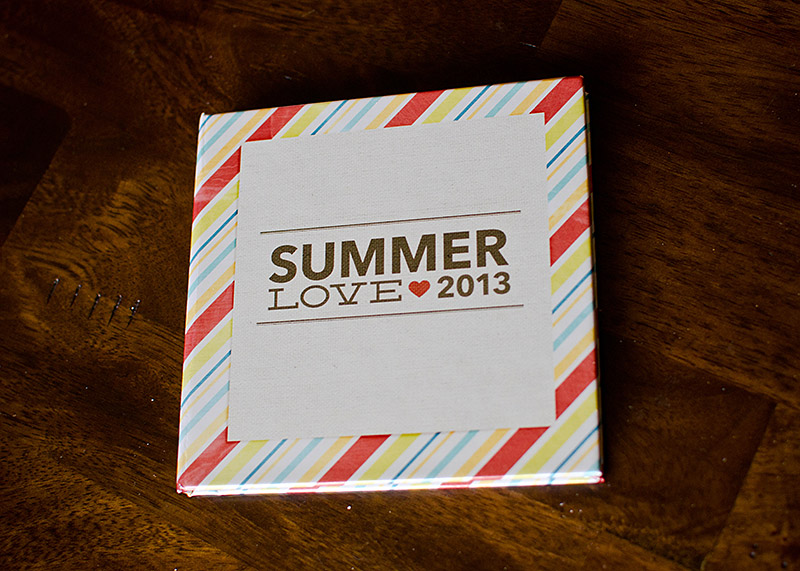
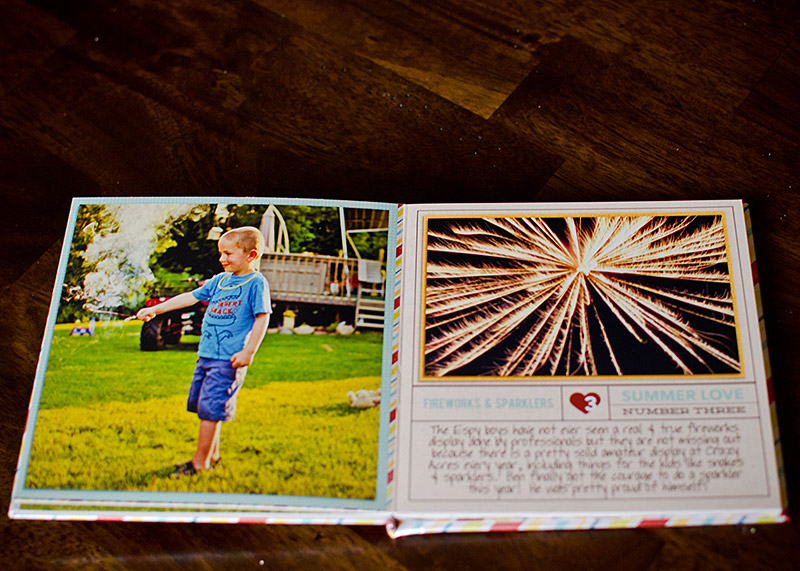
Sara also had her Summer Love mini album printed at AdoramaPix and here’s a peek at her album to give you another perspective. I think her album turned out really cute!
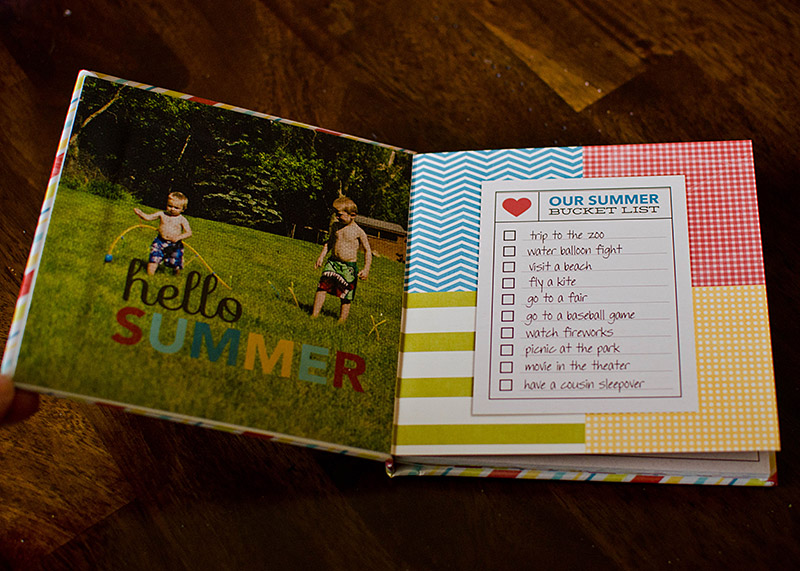
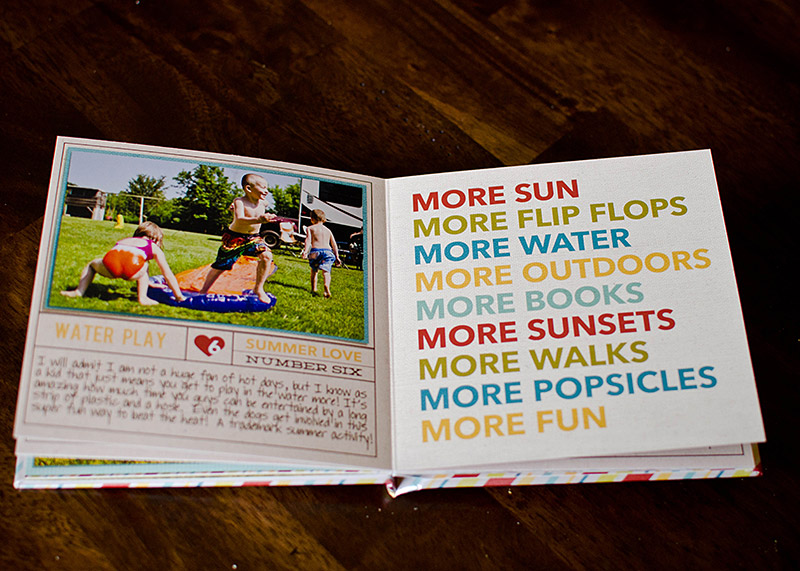
By Jen
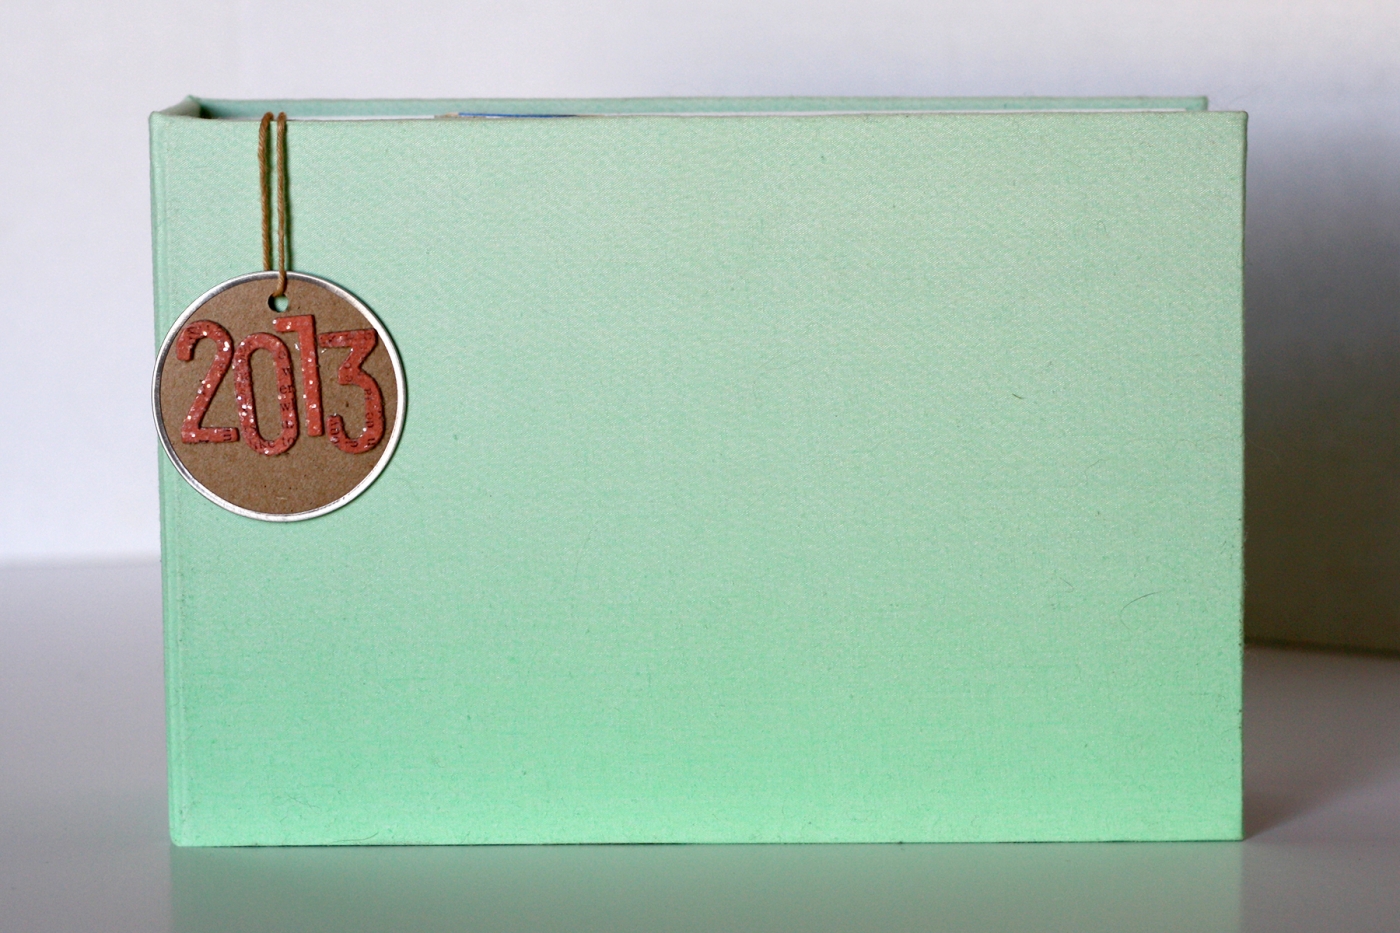
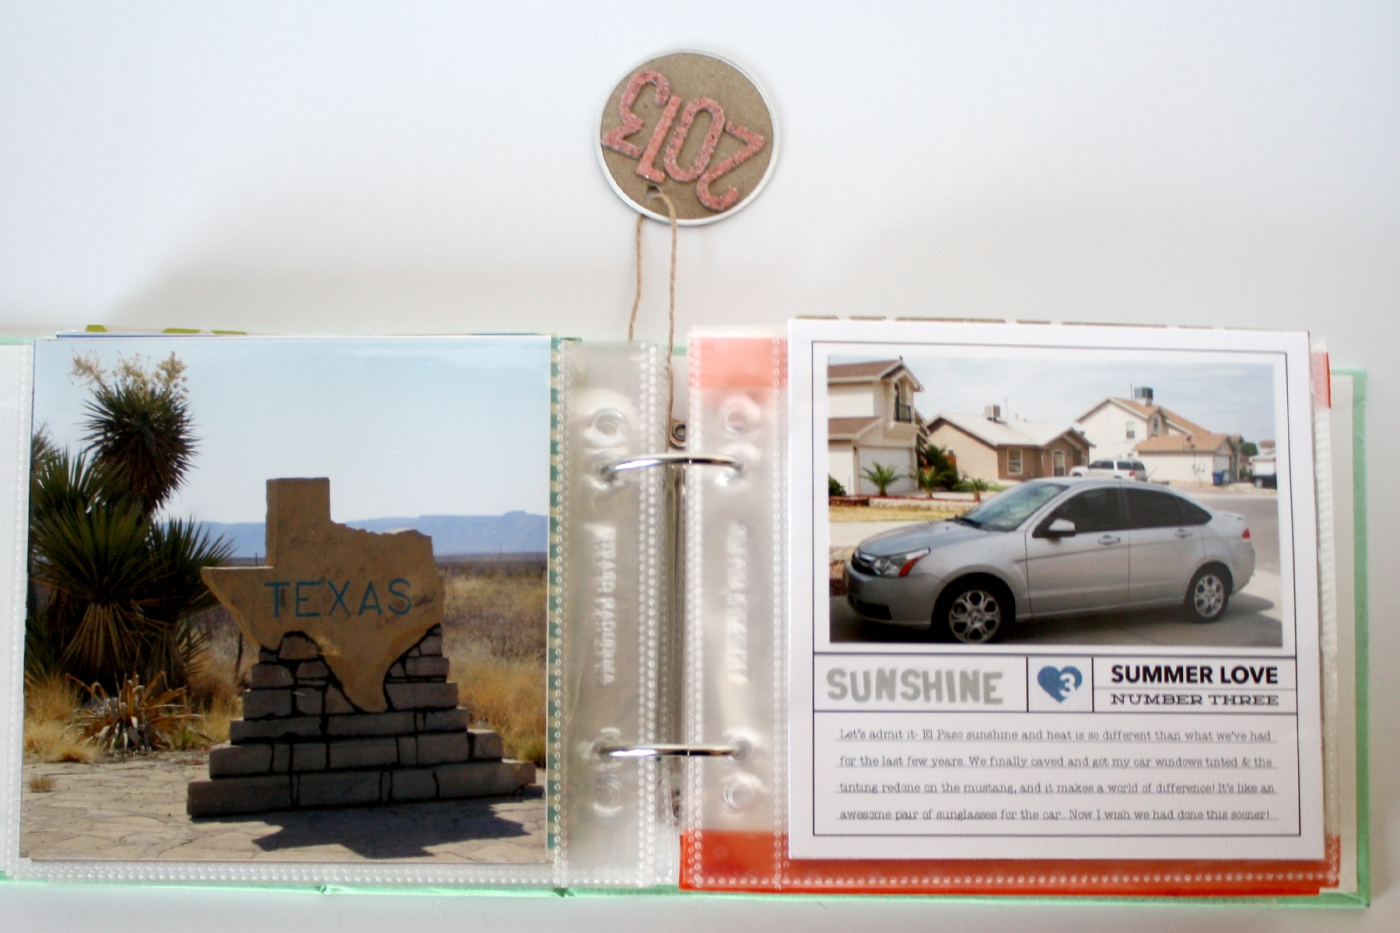
And finally our resident hybrid gal, Jen, was kind enough to take some photos of her Summer Love mini album. She chose to bind her album using the Dear Lizzy album I linked to in this post. I especially love the little 2013 hanging tag she made to go with it.
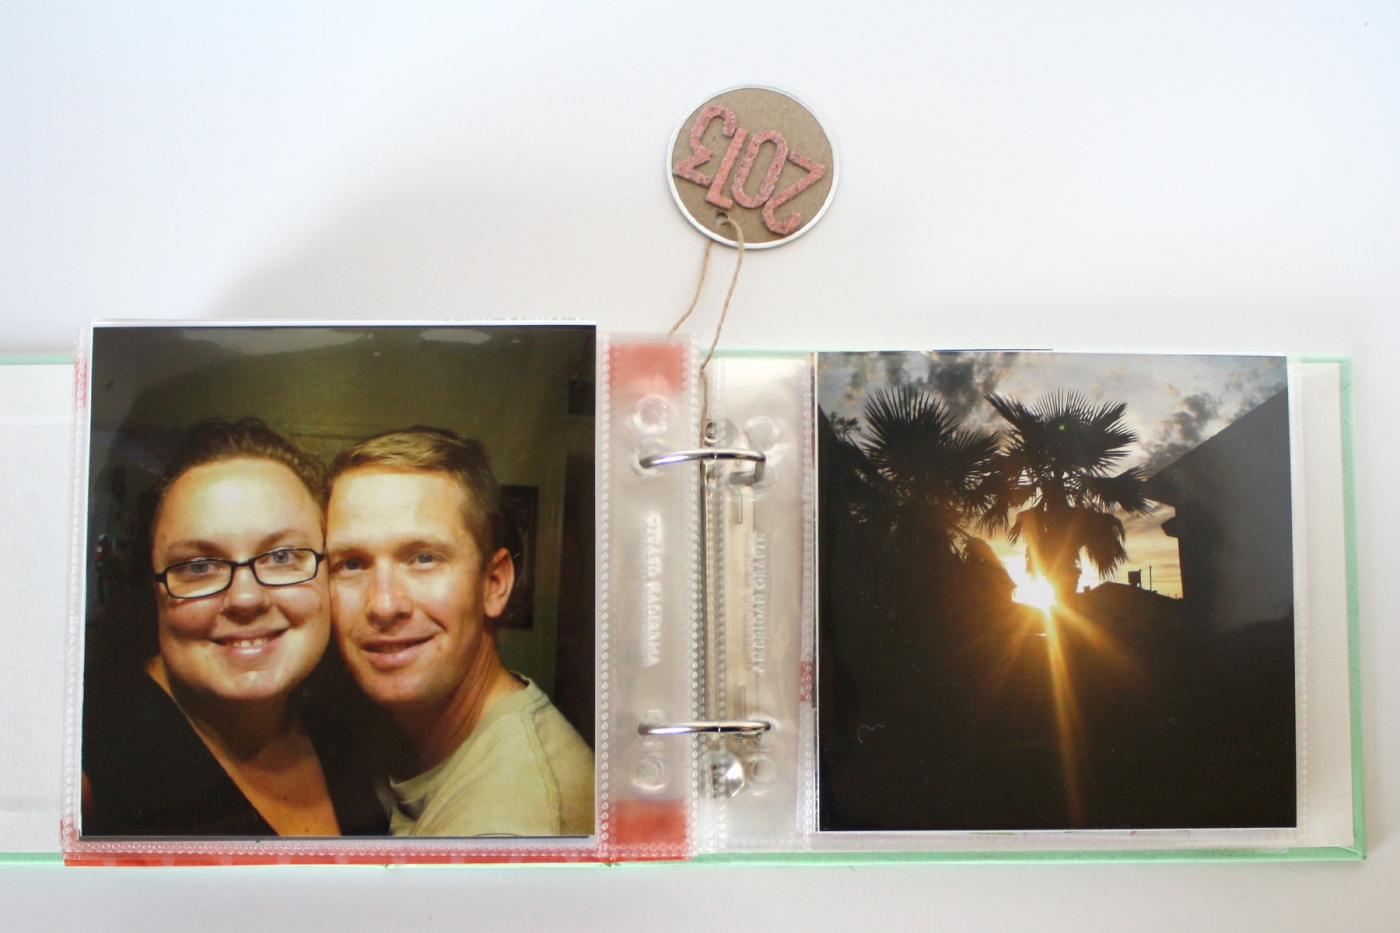
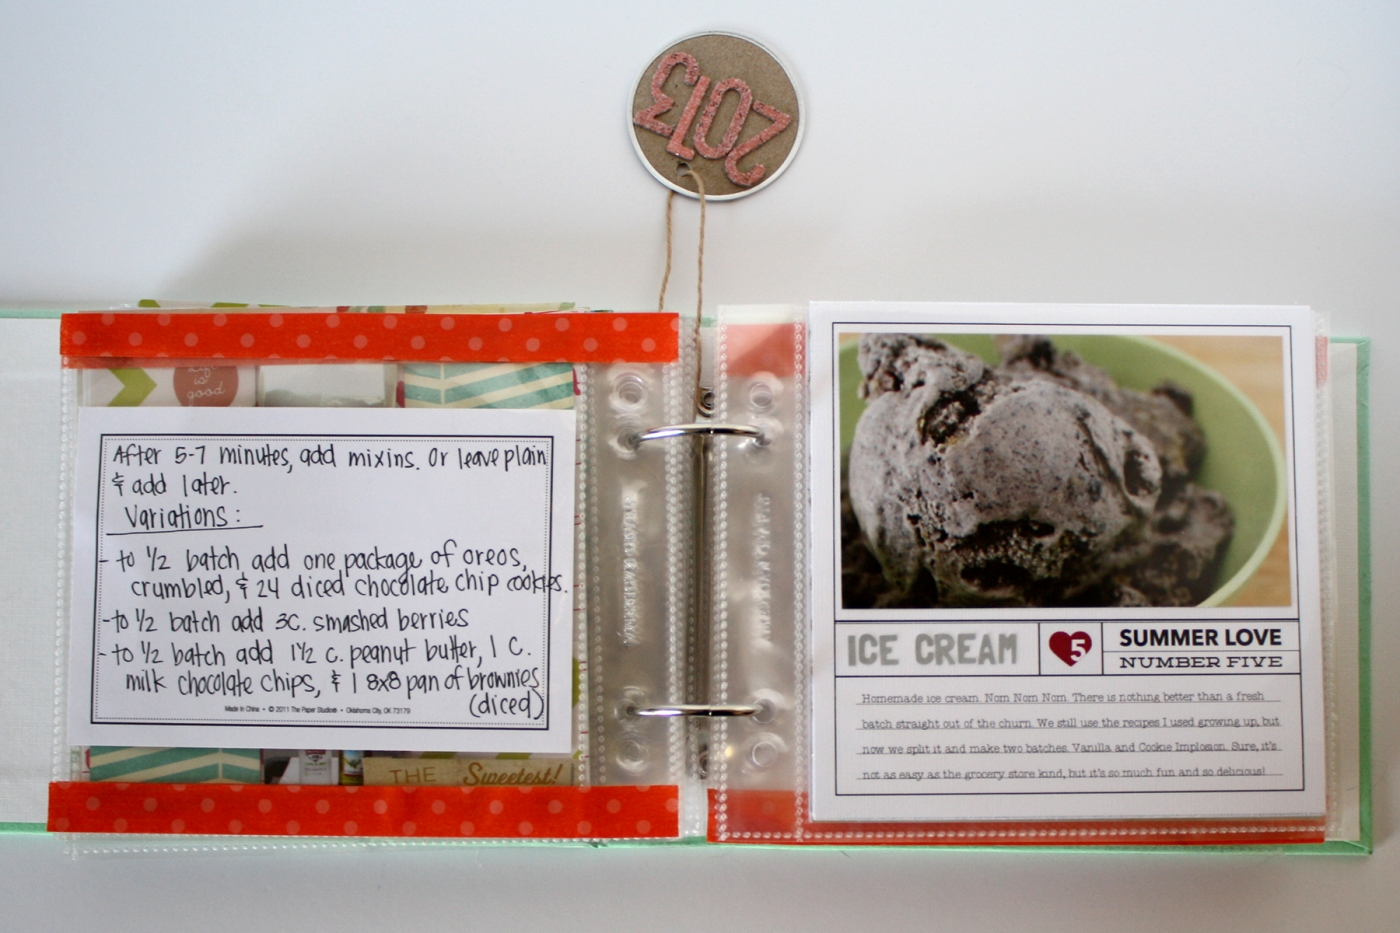
Here’s a look at how Jen added memorabilia into her album using the page protectors and a little washi tape. Such a quick and easy idea!
Well, there ya have it: three different takes on our completed Summer Love Mini Albums. I hope this gives you some ideas and inspiration for finishing off your own album.
I will tell you that every time I do one of these projects, whether it be Holiday Faves, Week In the Life, or my Summer Love Mini Album, it can feel like a lot of work in the moment. But once I get the end result in my hot little hands, it makes all the time and energy so so so worth it.
Seriously, if you’re one of those scrapbookers who’s never printed any of your layouts, do me a favor and stop reading this right now and go upload some layouts for print. Seeing your layouts in a printed form will totally change the way you look at your layouts, in an amazingly awesome way.
And with that, I’m going to bring the Summer Love Mini Album Course to a close! I hope you’ve enjoyed playing along with Team Awesome and I this summer. If at any time you’d like to share your own Summer Love Mini Album with us, feel free to link us up over at Sweet Shoppe Designs or in the comments section below this post.
And if you enjoyed this course and don’t want to miss out on others like it, be sure to sign up for my Nettio Designs email list here so you’ll be the first to know about all the happenings around here. You never know what I may have up my sleeve next.
[catalyst_hook_box name=”summerlovesignup”]
__________________________________________________________________
Previous Summer Love Mini Course posts:
View all Summer Love Mini Course posts here.
Note: No perks of any kind were received from AdoramaPix in exchange for this post. We’re just a couple of happy digiscrappers sharing our experience.
Just want to say that I have really enjoyed your mini course. It has been so fun and so cute. I can’t wait to see what you come up with next.
Thanks Angie! So glad you enjoyed it!
Hi Lynnette,
I enjoyed your course and today I finished my book. Now I only have to get it printed.
Here are my pages:
http://katrinwenning.com/2013/08/22/projects-2013-summer-love-2013-2/
Please keep on doing what you do!
Bye
Katrin
Oh thanks so much for sharing Katrin! It looks amazing!