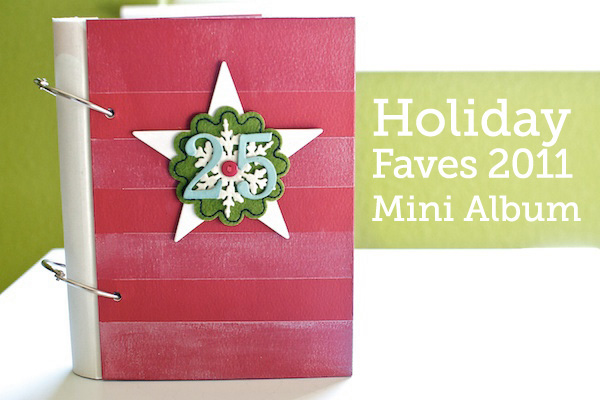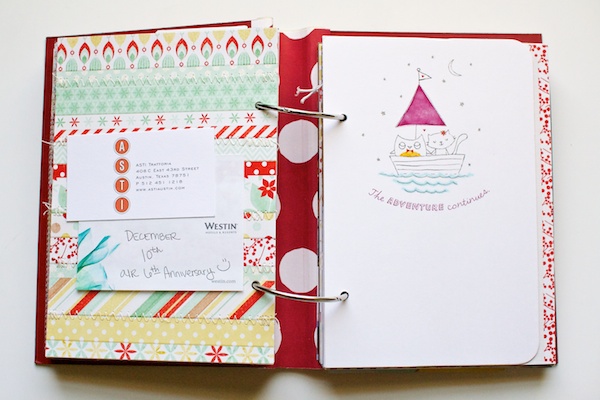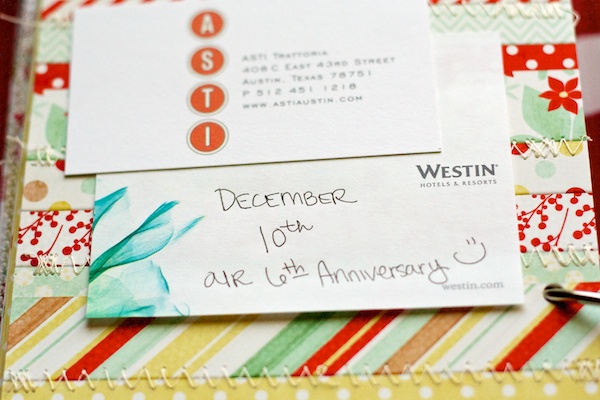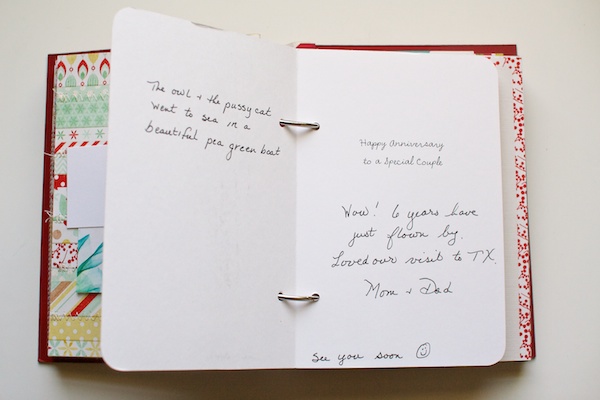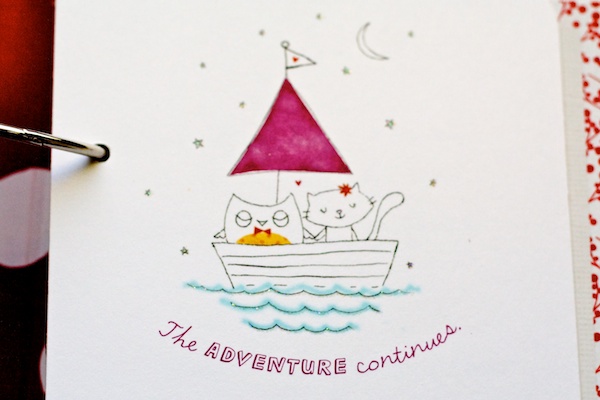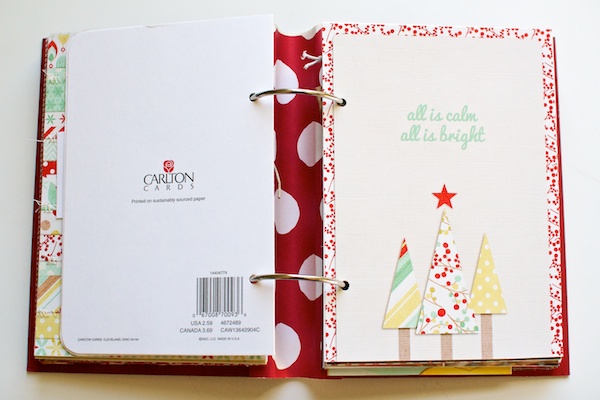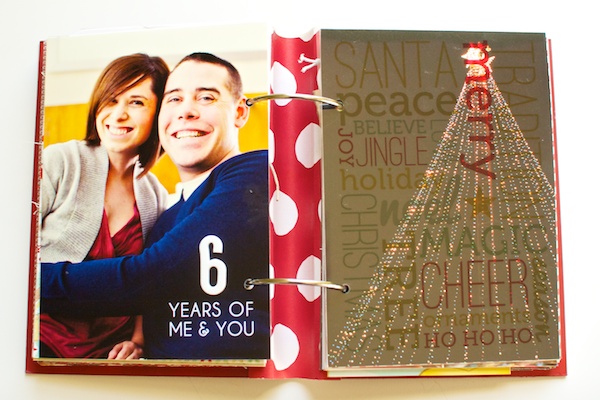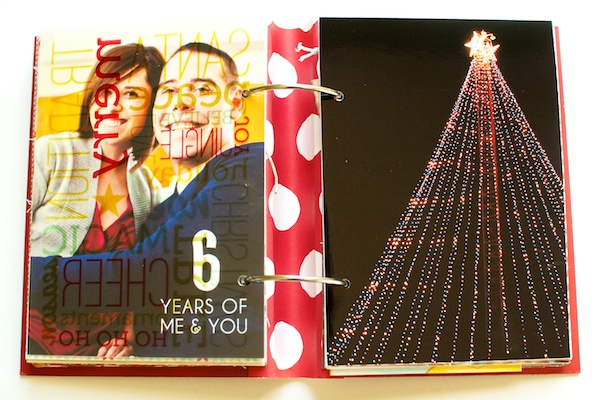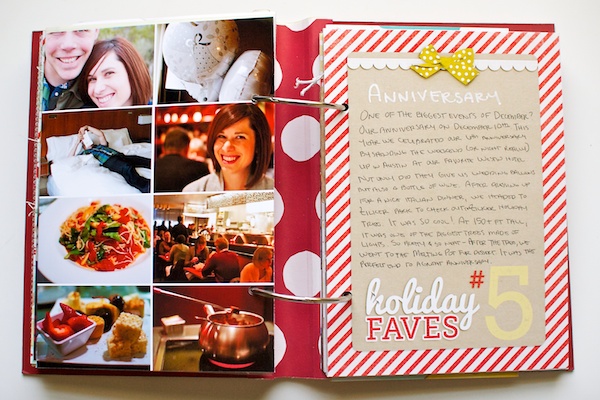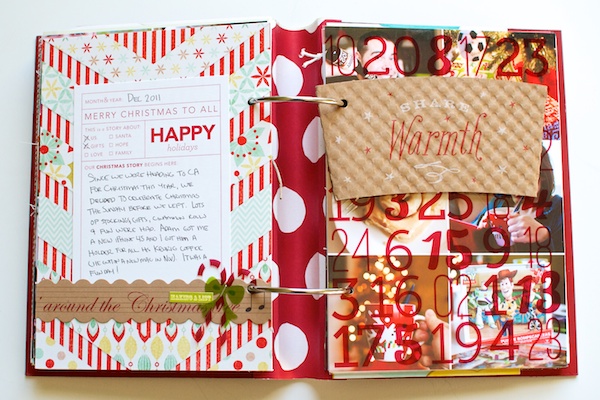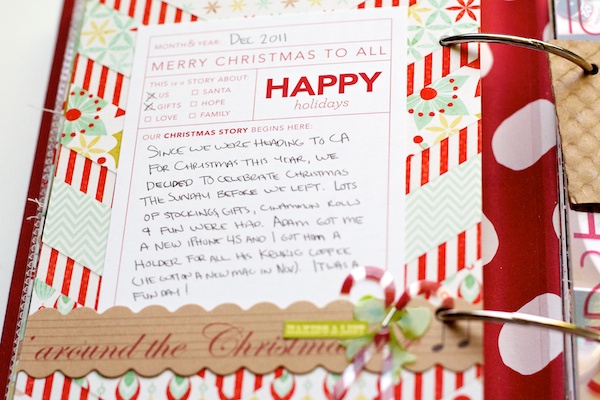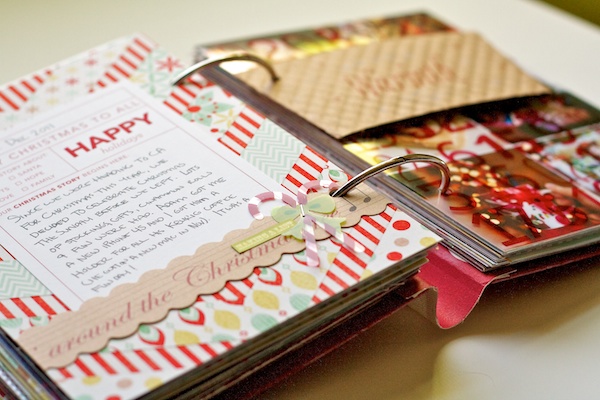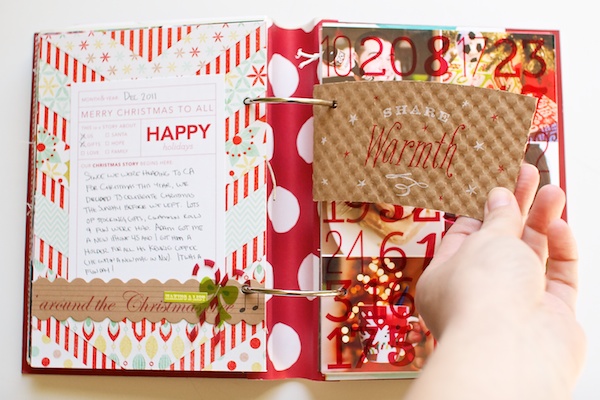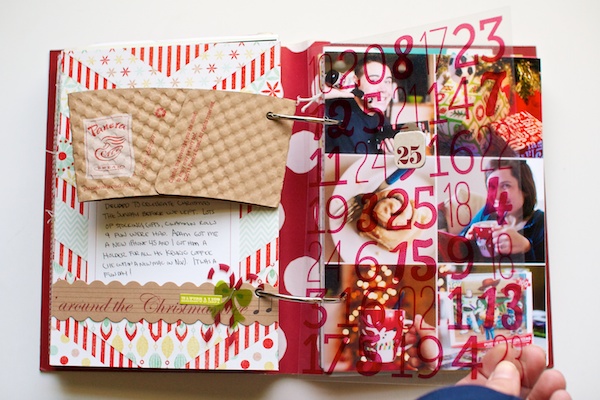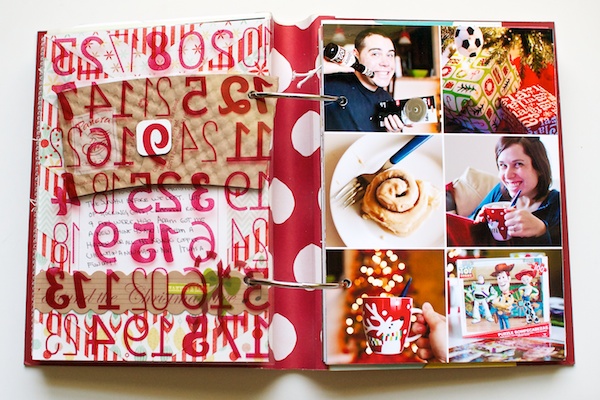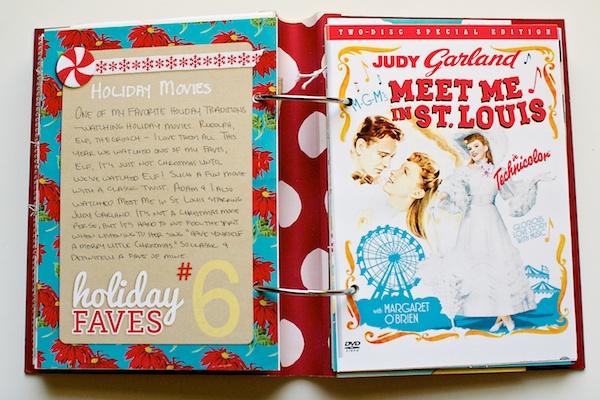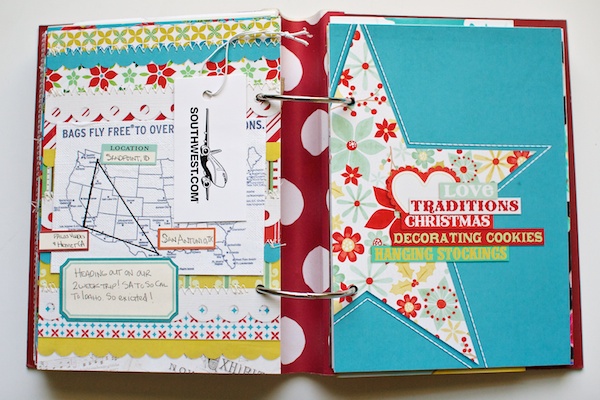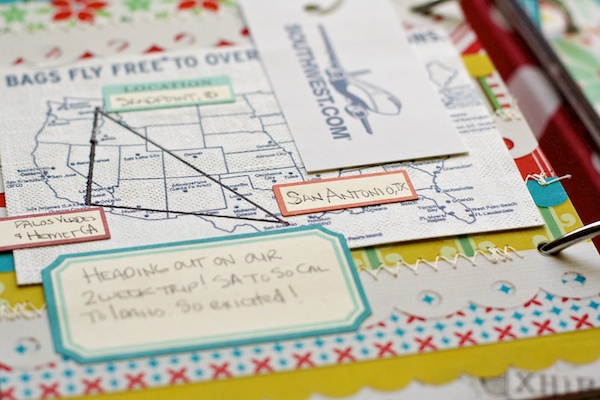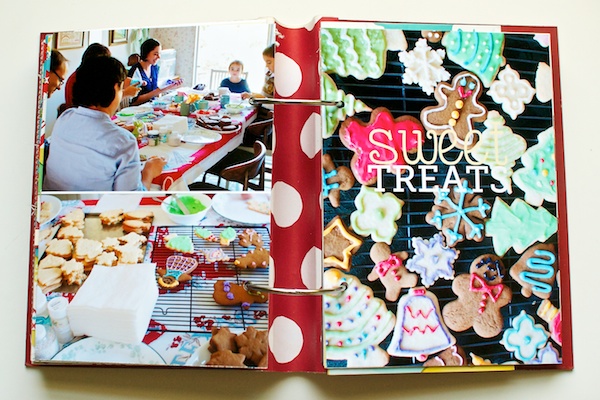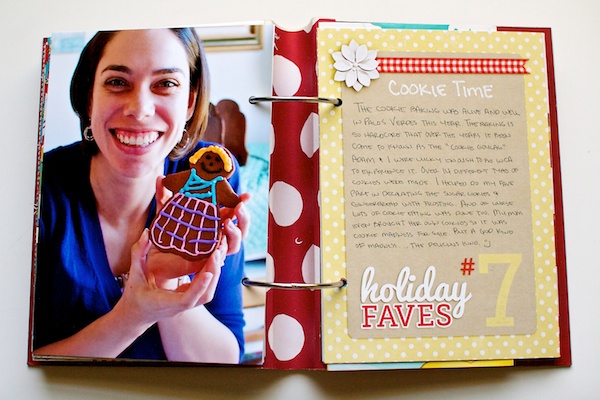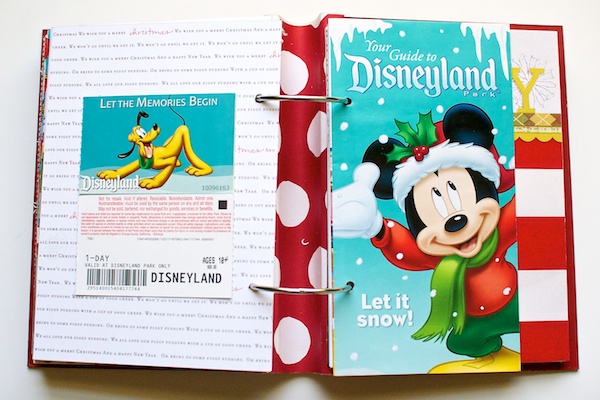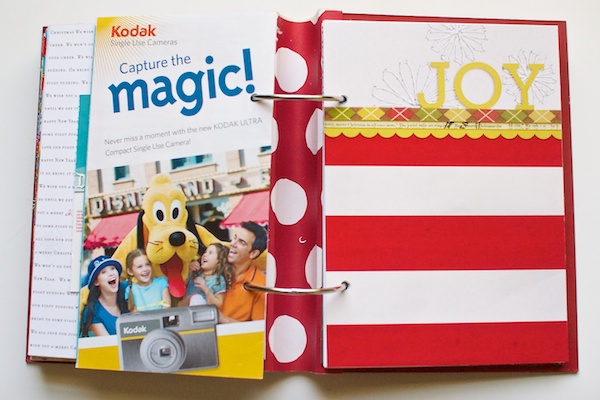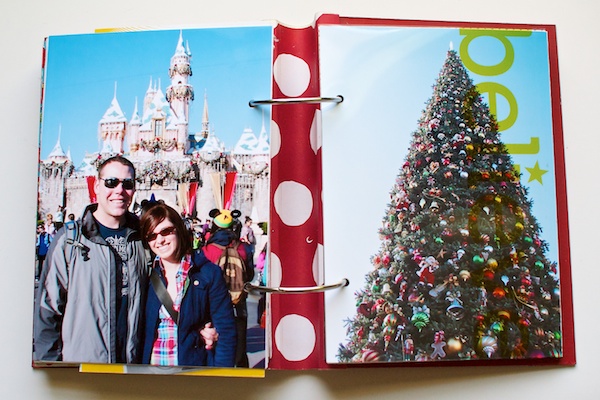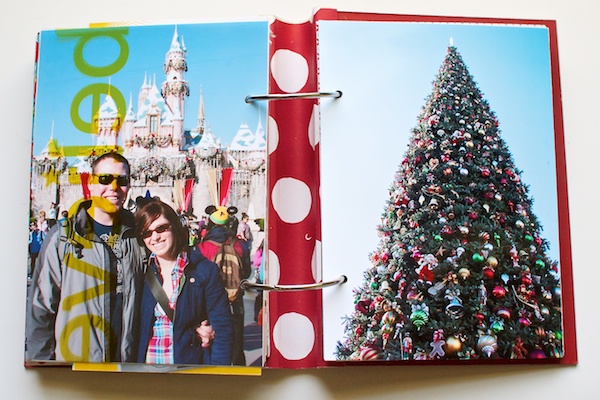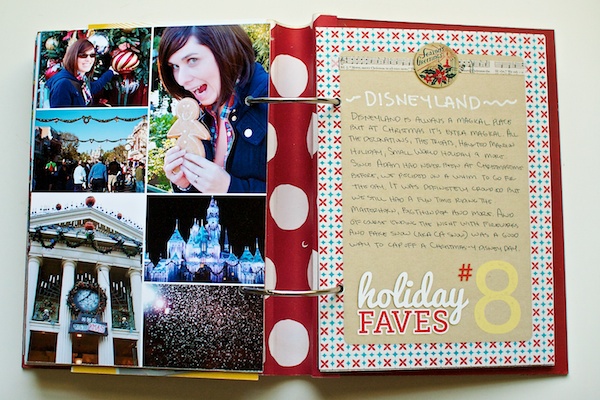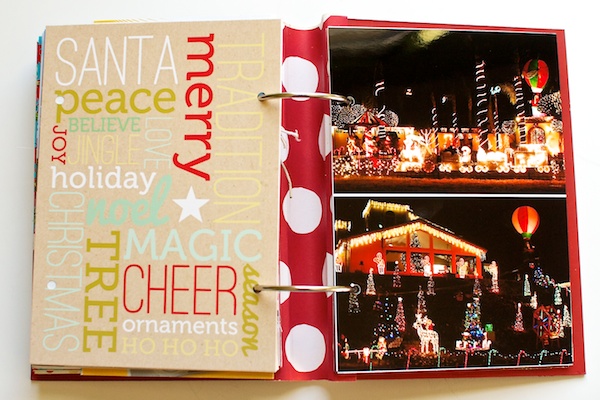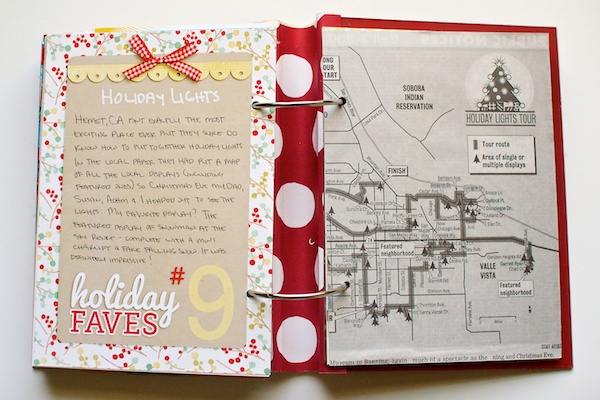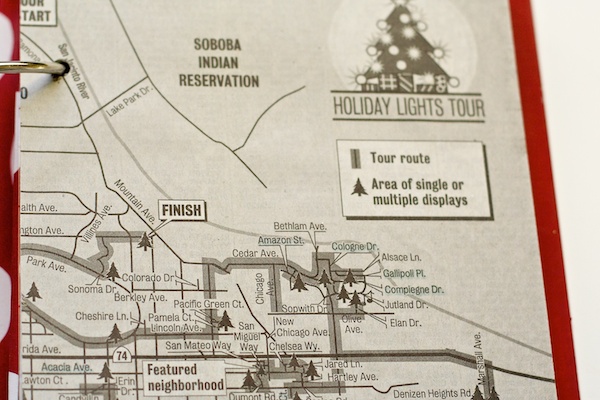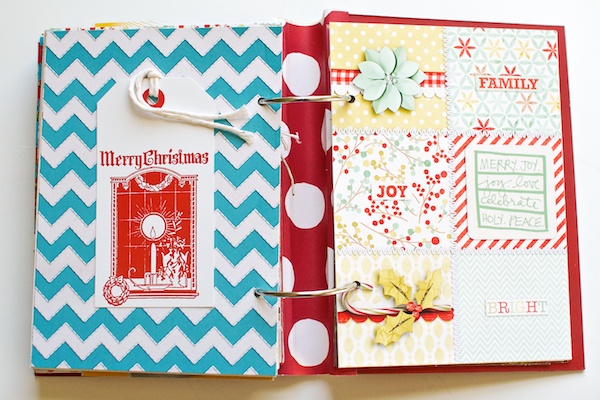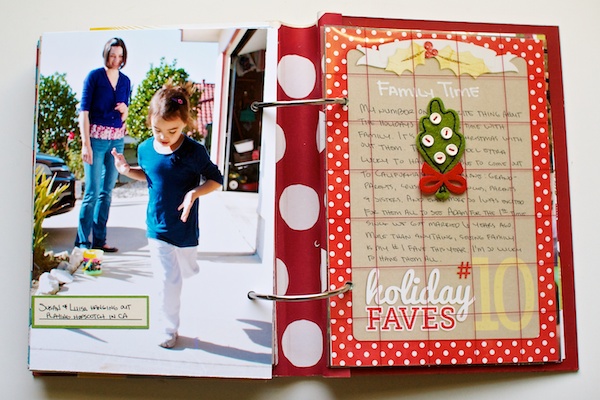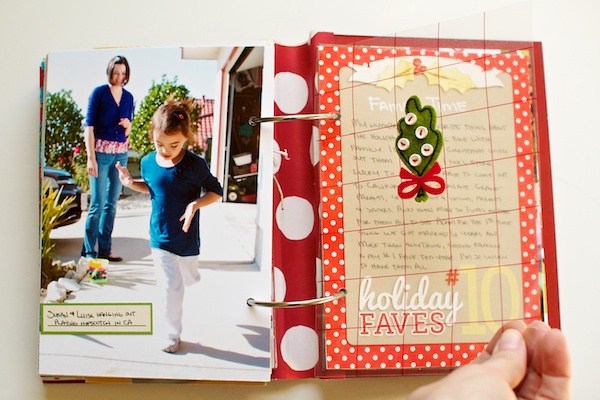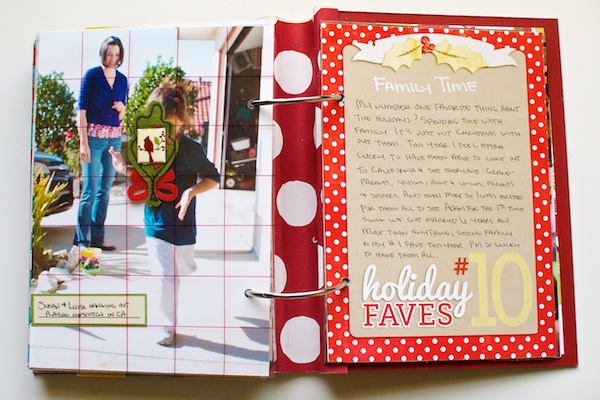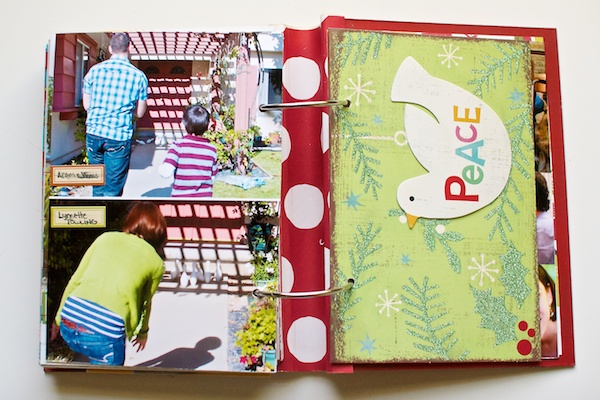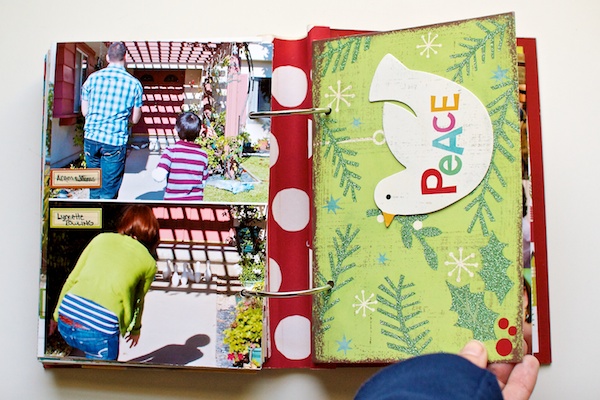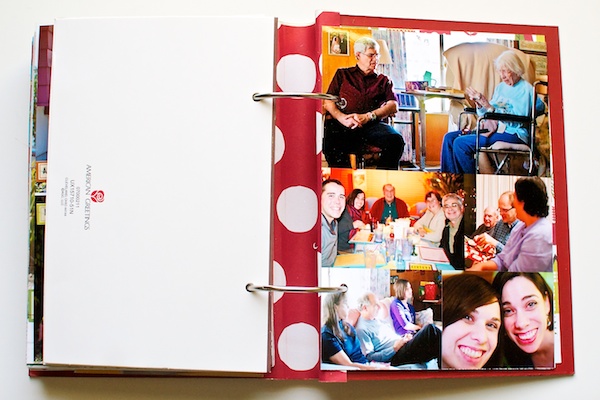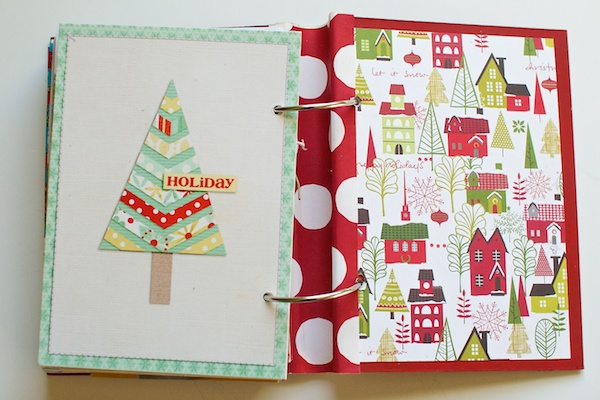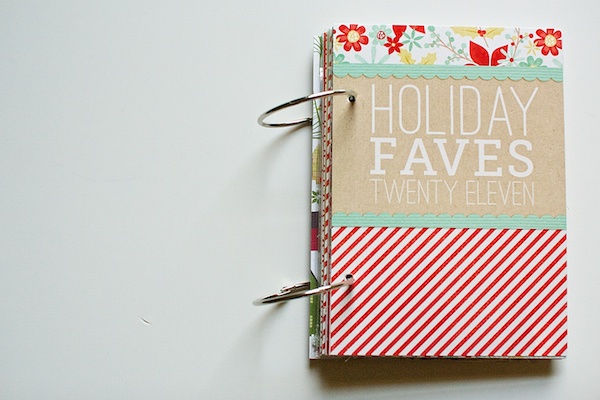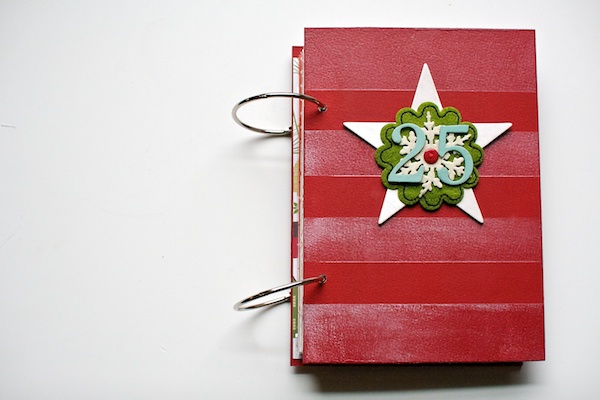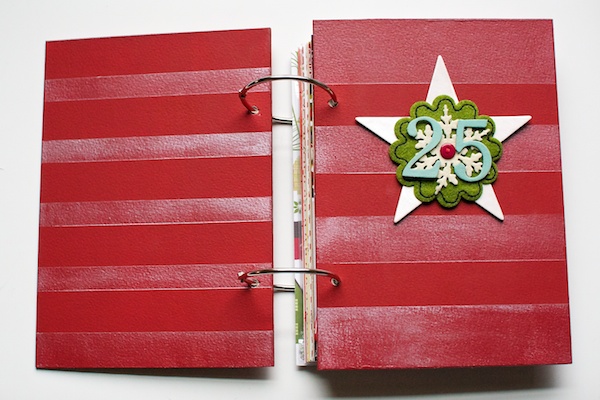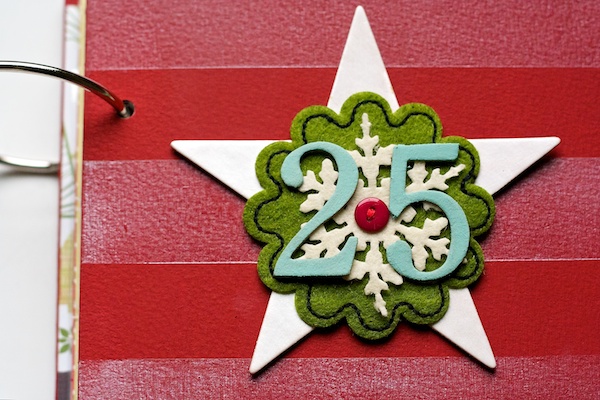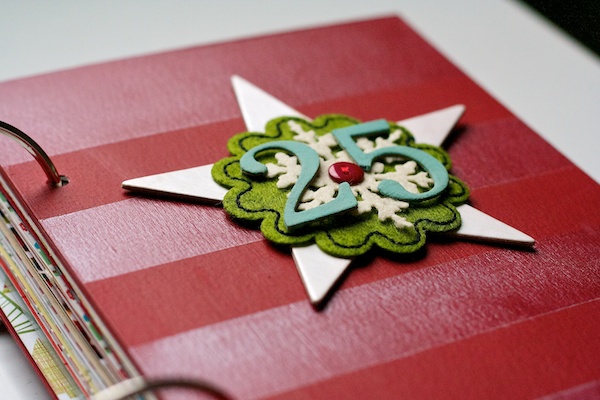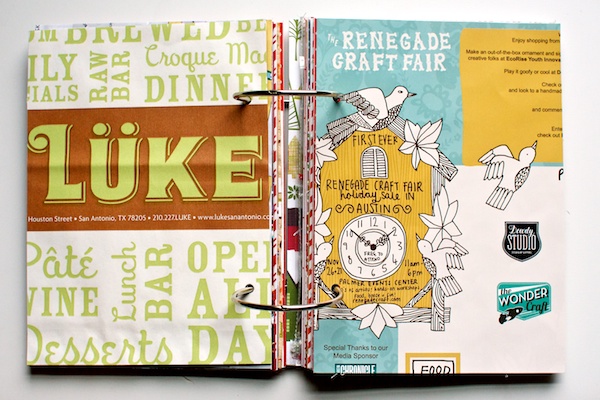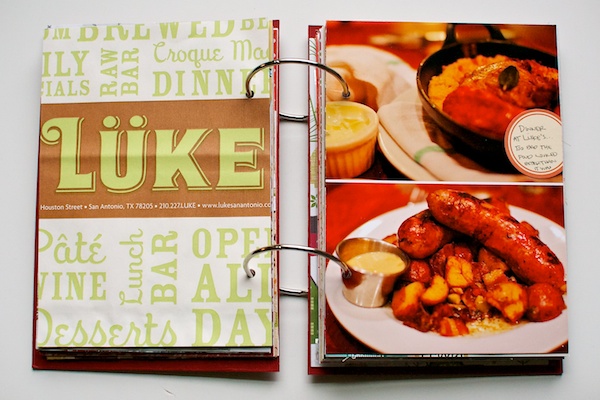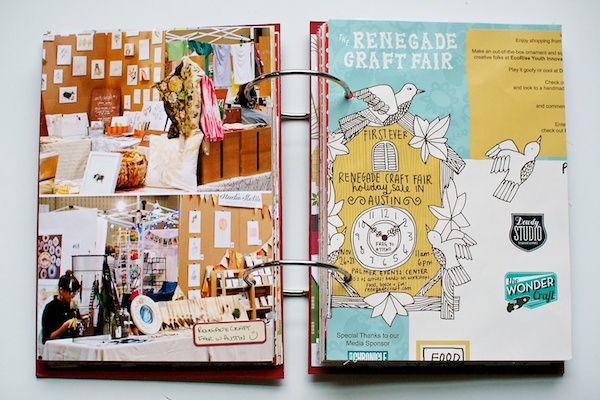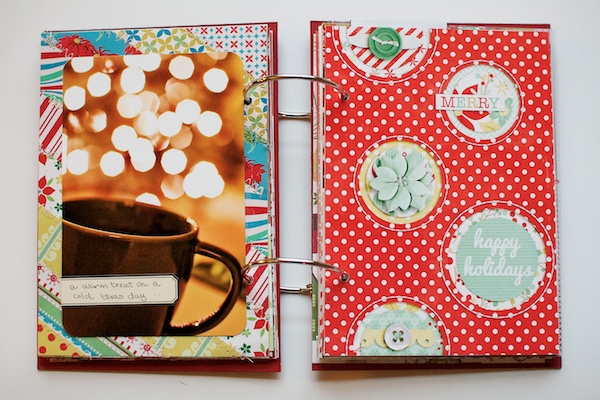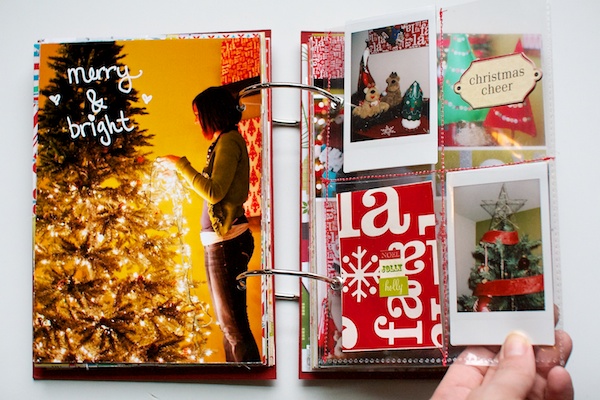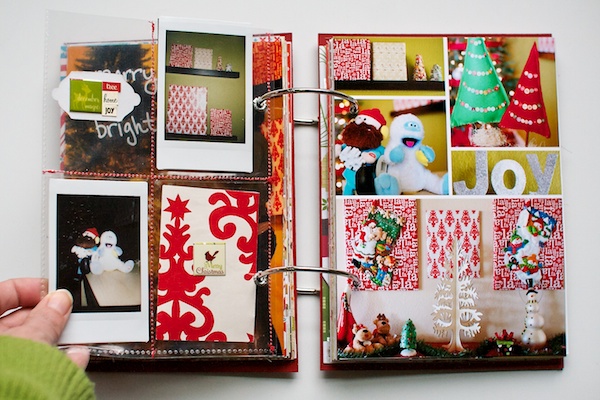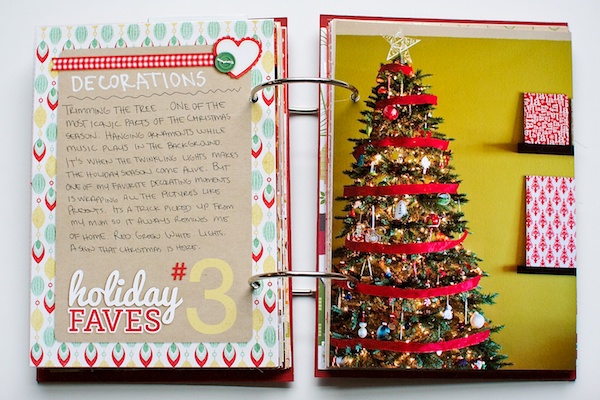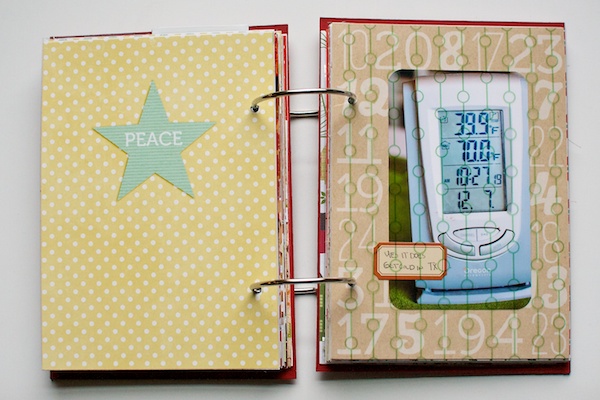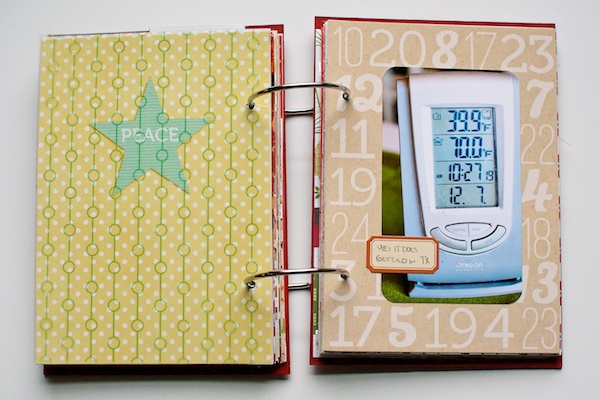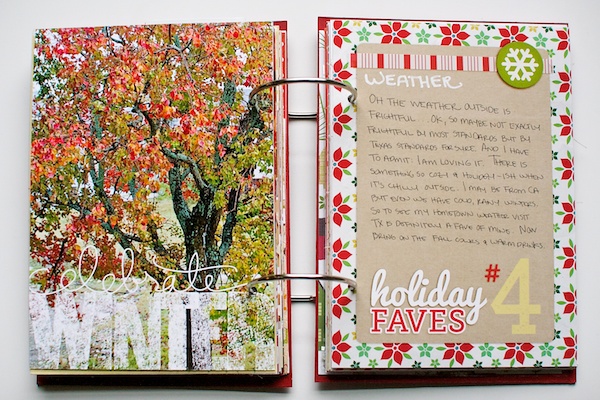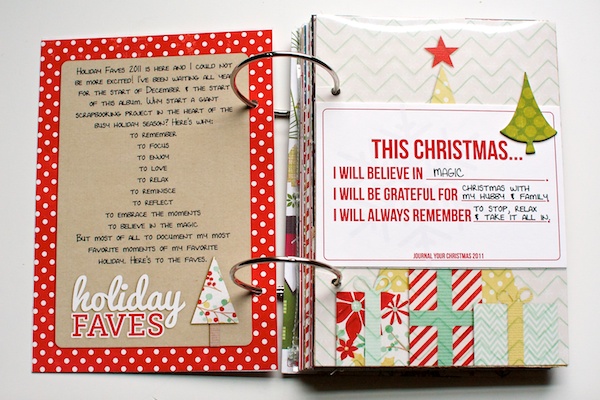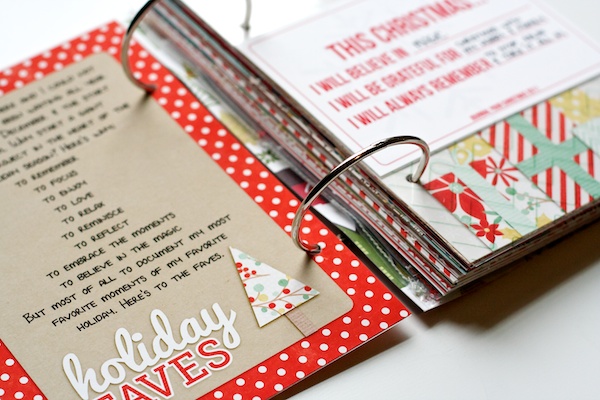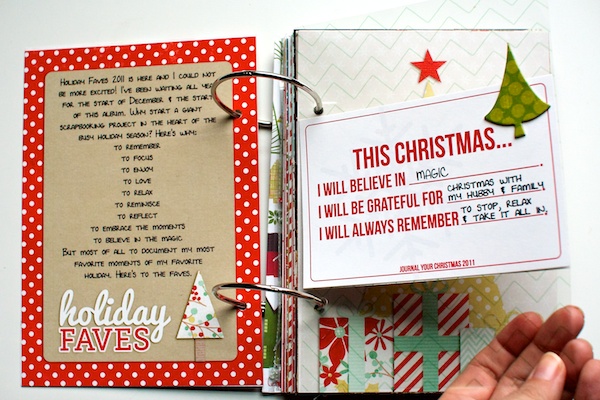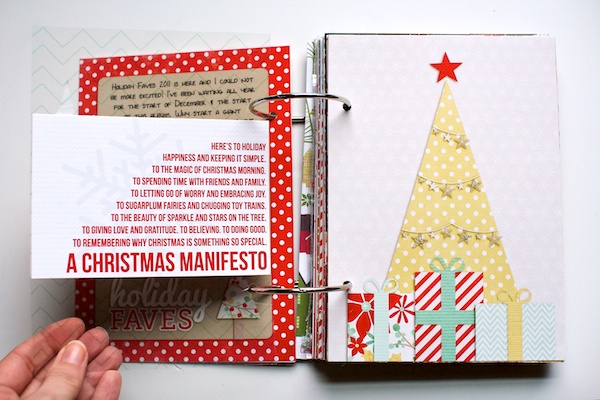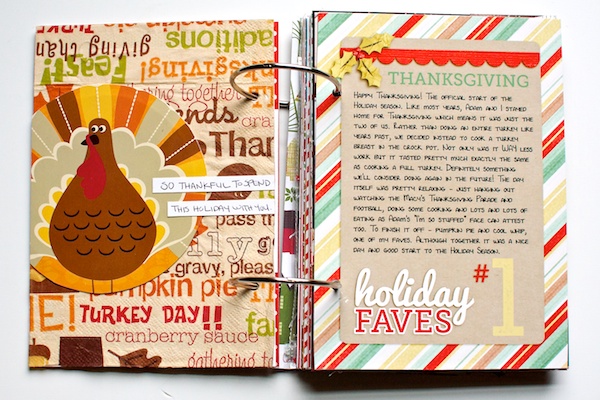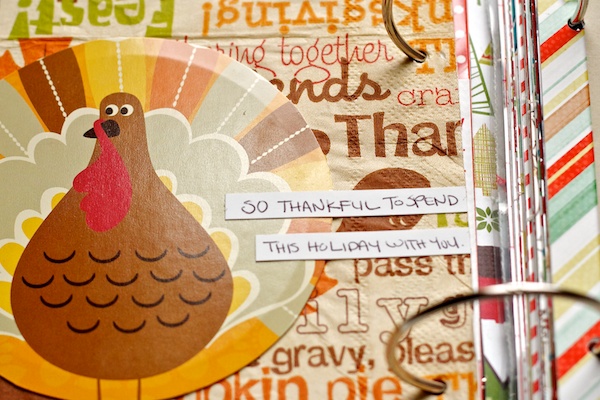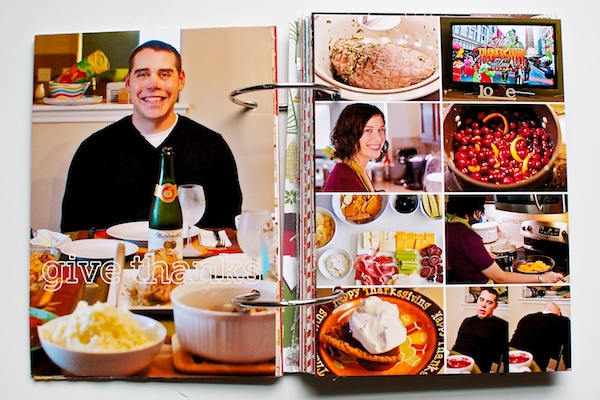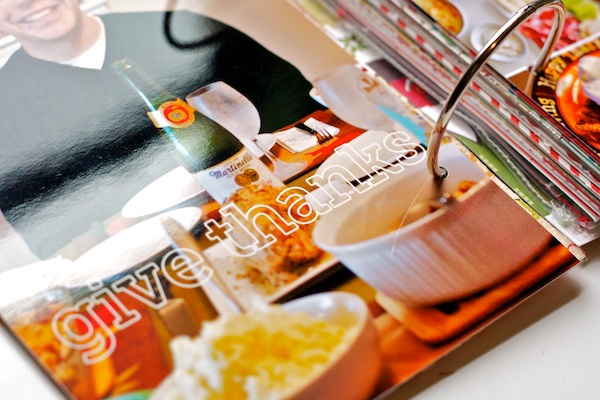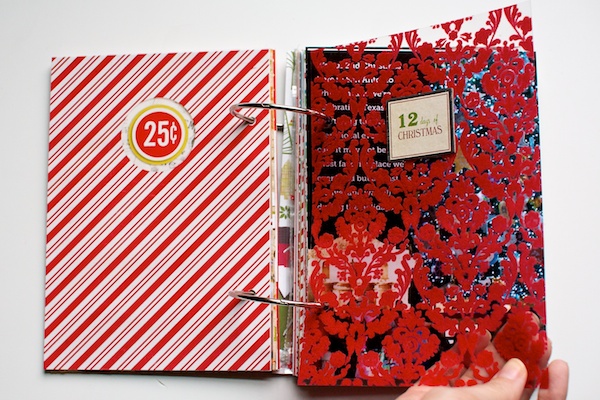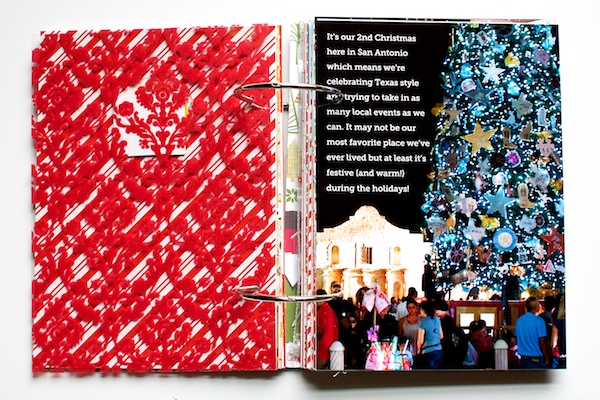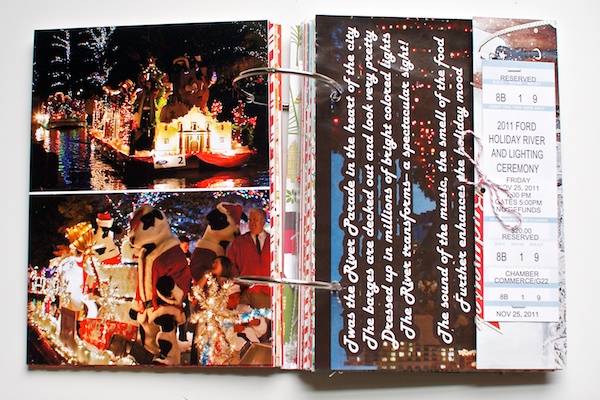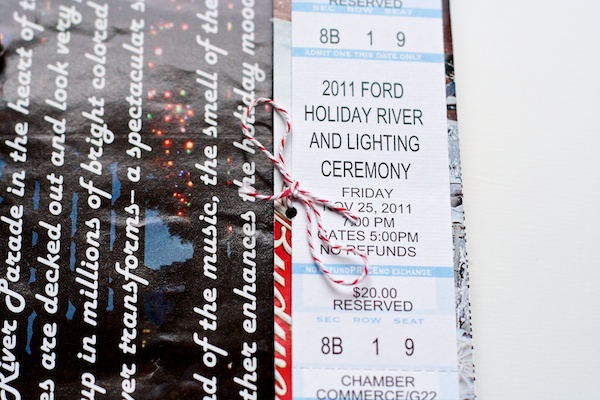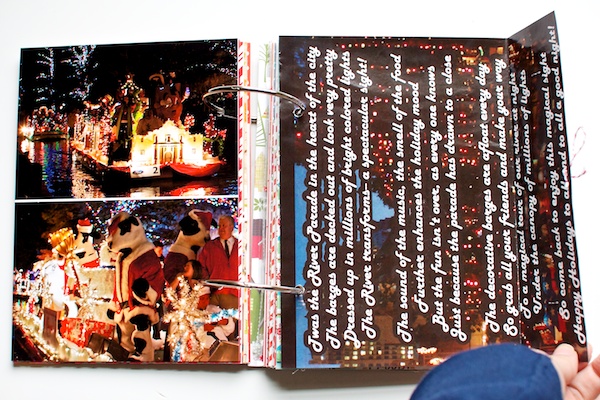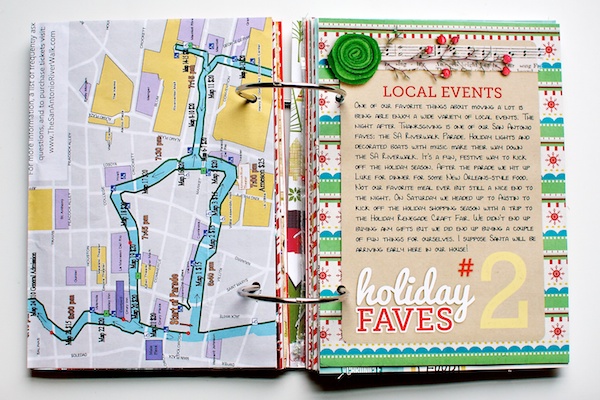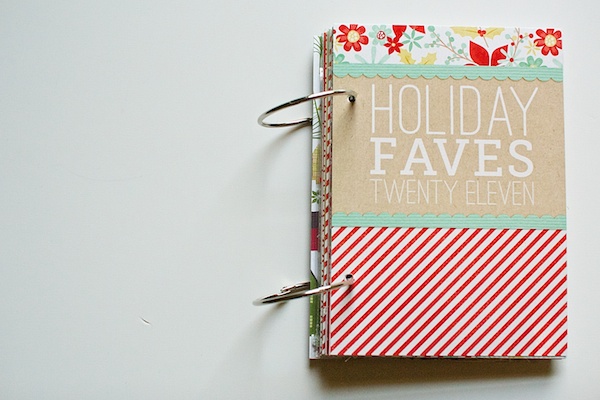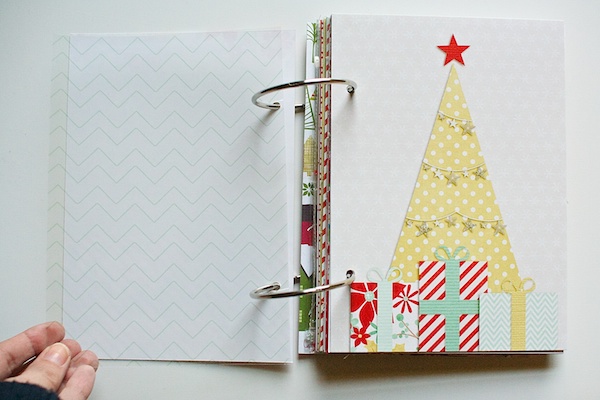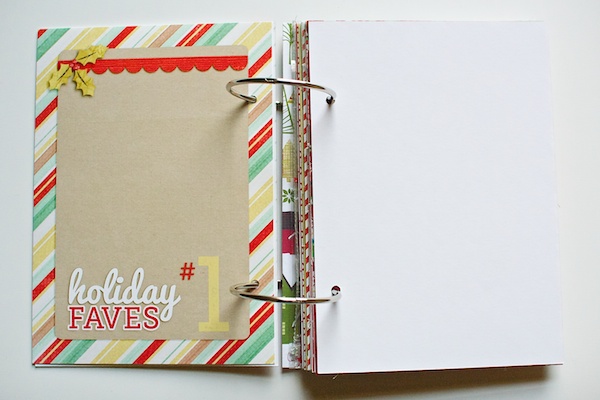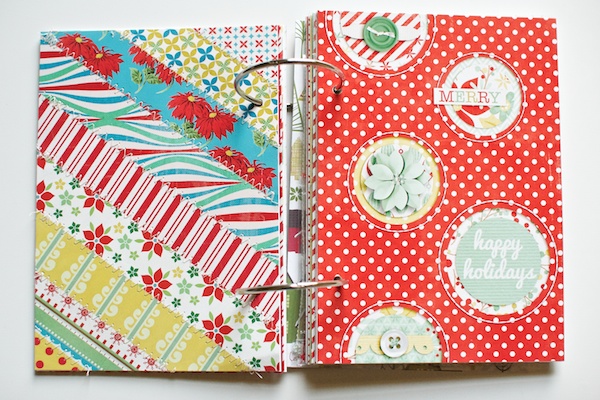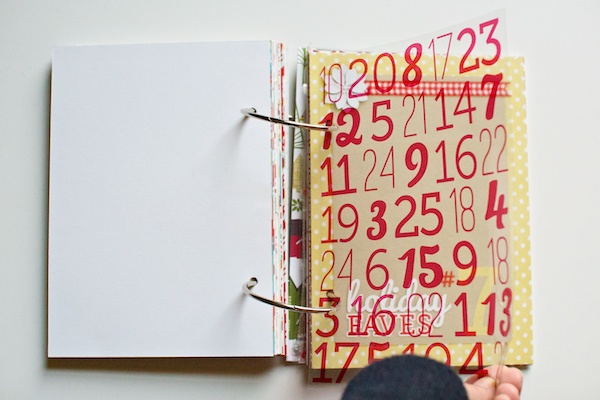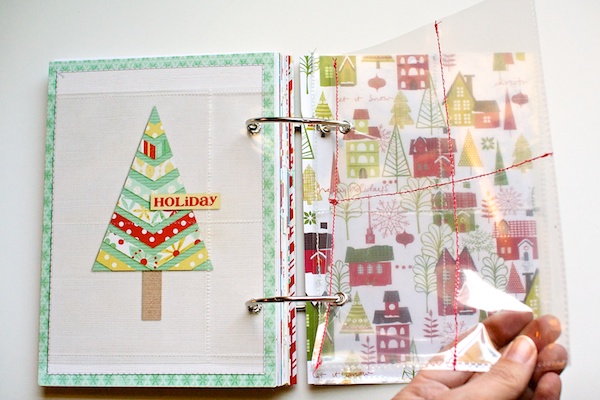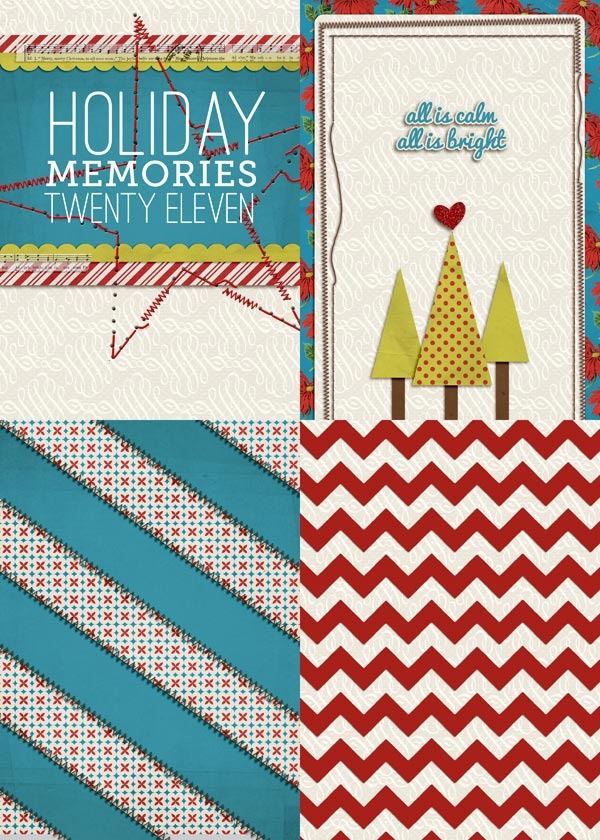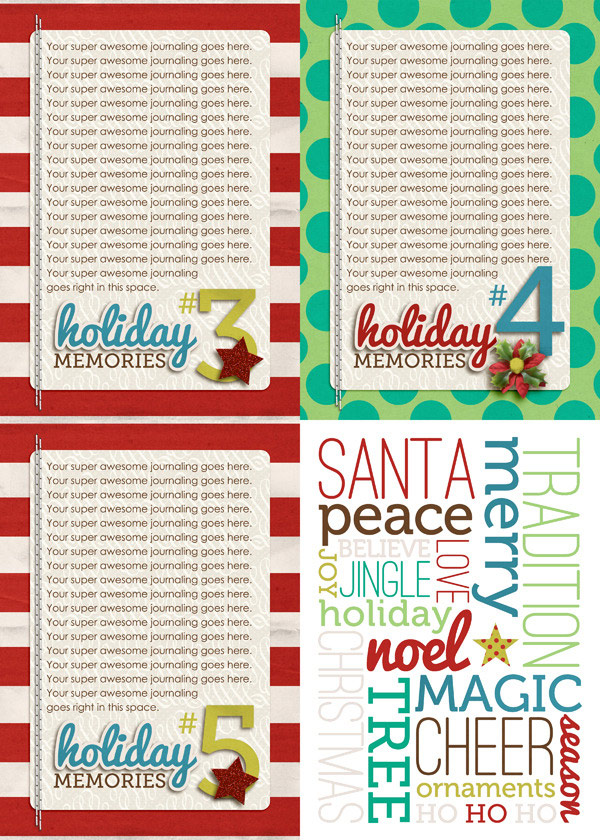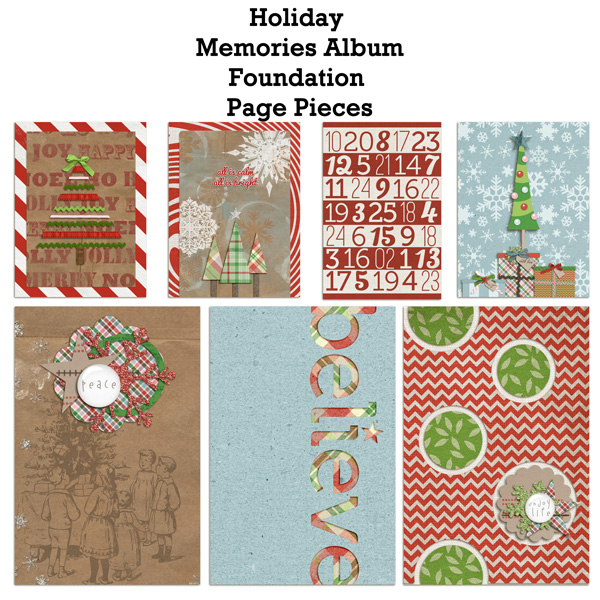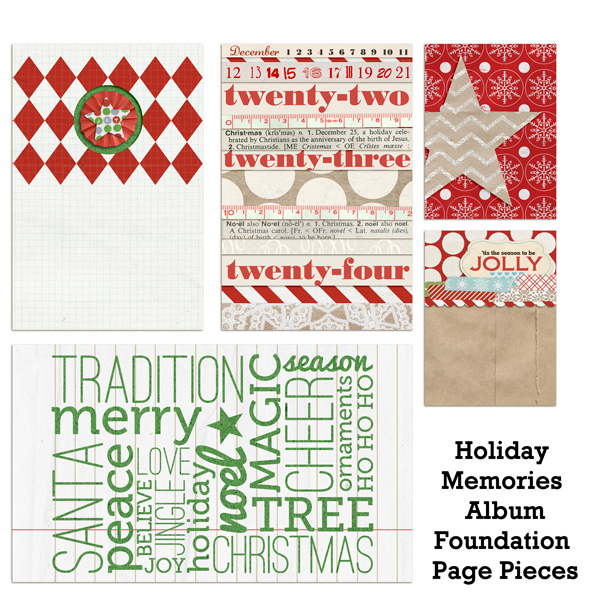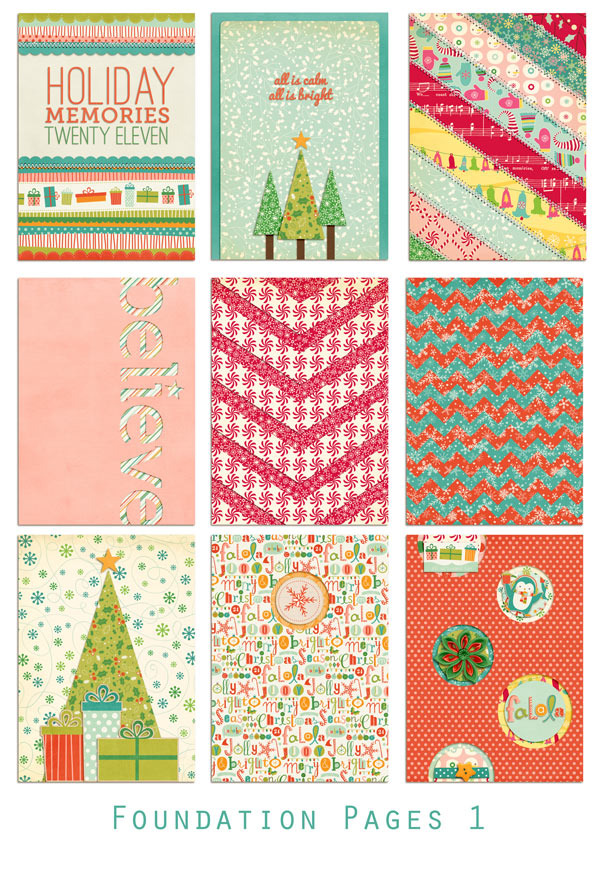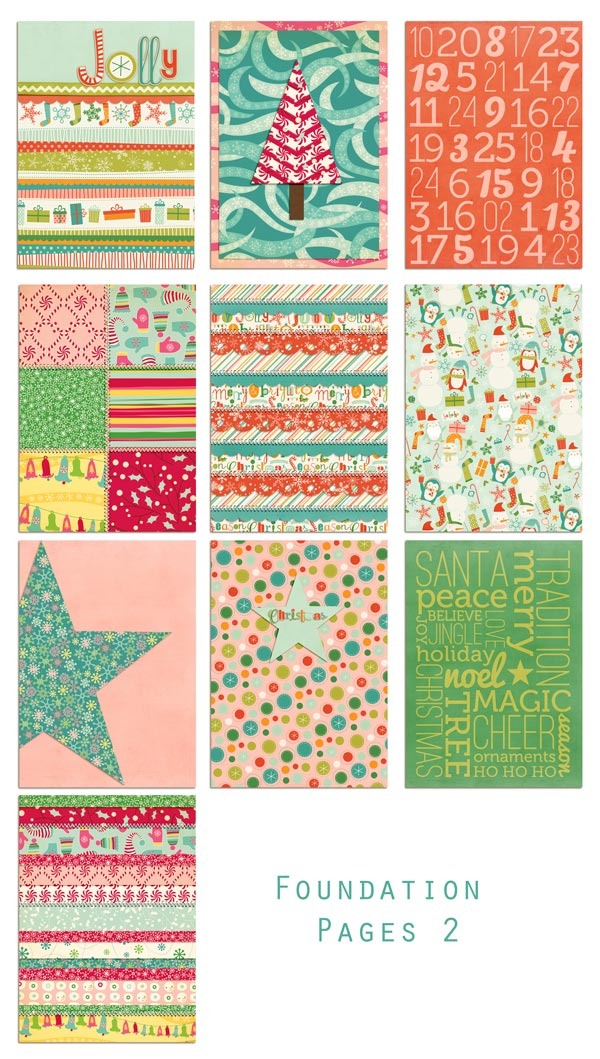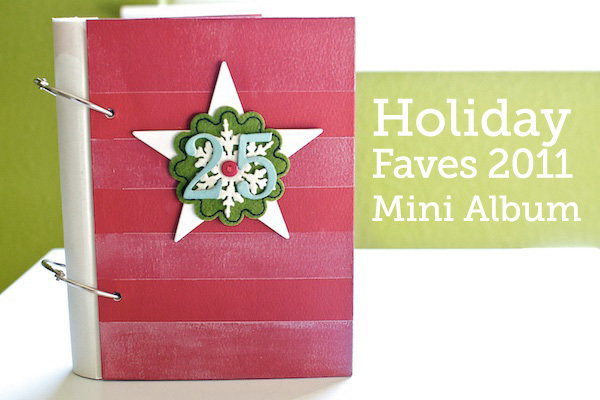
As I mentioned in yesterday’s post I have finished my Holiday Faves 2011 Mini Album. Woohoo!
My final task for finishing the album was to add a fabric covered spine to the mini book. I had seen this tutorial forever ago on Ali Edwards site but I hadn’t had a chance to try it out. Since the fabric spine has to be added after the album is finished, this seemed like the perfect opportunity.
If you want to give it a try yourself, I recommend following the tutorial linked above since she includes more detailed directions, but below is how I did it. Excuse the less-than-stunning photos. I was doing this at night and the overhead light in our office is wacky, haha.
How to Add a Fabric Spine to your Mini Album
Materials you’ll need:
- Book cloth tape (like this) – I bought mine at Paper Source. It’s 3″ wide.
- Patterned paper for the inside of your album
- Super Tacky Tape – I bought mine at Michael’s.
- A glue stick or tape runner
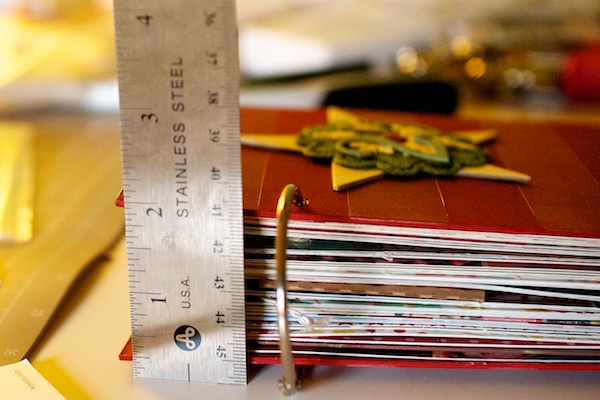
Step 1: Measure the thickness of your completed mini album. Mine was 2″ thick at the widest part.
Step 2: Cut a strip of book cloth tape a little longer than the height of your album.
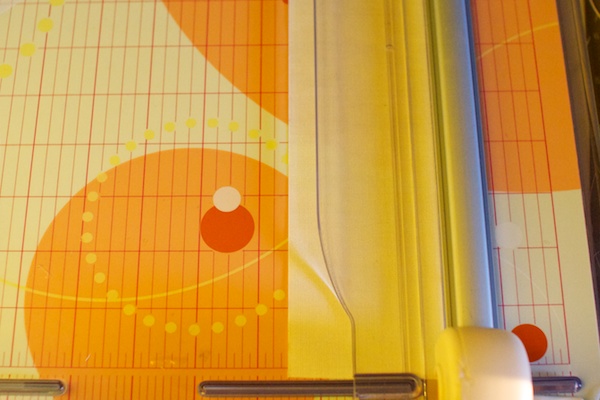
Step 3: Trim the width of the book cloth tape to be equal to the width of the album, plus 1/2″. So I trimmed mine my 3″ tape down to 2.5″ (2″+ 1/2″=2.5″) using my paper trimmer. I really expected this not to work at all but it was surprisingly easy to cut with the trimmer – only took one pass!
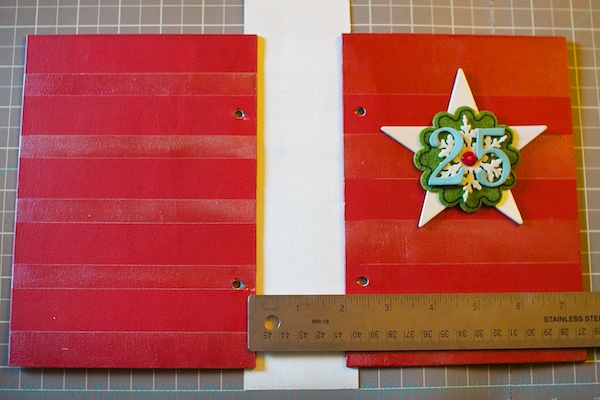
Step 4: Once you have the book cloth tape trimmed to the proper size, lay the tape flat, fabric side facing up and place your front and back covers overlapping the tape a 1/4″ in on each side.
The space between the covers should equal the thickness of your album from Step 1. I used a cutting mat and ruler to help line everything up.
Now we’re going to attach the covers to the fabric side of the book cloth tape.
Step 5: Flip one of your covers over and attach a small strip of Super Tacky Tape along the edge of the cover.
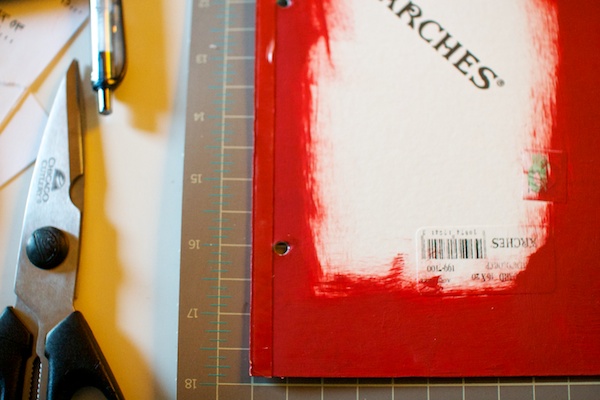
Step 6: Remove the plastic protector from the tape, flip your album back over so the right side is facing up and attach it to the book cloth tape 1/4″ from the edge. To help keep it lined up, I placed a metal ruler at 1/4″ and line my cover up with it as I pressed down to stick the tape.
Once you’re done repeat steps 5 & 6 for the other half of your cover.
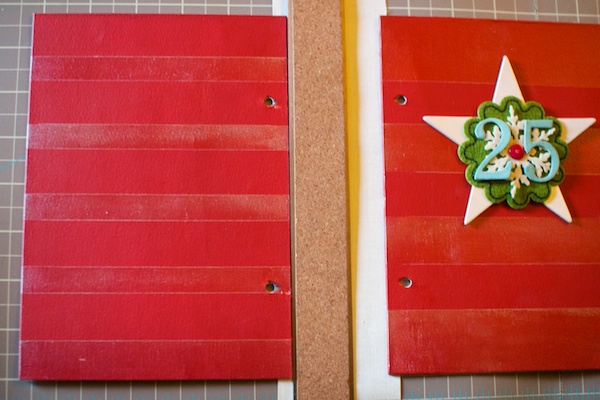
Now that we have the two covers attached to the front of the book cloth tape, we’re going to add the paper on the inside of the cover.
The directions in the tutorial are designed for you to use one big sheet of paper to cover the entire inside of the album but since I didn’t have a big enough sheet of paper on hand, I cut two papers for the sides and a third for the spine. This will make more sense in a minute.
Step 7: Flip your album over so the inside of the covers are shown.
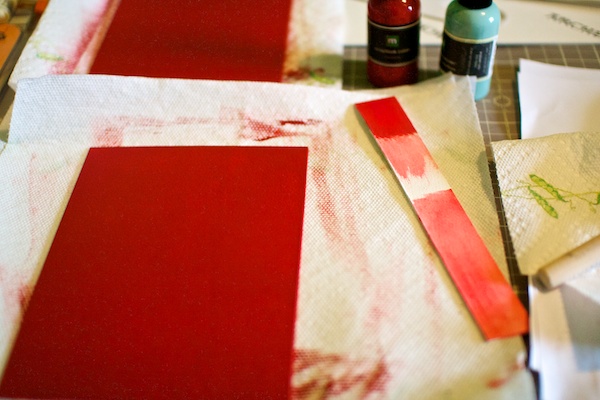
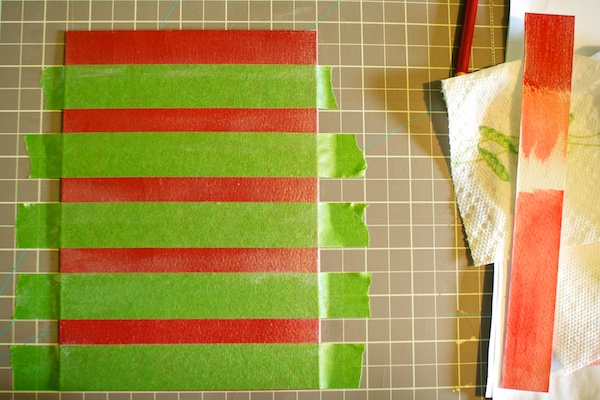
Step 8: Measure and trim to size your papers for inside the cover. If you’re following the tutorial, you’ll only have one sheet of paper but in my case I had three. Since I wanted a little of the red painted album to show, I trimmed my inside cover papers to 5″ x 7.25″ and my spine paper to 2.5″ (the width of the book cloth tape) x 7.75″ (the height of my mini album covers).
Step 9: Remove the paper backing off the back of the book cloth tape so the sticky back is exposed.
Step 10: Add glue using a glue stick or tape runner to the back of your paper and attach it to the inside cover of the album. I didn’t bother measuring for this step, I just eyeballed where I wanted to paper.
It’ll now look like this:
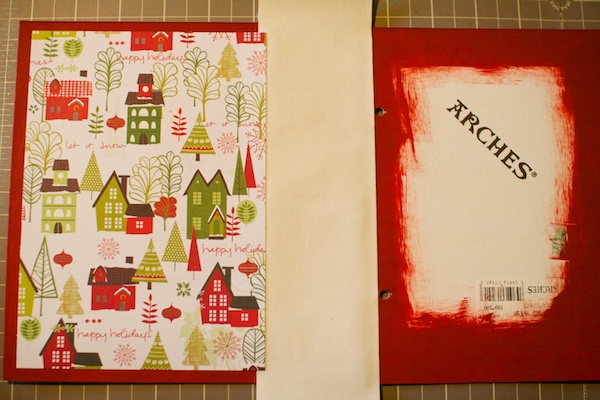
If you used one sheet of paper for the inside, you’re inside cover should be done. Skip ahead to Step 14. If you’re using multiple papers like I am continue to step 11.
Step 11: Repeat Step 10 for the right hand inside paper so it looks like this:
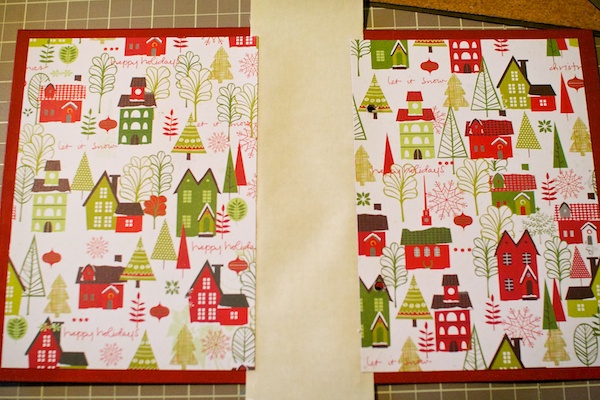
Now we’re going to add the third paper to cover the inside of our fabric spine.
Step 12: Grab the strip of paper you trimmed for the inside spine, flip it over so the backside is facing up and add a small strip of glue to each edge using a glue stick or tape runner. This will make sure the paper sticks to the areas that don’t touch the sticky book cloth tape backing.
Step 13: Flip the inside spine paper over and attach it down onto the sticky backing of the book cloth tape. Smooth it down firmly to make sure all of the paper gets attached to the backing. You want to make sure this paper is nice and attached since it’ll get moved every time you open and close the mini album.
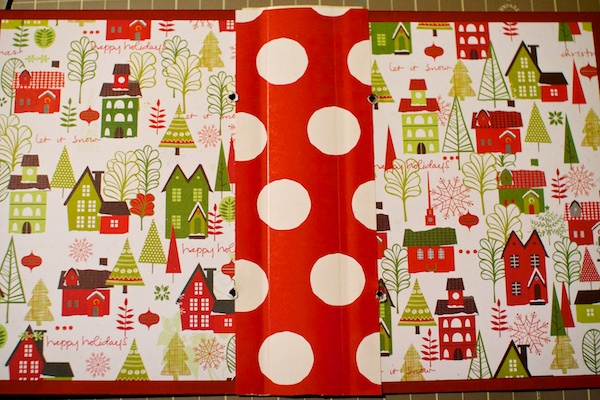
Step 14: Once your glue is nice and dry (I let mine sit for a little bit to be sure), fold in the front and back covers one at a time to make a nice crease on the spine. The tutorial recommends scoring it but since I don’t have a scoring tool, I just used a ruler and folded it using that as a guide. I wanted my spine to be more rounded so I was fine with now having a super sharp crease.
Step 15: Punch holes for where you want the binder rings to go through. Since I already punched holes in my covers when I originally put my album together, I used a screw (a nail would work too) to poke through the paper on the inside of the album. It’s not the cleanest hole ever but since I didn’t have a hole punch that could reach the holes, it worked well enough.
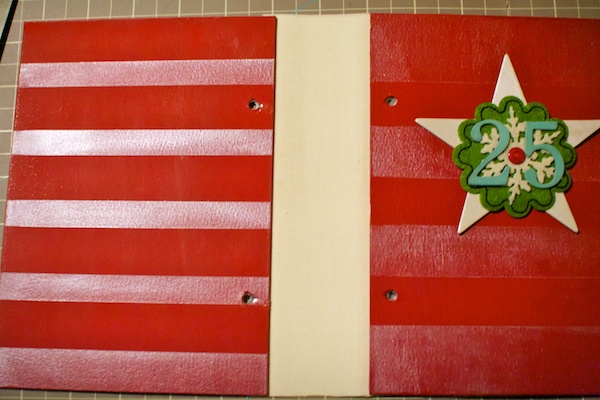
Here’s what the album cover looked like with the fabric spine attached and the holes in place:
And here’s what the fabric spine looks like with the rings added back in. Pretty, no?

The fabric spine from the other direction. You can see how the spine is rounded:
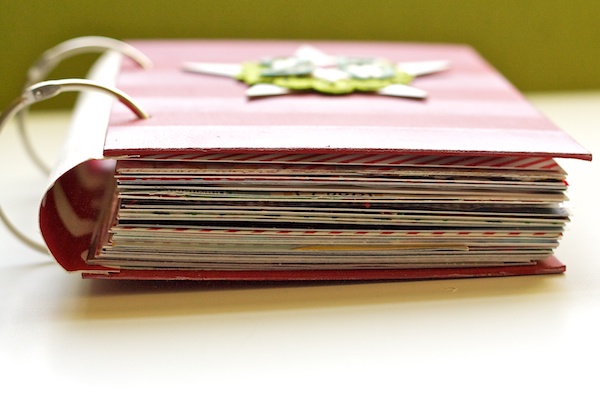
I really love the way it finishes off the album. It looks like a real little book now.

And that’s my final completed version of my Holiday Faves 2011 Mini Album!
Since I know it’s kind of hard to see how it flows all together in the blog post photos, I put together a 1 minute little video of all the pages together:
Holiday Faves Mini Album 2011 from Lynnette Penacho on Vimeo.
My Final Thoughts On My 2011 Holiday Faves Mini Album
So now that I’m officially finished with this album, here are a few of my final thoughts on this project:
1) WOOOHOOO, I’M FINISHED!!!!!!
Umm *ahem* *finishes happy dance* *composes self*
Sorry about that, but after 3 failed attempts at December Daily, I’m really excited that I actually finished this album this year! Which brings me to thought #2…
2) Holiday Faves is WAY easier than December Daily
I have no doubt THIS is the reason I finished this year. As much as I love the concept of December Daily and the numbers and all that jazz, it’s just not realistic for me to do keep up with a page a day and to be honest, I don’t want to commit to that amount of work in December. I want to be able to actually enjoy the holidays and not be hunkered down in my scrap room every night, trying to stay caught up.
That’s what I loved about this project. I was able to include things when I felt like it but not worry about capturing something each and every day.
3) I LOVED this mini album size
In my previous attempts at December Daily, I had done an 8×8-inch album and a 7×9-inch album so I was a little nervous that 5×7 might end up seeming too small.
But I actually think it was the perfect size. Not too big to carry around but still big enough to include memorabilia and photos. I especially loved the full size 5×7 photos – they’re stunning. Plus I loved being able to fit two photos/pages onto one sheet of paper. Yay for saving trees!
And as much as I love the mix and match look of some albums, I have to admit, keeping all the pages the same size definitely makes the album a whole lot simpler to put together.
My Top Tips for Finishing a Holiday Album
If you’re wondering what my top tips for finishing a December Holiday album it would these two:
1) Be honest with yourself about what you can actually get done.
I know, we all love projects. Especially ambitious projects like December Daily, A Week In the Life and Project Life.
But you really need to really ask yourself whether a project fits into your life, and if it doesn’t, figure out a solution that works for you. Don’t be afraid to go against what everyone else is doing if it’s what’s best for you. Doing something different is better than stressing yourself out or doing nothing at all.
2) Start with a plan but keep it flexible.
Starting December with the focus and foundation of your album ready to go is key. Having a clear idea in your head of how much and what exactly you want to capture makes the documentation process so much easier because it allows you to say free yourself from feeling like you need to capture every.little.thing.
And if you find you have to adapt your plan a little along the way, it is ok. Don’t be afraid to let things go or change things up when something doesn’t work out like you had planned. Again, doing something different is better than doing nothing at all.
Well, I hope you’ve enjoyed the 2011 Holiday Faves mini album adventure! I absolutely love how it came out! I did want to send an extra special thank you to everyone who left a comment or sent me a nice thought during this process. I know having people waiting to see what I was up to definitely kept me on track. : )
And with that it’s time to wrap up and move on to some new and exciting projects! Weeee, I can hardly wait!
Psst…if you haven’t shared your Holiday Faves or December Daily album in the comments, feel free to do so! I’d love to see what you’ve done!
Psssst…looking for more Holiday Faves inspiration? Check out all my Holiday Faves posts here.
