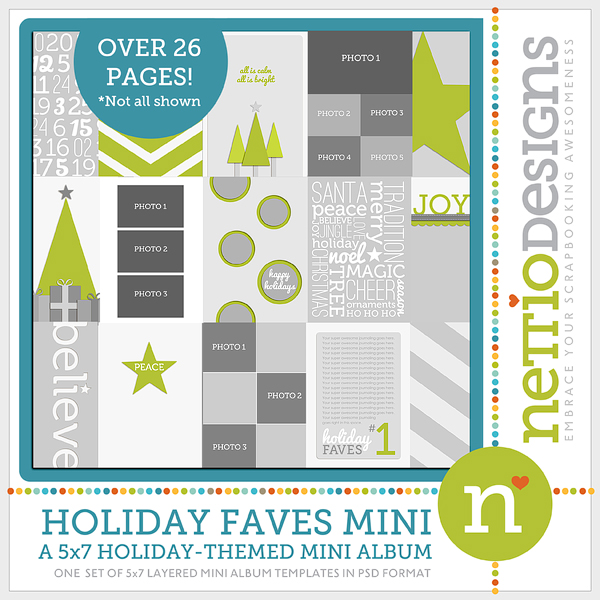
As I mentioned in Tuesday’s post, I’ve released my first-ever mini album templates in the NettioDesignsShoppe: the Holiday Faves 5×7 Mini Album Templates:
I’m sure there are some of you are wondering how you can use the mini album templates to build the foundation for your own Holiday album, so today I wanted to offer you a little glimpse into how I’m using these templates to build my own album.
As I mentioned on Tuesday, my Holiday Faves mini album is going to be a 5×7 hybrid mini album so I will be creating the foundation of my album digitally using these templates and then printing out my pages and adding photos and accents directly to the album during the holiday season.
For the purpose of this post, I’m going to assume you’ll be creating a hybrid album as well but if you’re wanting to use these templates 100% digitally, the process is the same, you’ll just be printing out everything after you’ve finished your album rather than before the holiday season starts.
How To Use the Holiday Faves Mini Album Templates
Ok, so, the Holiday Faves mini album templates include four types of pages which can be mixed and match to create your album: Foundation & Accent Pages, Journaling Pages, Overlay Pages and Photo Pages.
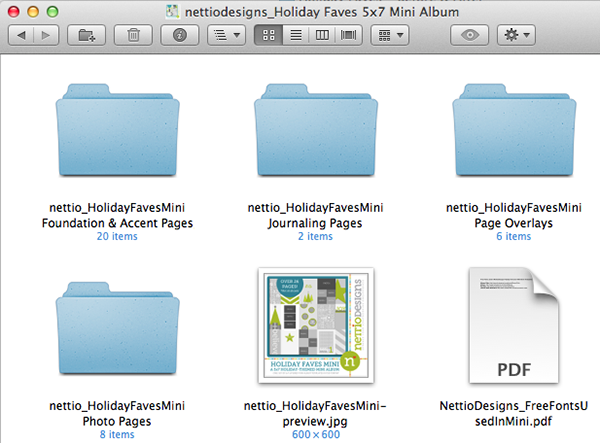
Let’s dive a little deeper into the difference between all these pages and when you’d actually use them:
Foundation Pages
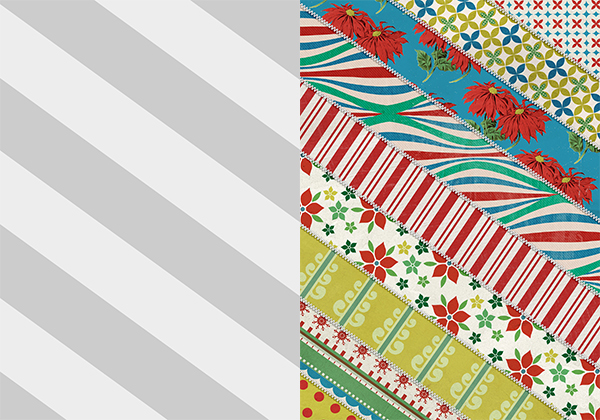
The Foundation Pages are designed to be the pages on which you build the well, foundation, of your album. All of the foundation page templates are made of simple paper strips or paper blocks, with the idea being that you will clip digital papers to them to pretty them up, print them, and then add photos, memorabilia, journaling or accents to them during the holiday season.
Accent Pages
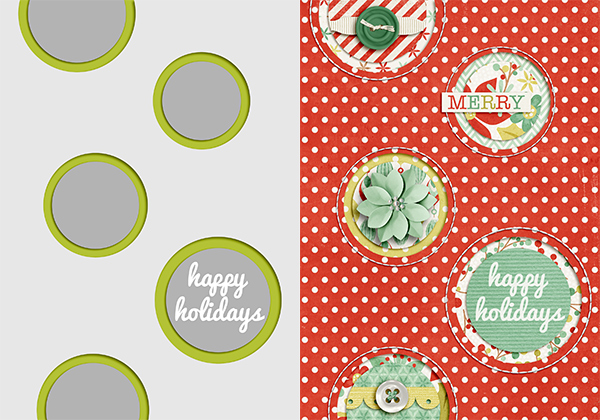
The Accent Pages go along with the Foundation pages in building your album, but rather than adding anything to these pages during the holiday season, they’re designed to stand on their own as is and be the pretty jewels of your album.
I’m planning to embellish my accent pages digitally since I’m going to be traveling and would like to keep my album as flat as possible, but you could definitely add your papers to the templates and then embellish them with real world paper accents as well.
Journaling Pages
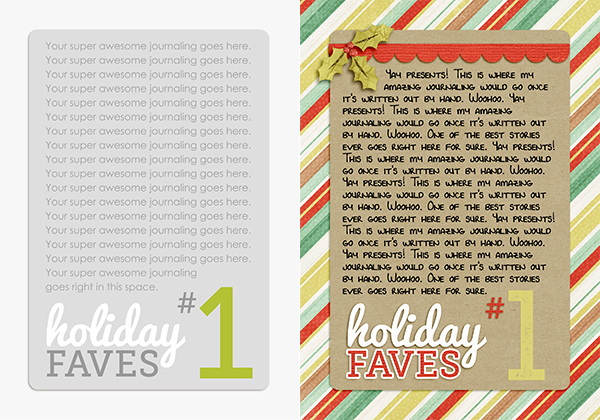
The journaling pages are the pages where you’ll add your stories: in my case, my Holiday Faves. I’m planning to add my journaling by hand so I’ll be printing all my journaling pages out at the same time as my accent and foundation pages, but if you would rather add your journaling digitally, you can wait to print your journaling pages until after you’ve typed up your story.
Overlay Pages
The Overlay Pages aren’t really pages as much as they are transparent PNG files you can use to create your own printable ink jet transparency pages for your album.
If you’ve seen Ali Edwards’ December Daily albums, you probably know what I’m talking about but the Overlay pages are like clear accent or foundation pages that allow you to see the pages behind it, sort of like this:
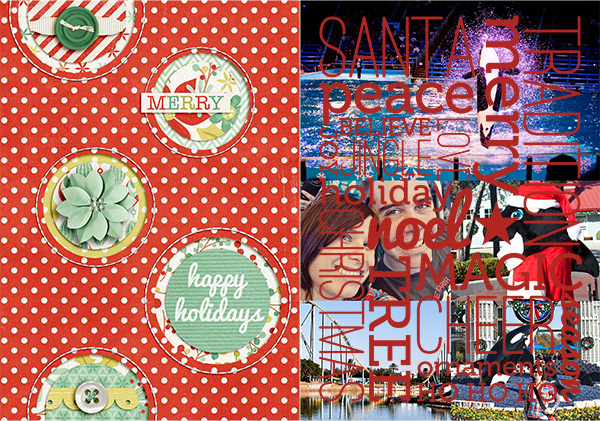
Then when you turn the overlay transparency page, you reveal the photo page beneath it like this:

I love to include overlay pages like this because it adds some fun dimension to the album without adding to much bulk so I’ll be sharing more about how I print the overlays onto the ink jet transparencies next week.
Photo Pages
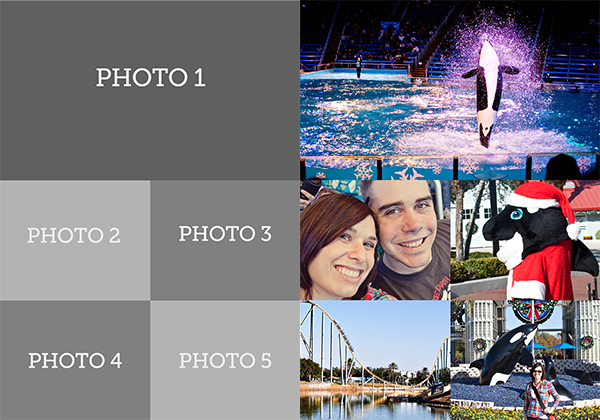
Unlike the Foundation, Accent and Journaling pages, the Photo Pages are not meant to be printed out ahead of time as part of your album foundation. I included them in the templates as any easy way for you to create multiple photo 5×7 sized pages to your album after the holiday season starts. Just clip your photos and print the page out on photo paper and add it to your album.
Putting All the Pages Together
So how do you go about actually combining all these different types of pages to create your album?
Well it’s really it’s up to you!
All of the templates are designed to be completely mix and match so there’s really no “right” way to combine them.
But a few things you might want to consider as you’re ordering your pages are:
- making sure to leave room to add photos and/or memorabilia
- how often you want to include journaling
- whether you’re planning to add additional non-digital pages into your album as well (like fabric pages, page protectors, etc)
I’ll be sharing my full Holiday Faves mini album foundation next week, but here’s a glimpse at a six page grouping I’m planning to include in my album to give you an idea about how I’m combining all the pages together.
My Mini Album Foundation Before:
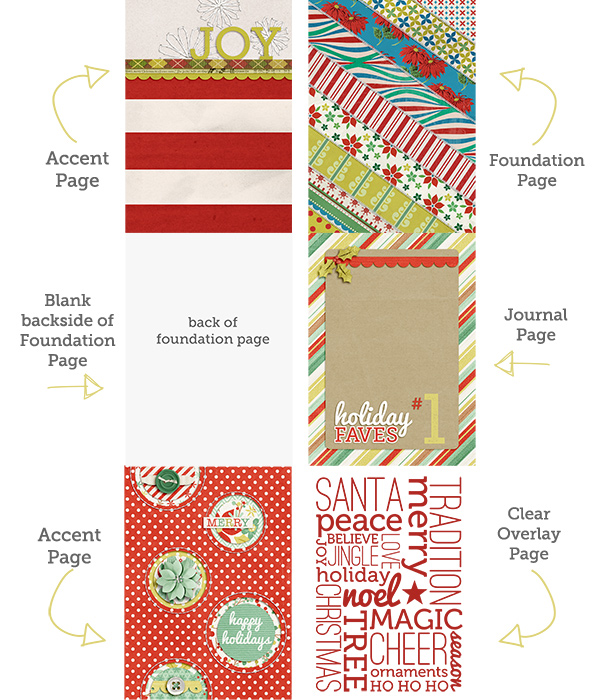
As you can see, I’ve included 2 Accent Pages, 1 Foundation Page, 1 Journaling Page and 1 Overlay Page. I also left the back of the Foundation Page blank so I can add a 5×7 photo later and I’ve left the journaling text off the journaling card so I can add my journaling by hand.
Here’s a look at what these same six pages might look like after I start adding in my photos and stories:
My Mini Album Foundation After:
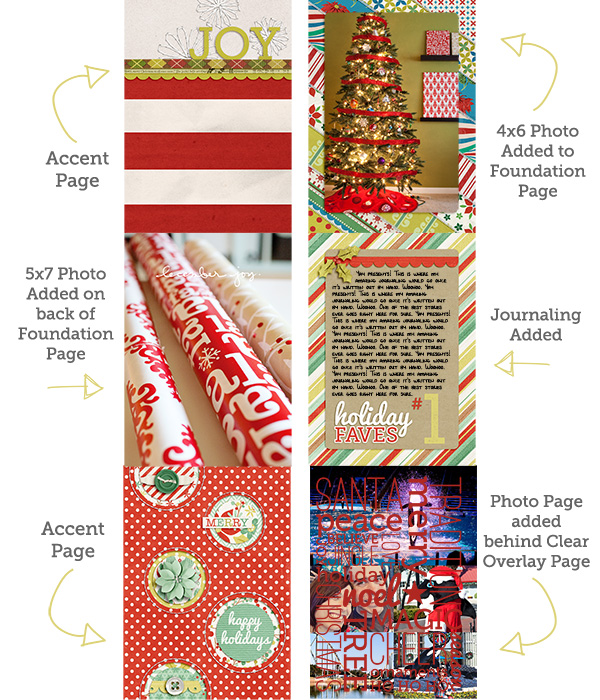
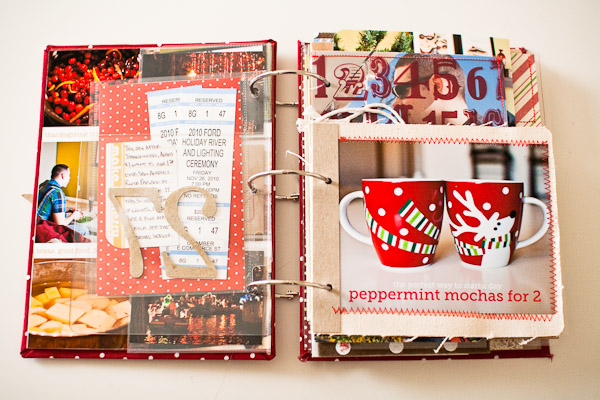
So you can see how I left the accent pages alone but added a 4×6 photo to the front of the foundation page and 5×7 photo to the back. I also added my journaling onto the journaling page and I added a photo page behind the clear overlay page.
Anyway, I hope that gives you some ideas of how you can use the Holiday Faves 5×7 Mini Album templates to create your own Holiday mini album. As I mentioned I’ll be back next week to share by full mini album foundation but if you have any questions in the meantime, feel free to ask away in the comments section of this post.
Psst…Ready to get your Holiday Mini Album scrapbooking on? Stop by the NettioDesigns Shoppe and pick them the Holiday Faves 5×7 Mini Album Templates here.
