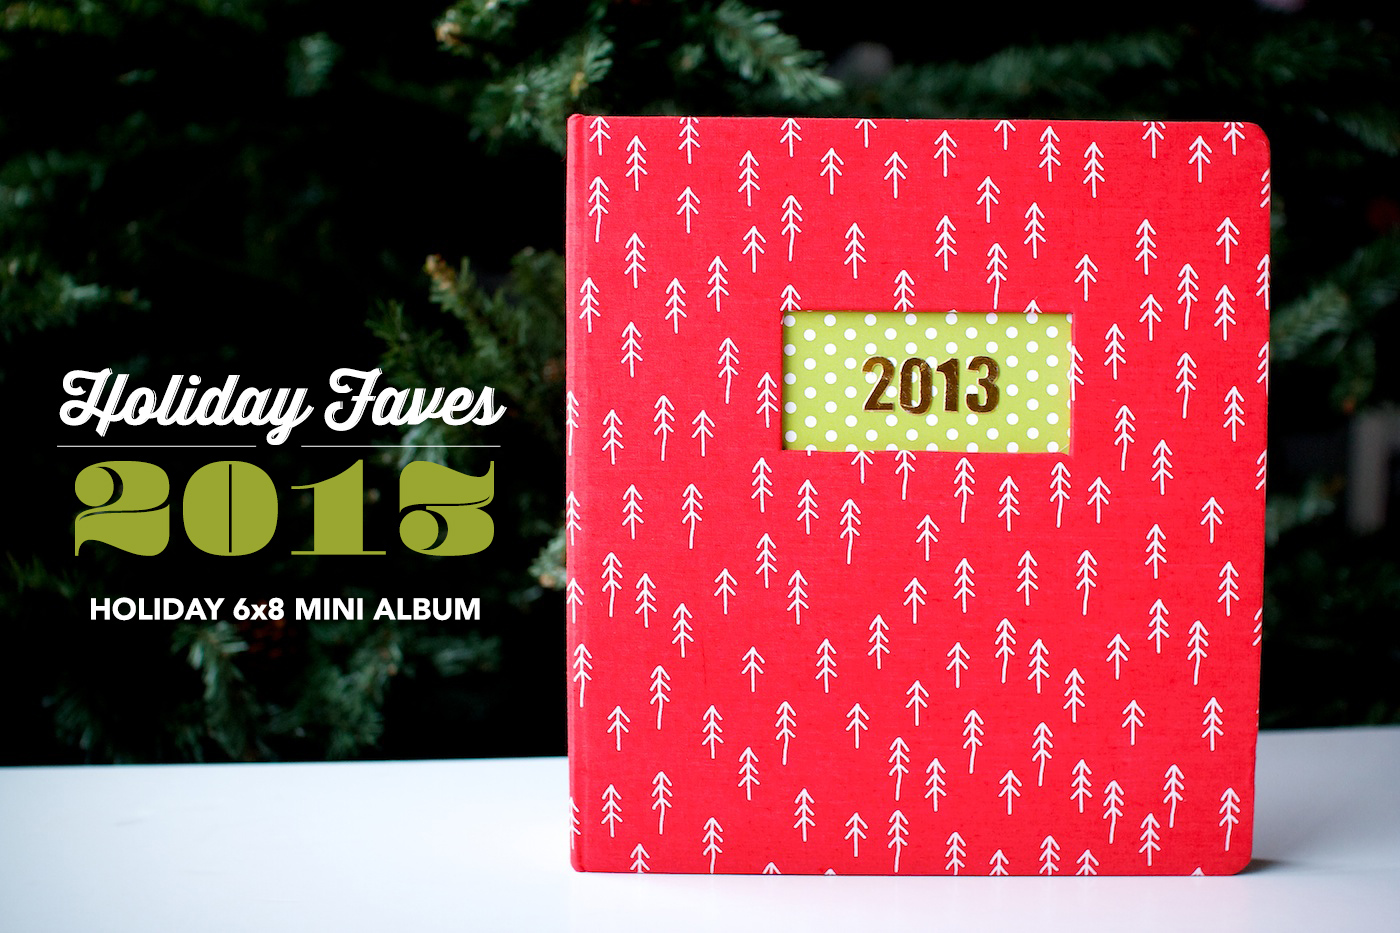
Welcome to Holiday Faves 2013.
Here’s what I love about the Holiday Faves: if I were doing a normal December Daily “capture something every day” type of album, I’d probably be panicking right now because it’s December 6th and I’m just starting my album which means I’d already be six days behind. But with Holiday Faves, I know I’m exactly right where I need to be and it’s going to be perfectly fine. No stress. No guilt.
If you’re new to Holiday Faves, Holiday Faves is my solution for creating a more simple and do-able holiday mini album. After several years of failed attempts at December Daily, I realized I needed a solution that was a better for me and my lifestyle. So back in 2011, I made a list of all my likes & dislikes about December Daily. The list went a little something like this:
What I Loved About December Daily:
- Collecting memorabilia – LOVED picking up bits & pieces of life throughout the season knowing I already had a home for them
- Mini Album– Loved the mini album size and I especially loved being able to flip through the pages everyday. An 8×8 all digital album is definitely not for me.
- Photos – Loved printing photos at home to include in my album right away
What I Didn’t Love About December Daily:
- The Daily-ness – As much as I love the concept, I’ve realized that a page a day is WAY too much work for me. I want to be able to skip a day and not feel guilty or even close the album on the 26th and call it done.
- Mixed Sized Pages – While I love the look of the pages showing behind each other, the mishmash of sizes made it too complicated to put together each day.
- The Cost – Paper supplies expensive. Plus it made me a little sad to see all the beautiful digi kits out there and not have a reason to use them.
- Not As Travel Friendly – Last year we stayed home for Christmas so it was fine but this year we’ll be traveling which means I need an album I can easily take with me on the go.
Based off the list, I came up with a new solution: a 5×7 hybrid mini album complete with foundation pages which I’d print and then fill up with goodness over the Holiday season. Instead of focusing on daily entries like December Daily, my goal would be to capture my top ten favorite things about the holiday season. No worries about keeping up or getting behind, the top ten entires could be added at any time, in any order and hey, if I got to the end of the album and only had 8 or even 5, well I was perfectly content to remove those additional pages and call it done.
And well, considering I’m 2 for 2 completing my Holiday Faves mini albums, I’d say this method is working quite well for me! So I’m forging ahead with a 2013 edition of Holiday Faves – with one little tweak.
This year, instead of sticking with the 5×7-inch size I’ve used the past two years, I’m going with 6×8-inch pages using the Studio Calico Handbook from their Magical line as my album. It’s a four-ring binder which means it will still be easy to add or move pages around and it’s plenty thick enough to hold all the pages as the album grows. The album itself is quite a bit bigger than the 5×7 albums (it’s closer to 7×9 inches) but it should still travel nicely with us when we fly out to visit family.
Holiday Faves 2013 Products
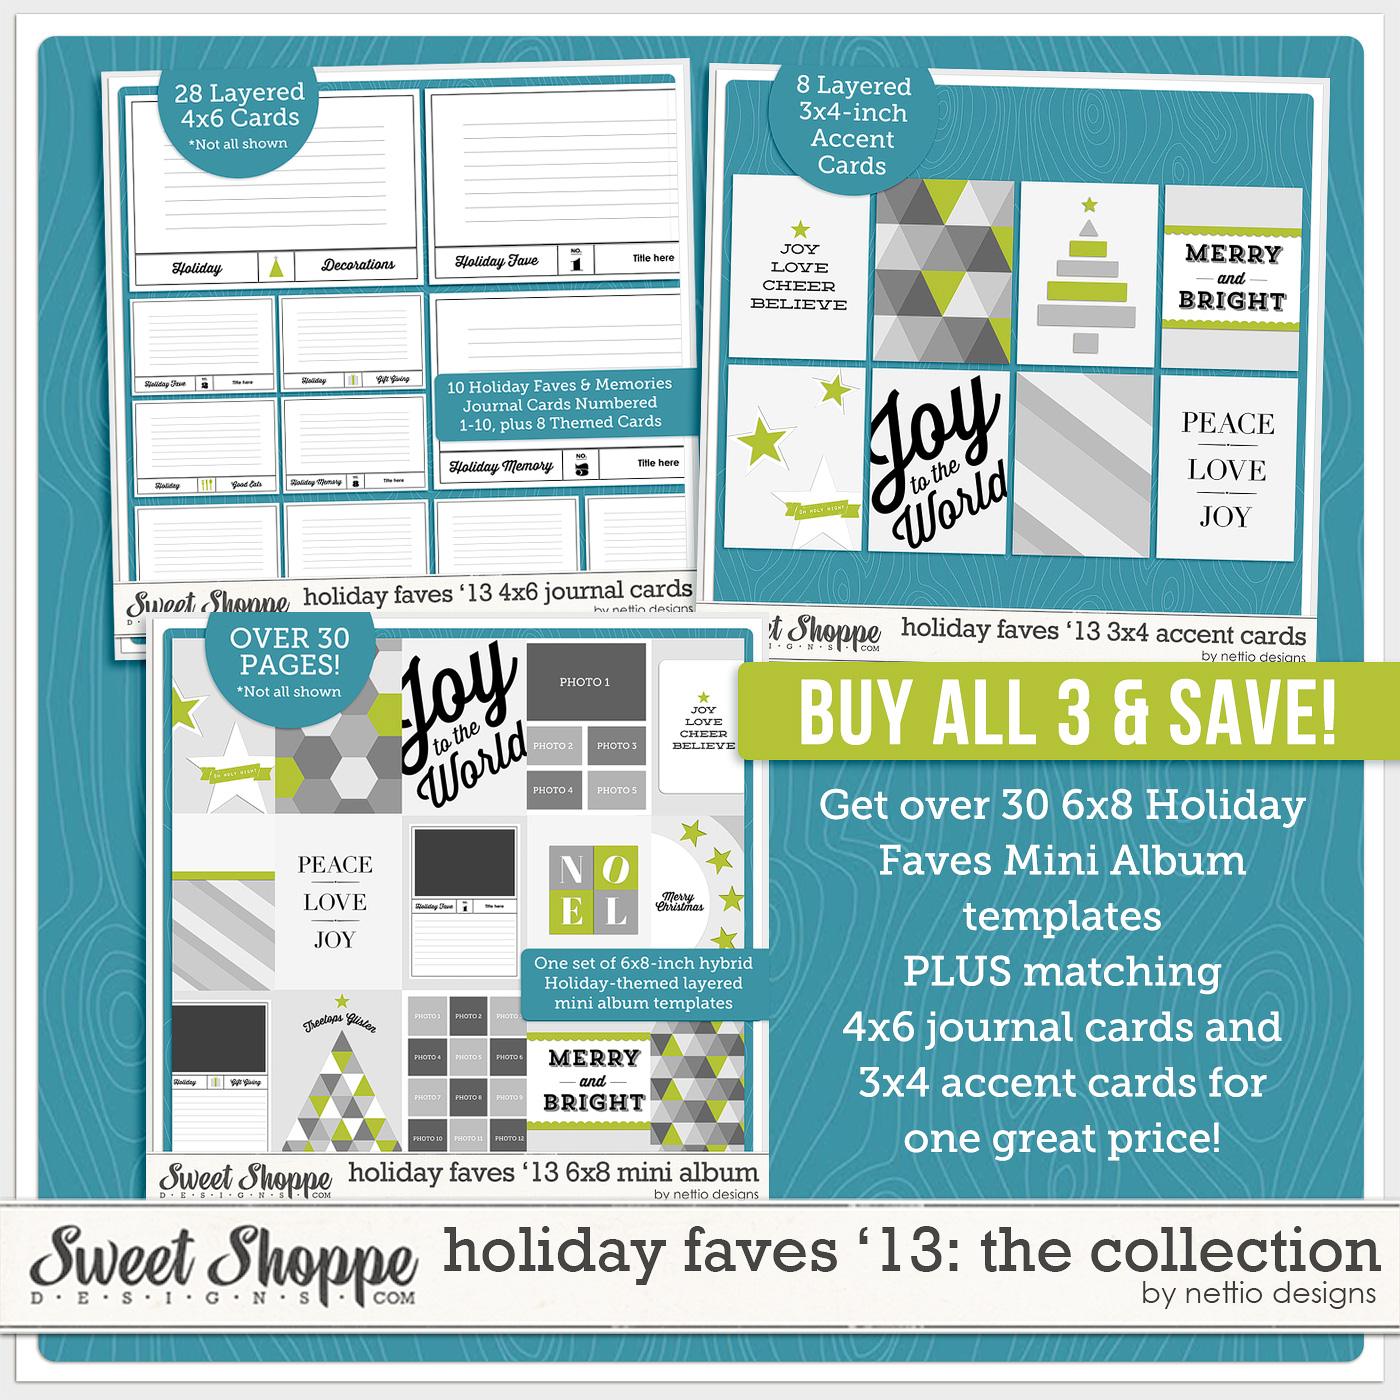
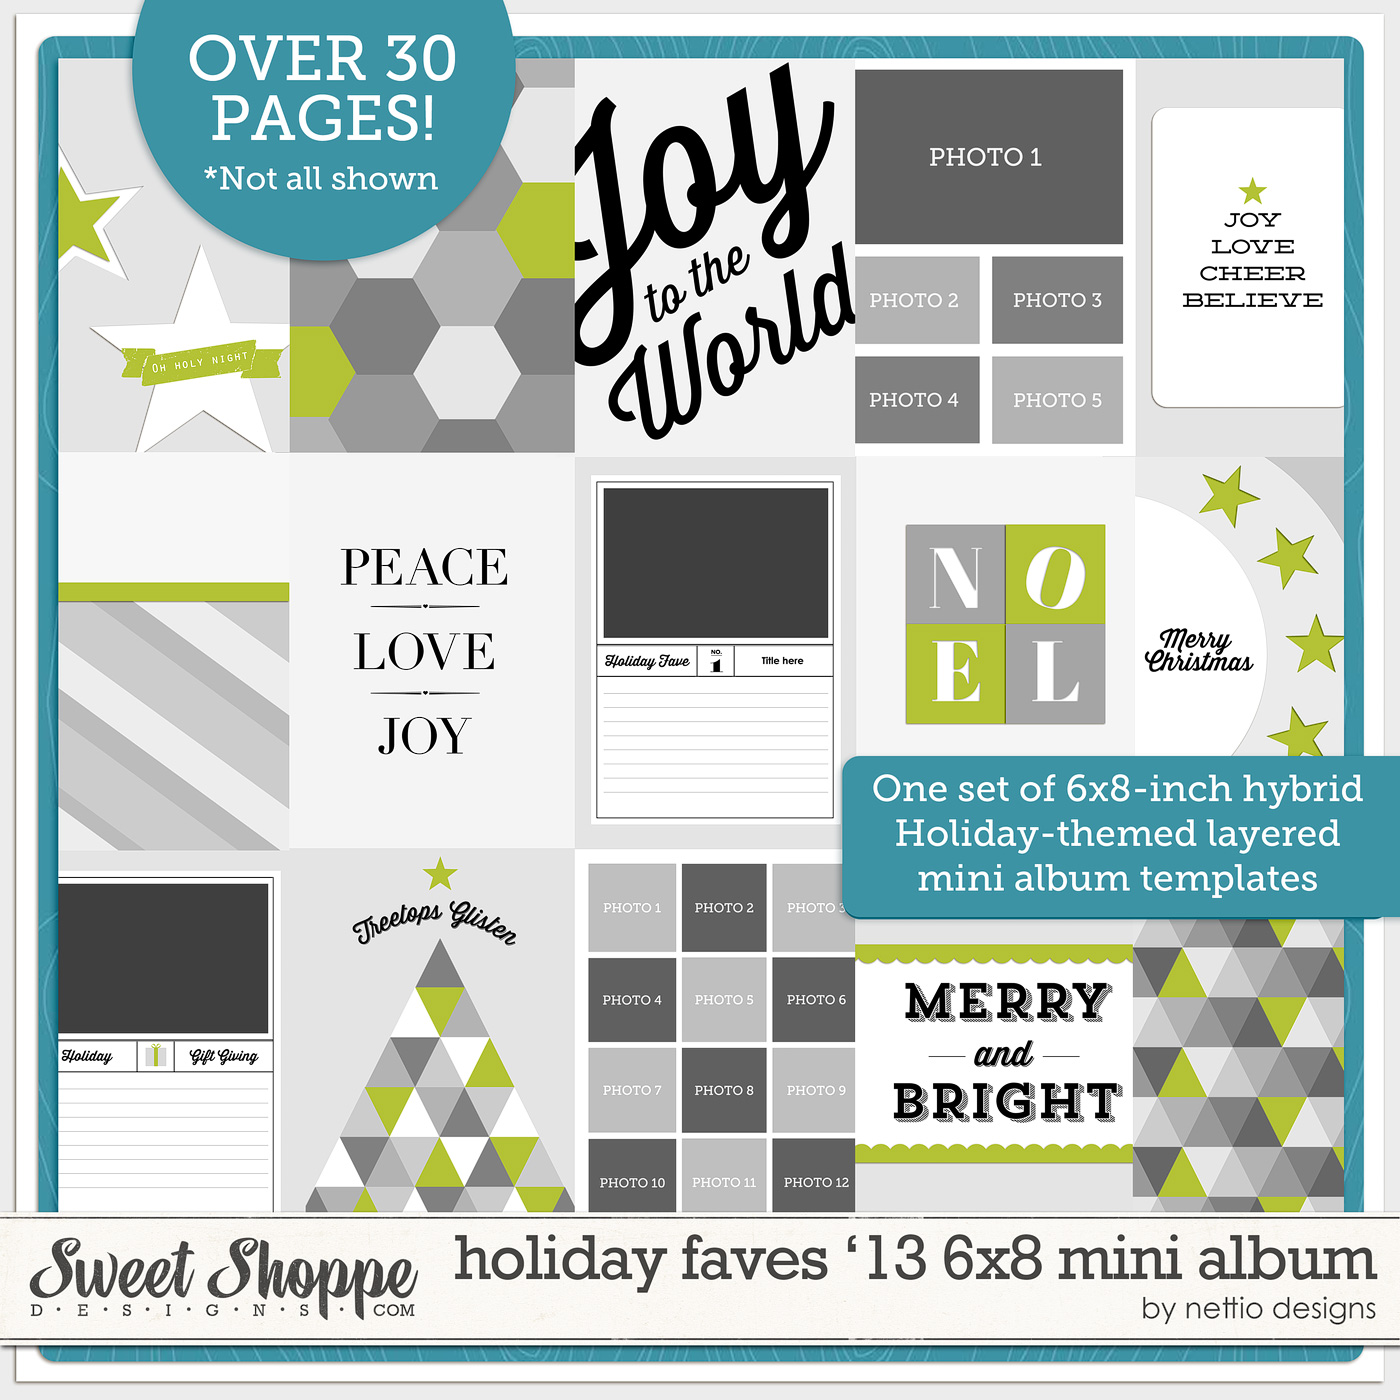
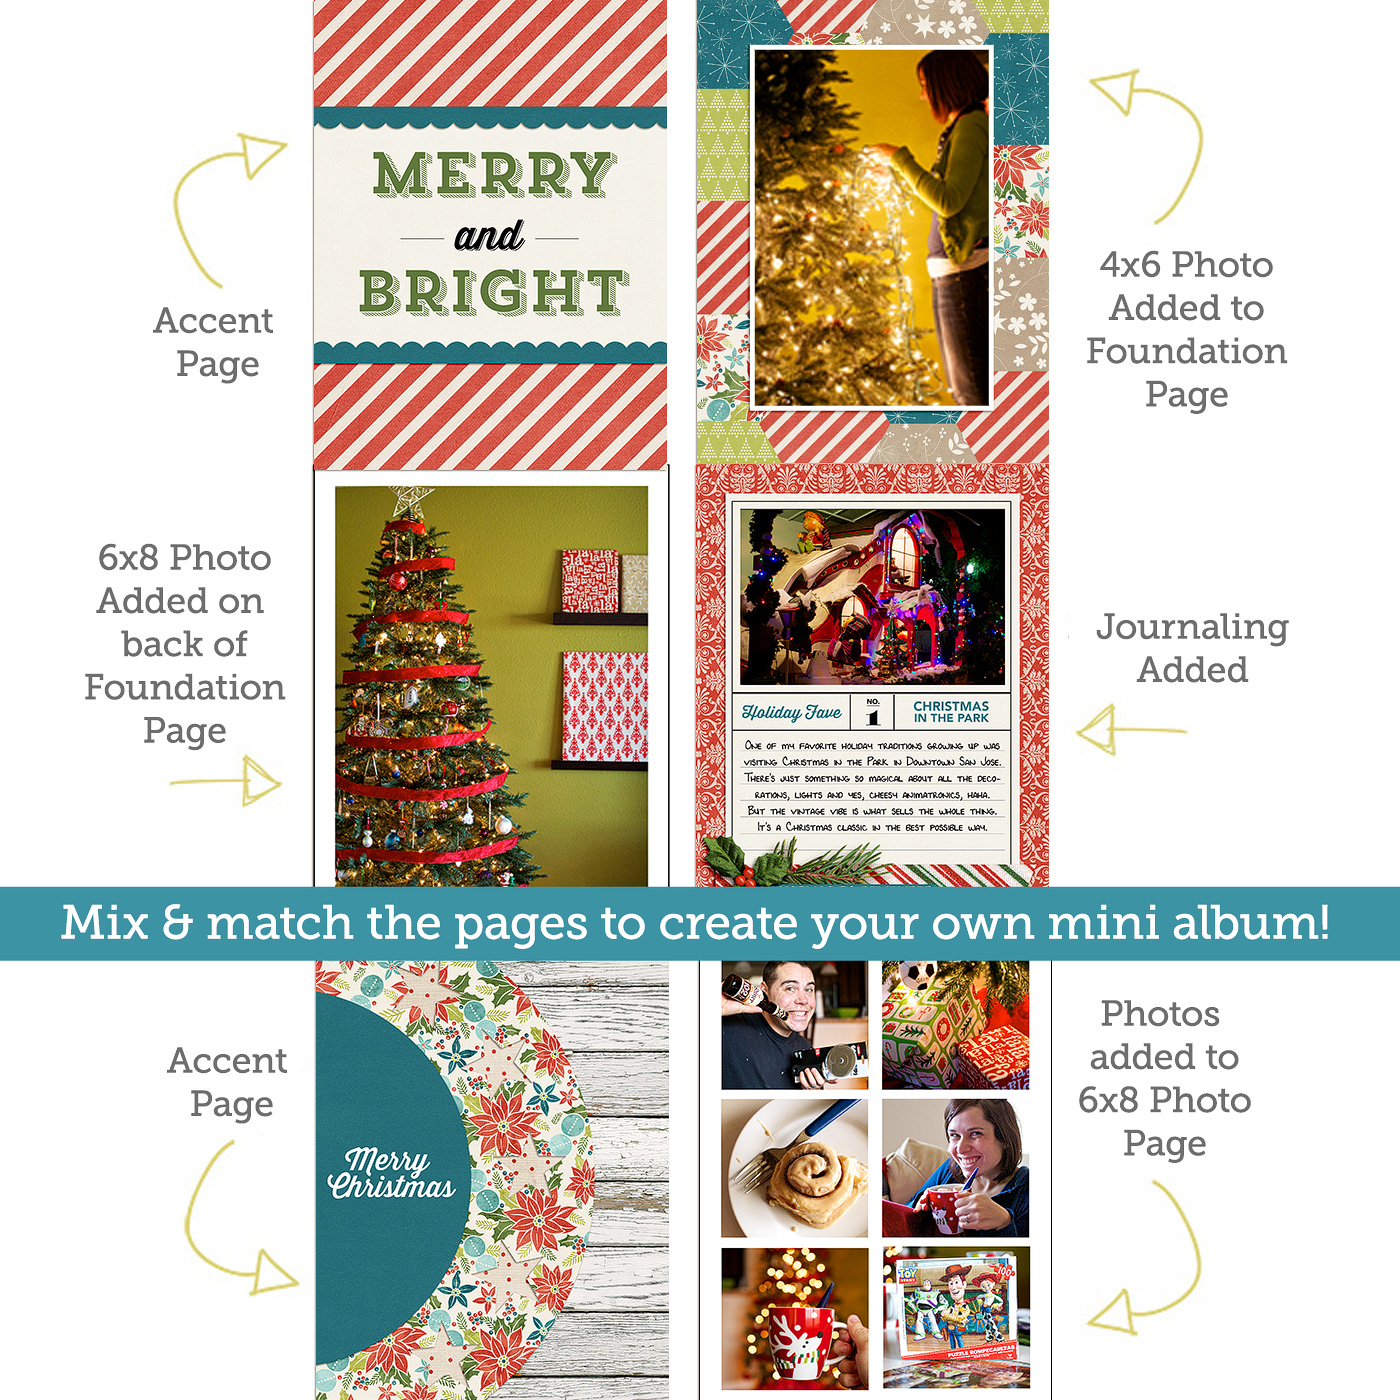
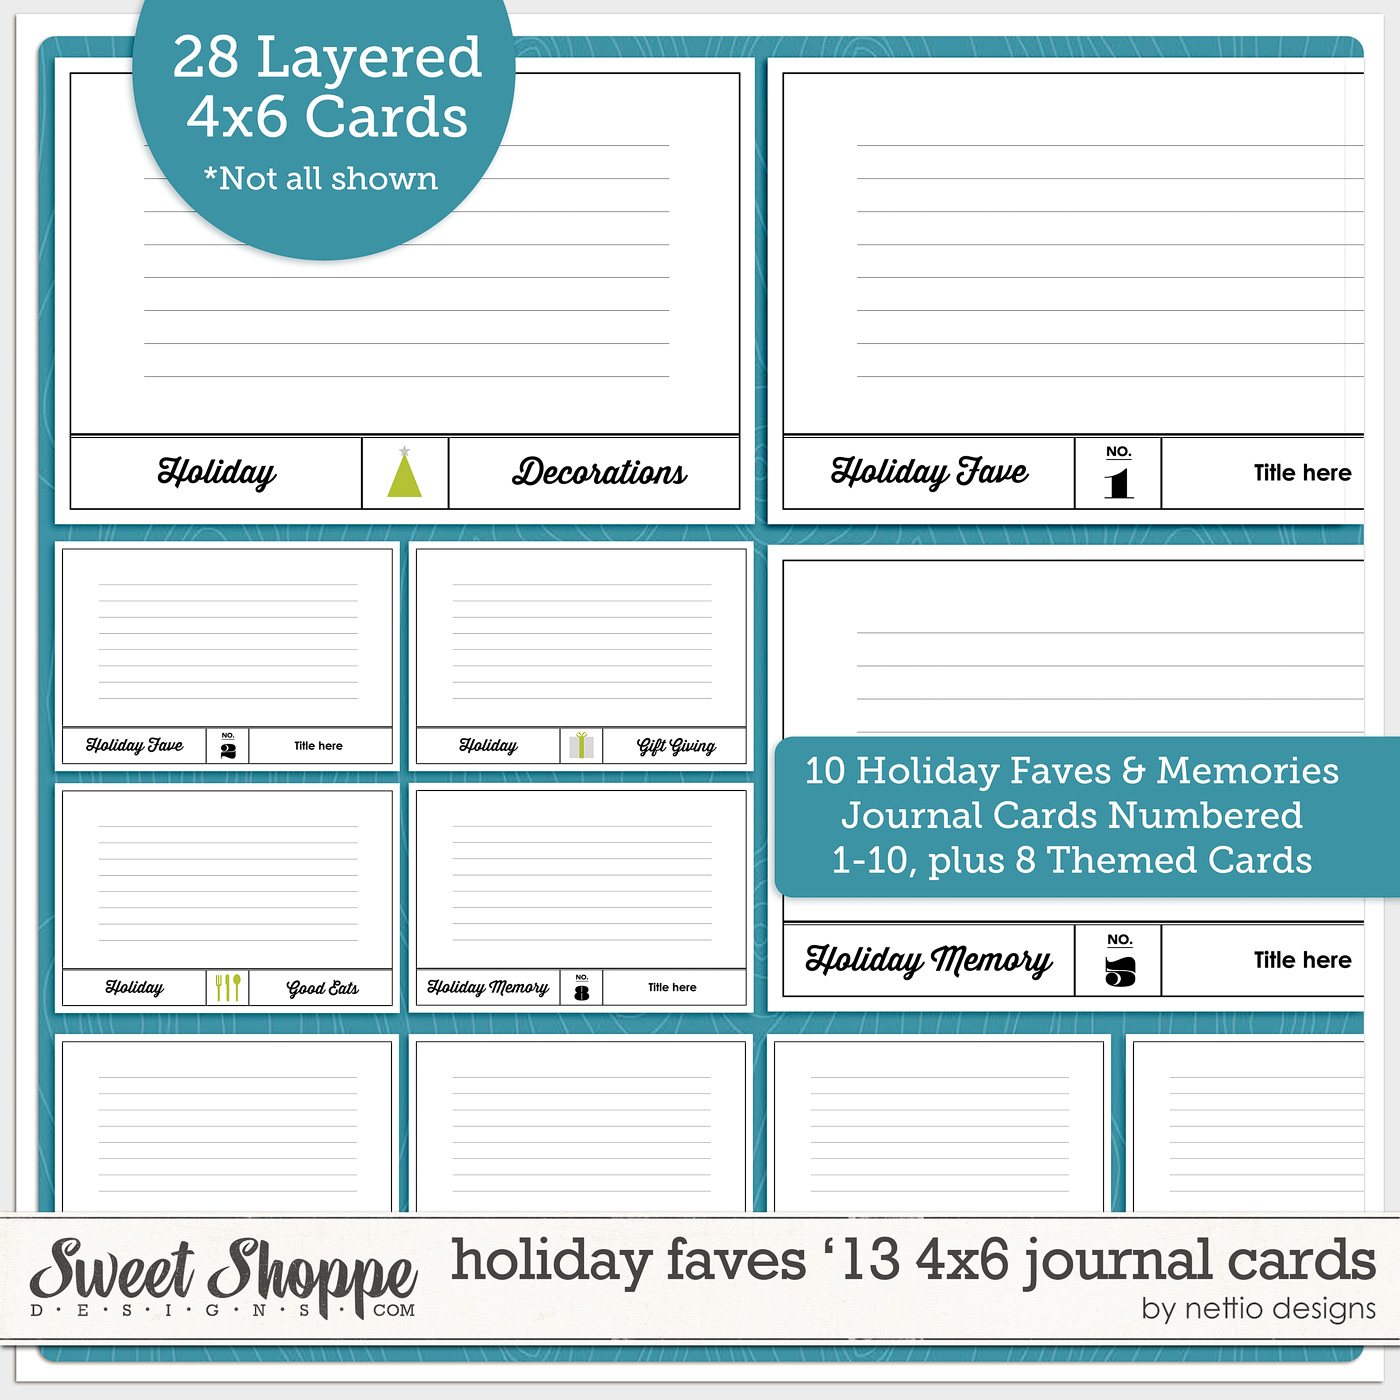
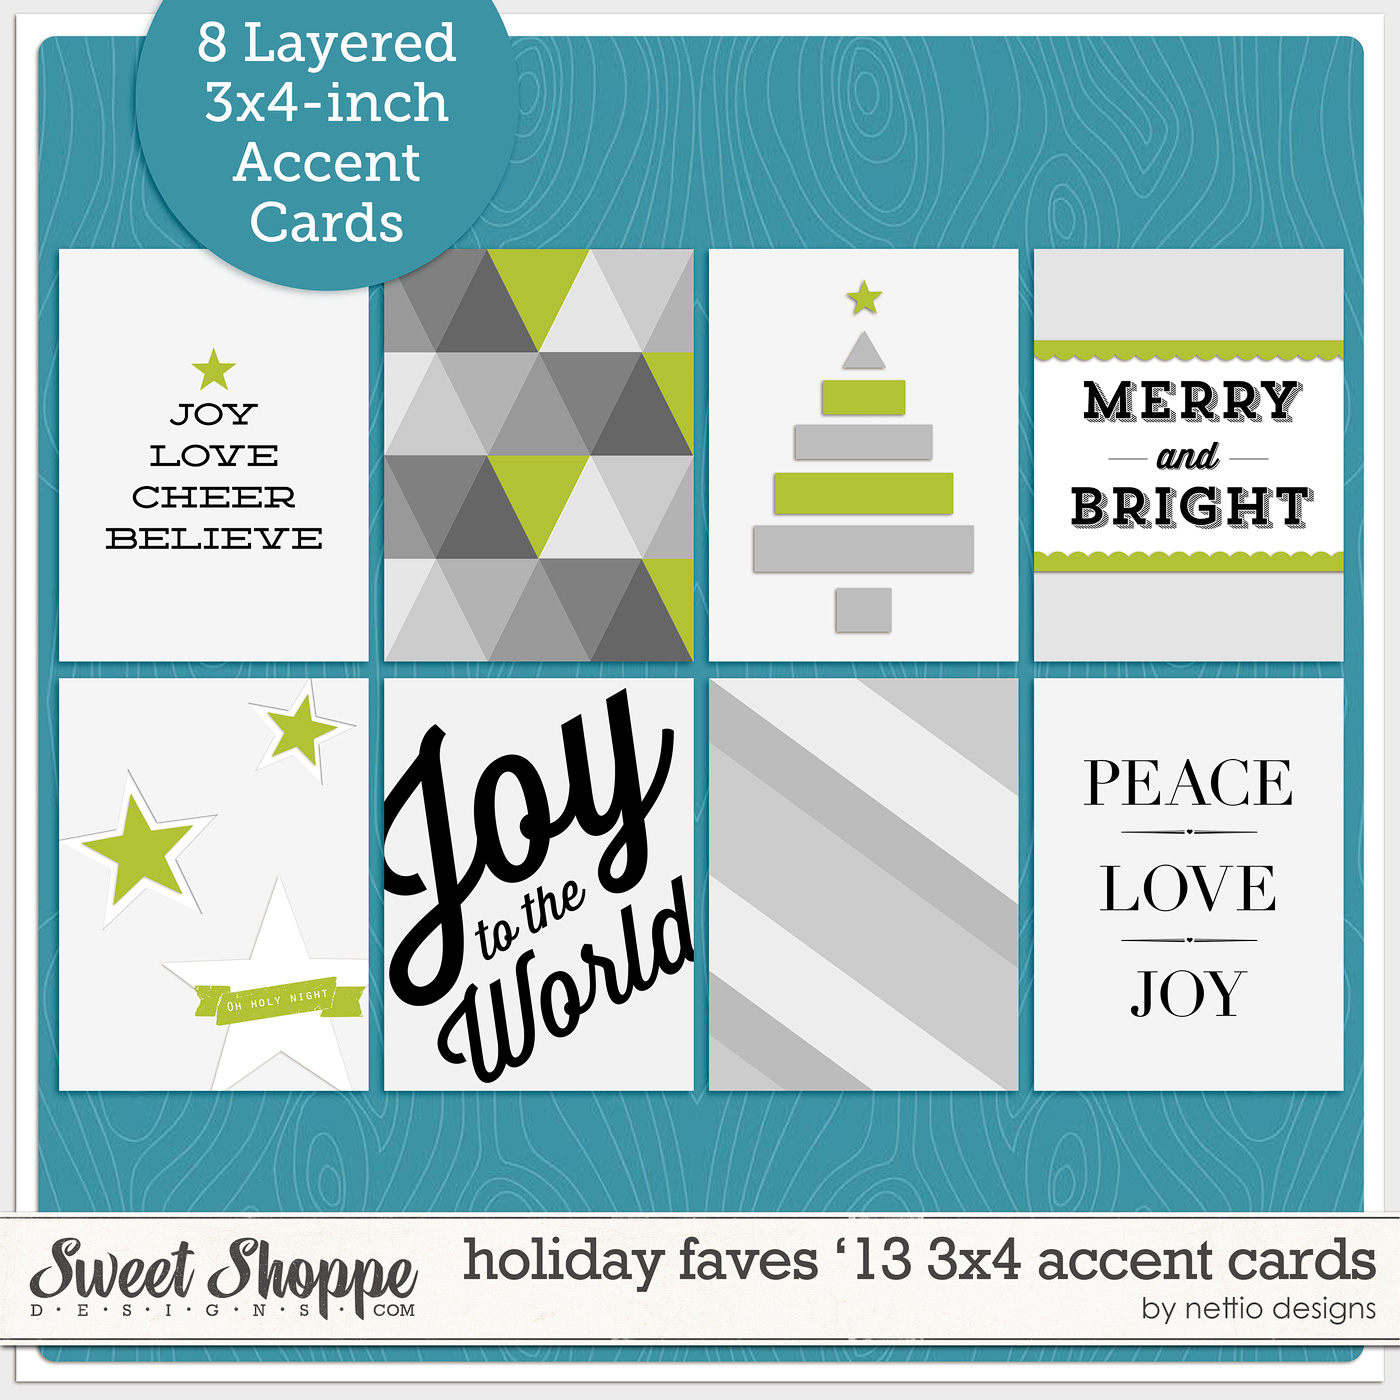
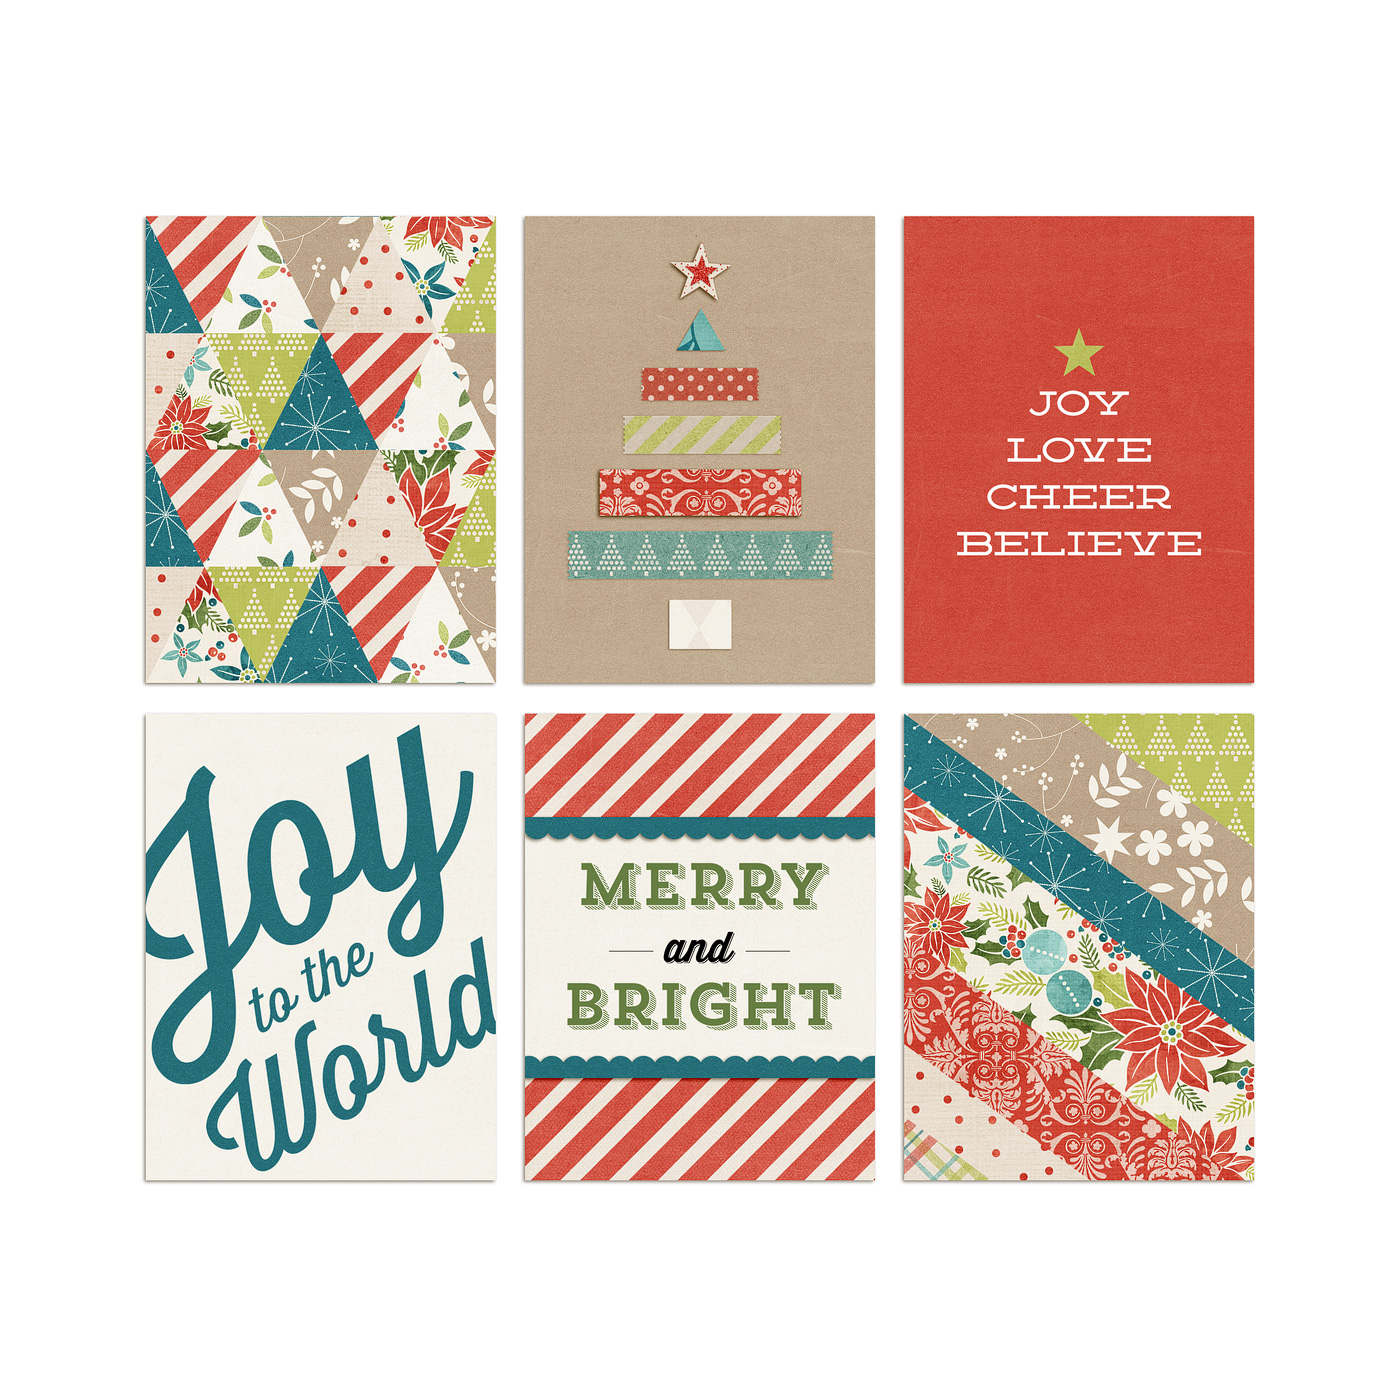
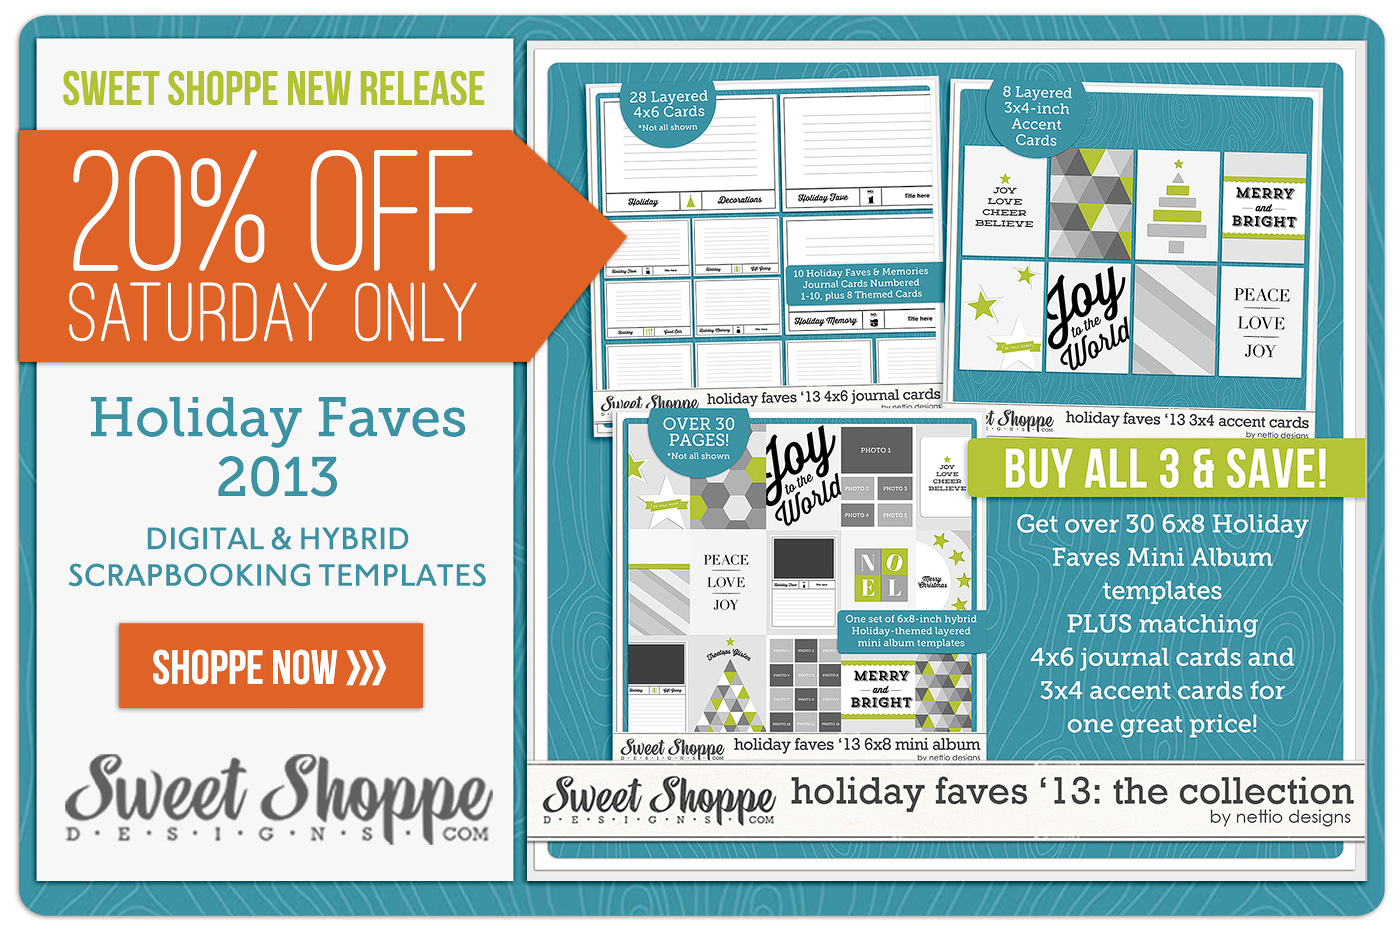
For the foundation of my album, I’m using my Holiday Faves 2013: The Collection templates (which you can purchase here at Sweet Shoppe Designs). One of my reasons for going with the Studio Calico Handbook album this year was I loved the idea of mixing in some additional pocket page protectors into my album, Project Life-style. So the templates include 6×8 mini album templates as well as additional 3×4 & 4×6 card templates.
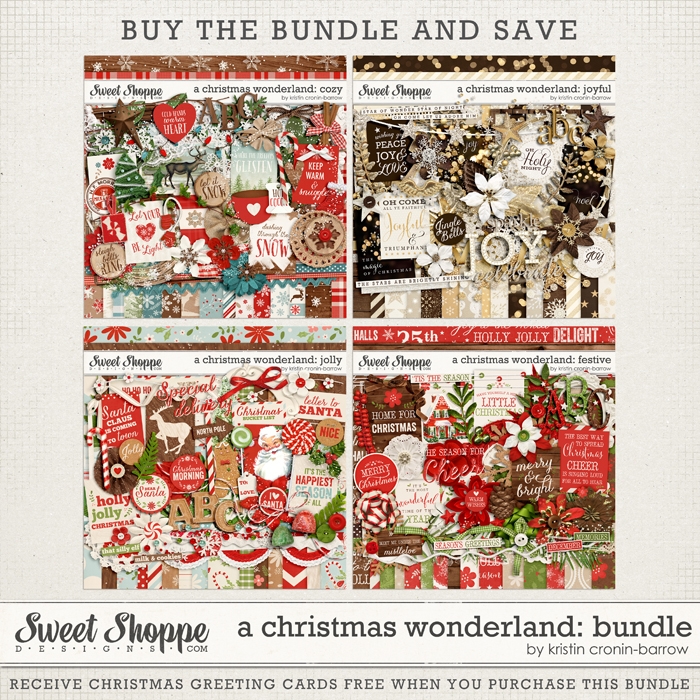
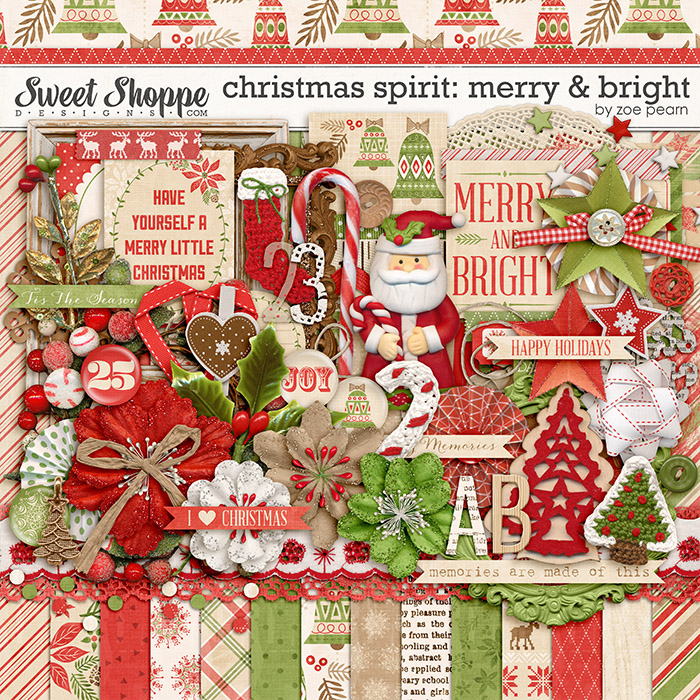
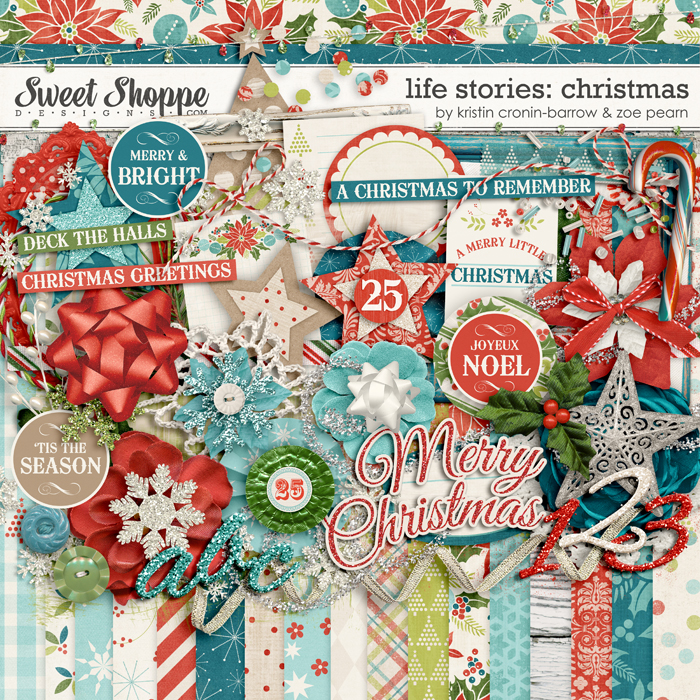
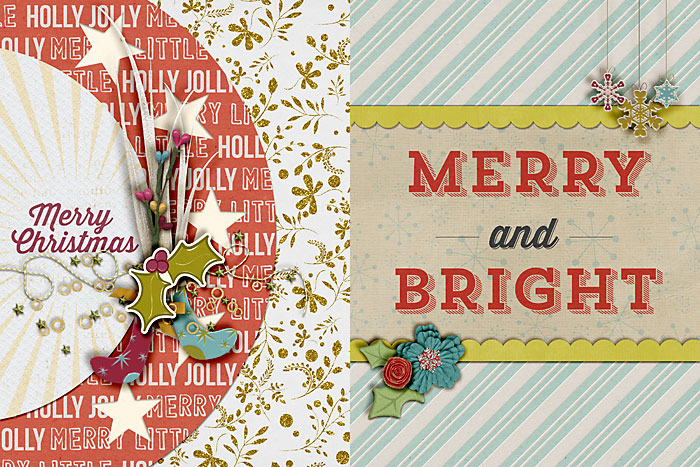
For my digi goodies, I’m using a combination of Christmas kits by Kristin & Zoe, as seen below. I’m normally primarily a kit scrapbooker, but for this project, I love mixing and matching to give myself more options. I just try to focus on a specific color scheme, in this case red/green/teal/cream/kraft with gold accents, to keep things from getting too crazy.
1. Holiday Faves 2013: The Collection by Nettio Designs; 2. A Christmas Wonderland Bundle by Kristin Cronin-Barrow; 3. Christmas Spirit: Merry & Bright by Zoe Pearn; 4. Life Stories: Christmas by Kristin Cronin-Barrow & Zoe Pearn.
Here’s a look at my foundation pages this year…
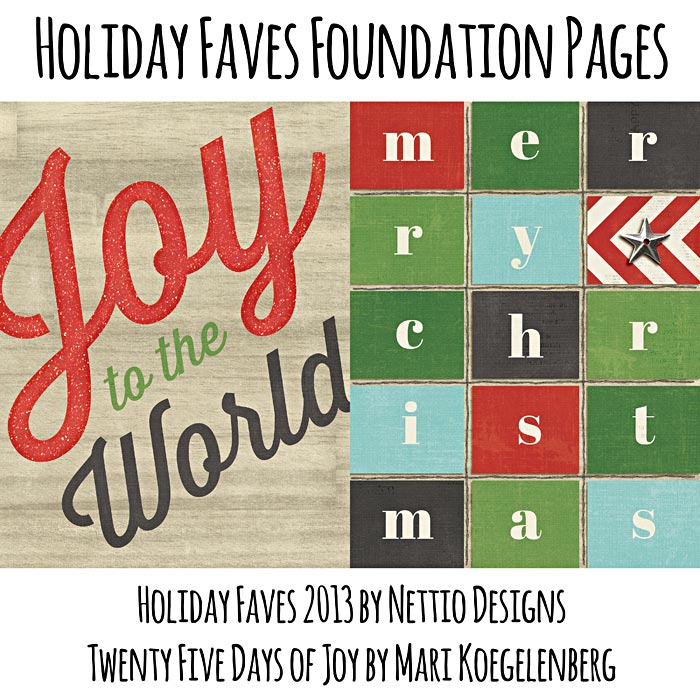
Holiday Faves 2013 Foundation Pages
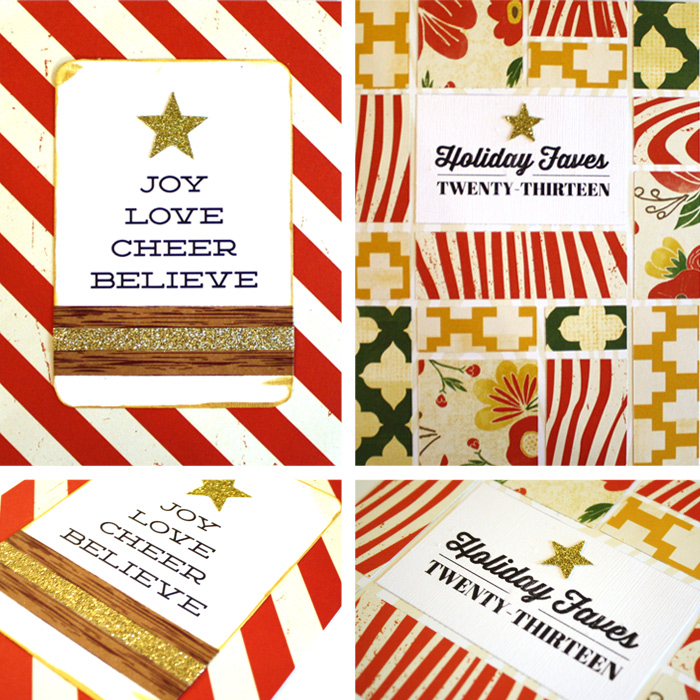
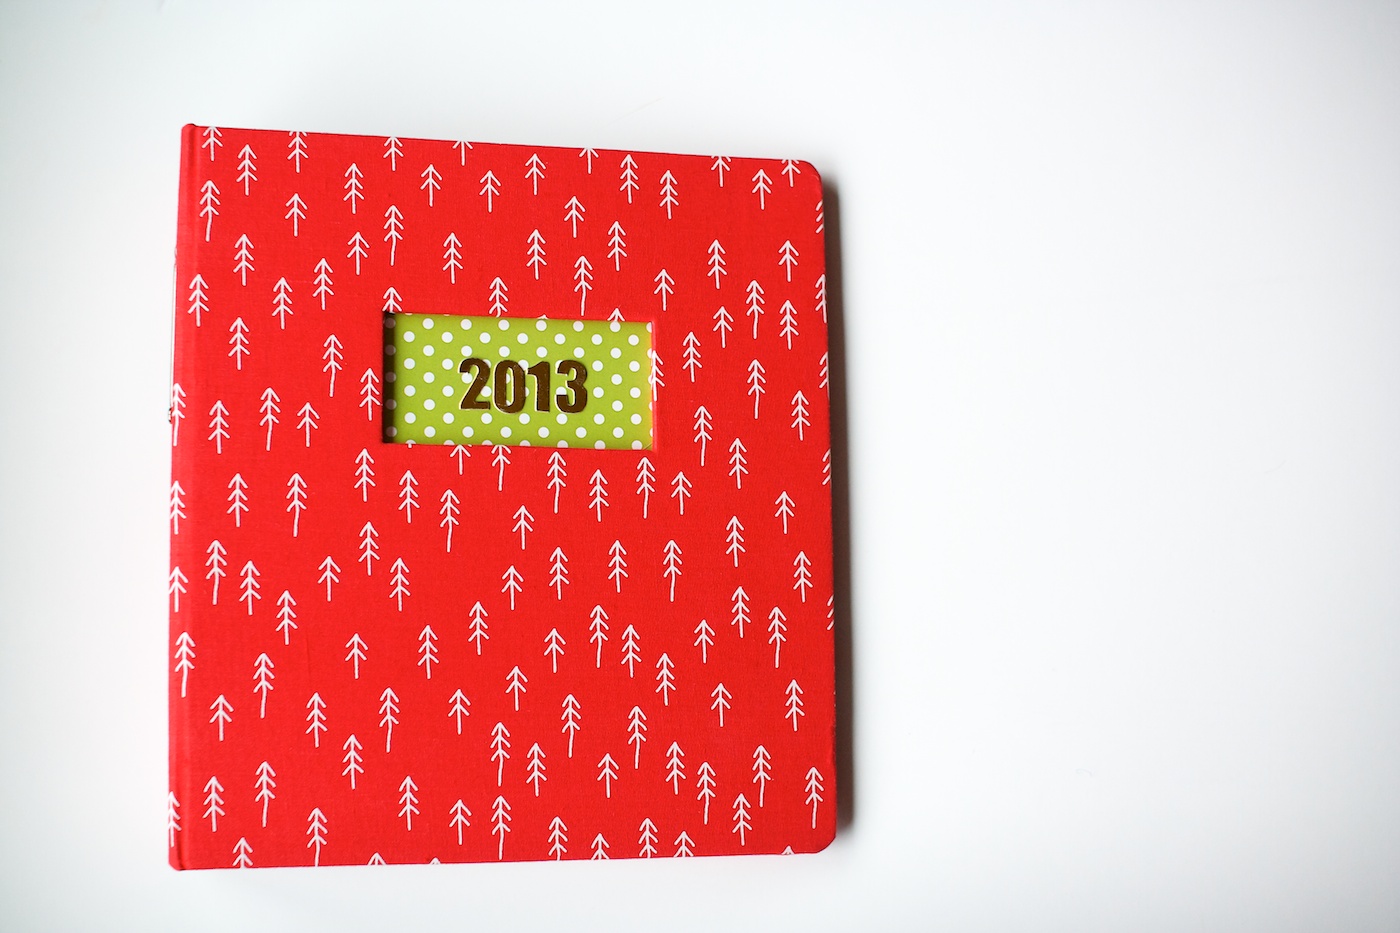
This year’s cover was really simple since the majority of the work had been done for me! Love that! For the window, I rotated and trimmed down a 3×4-inch green polka dot card and added gold 2013 letter stickers. Both are from Kelly Purkey’s December Project Life kit from Simon Says Stamp.
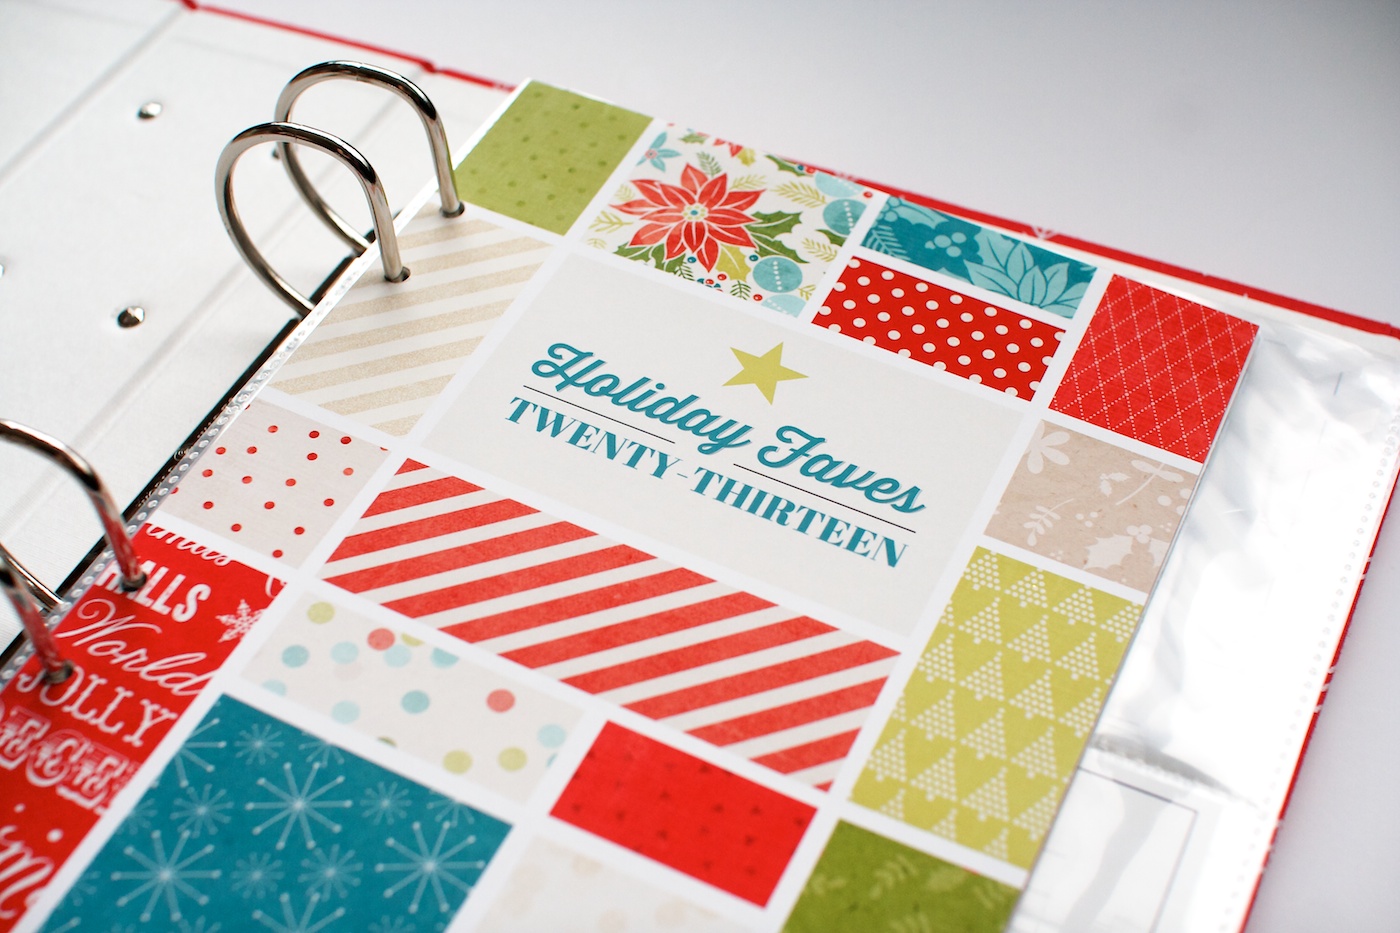
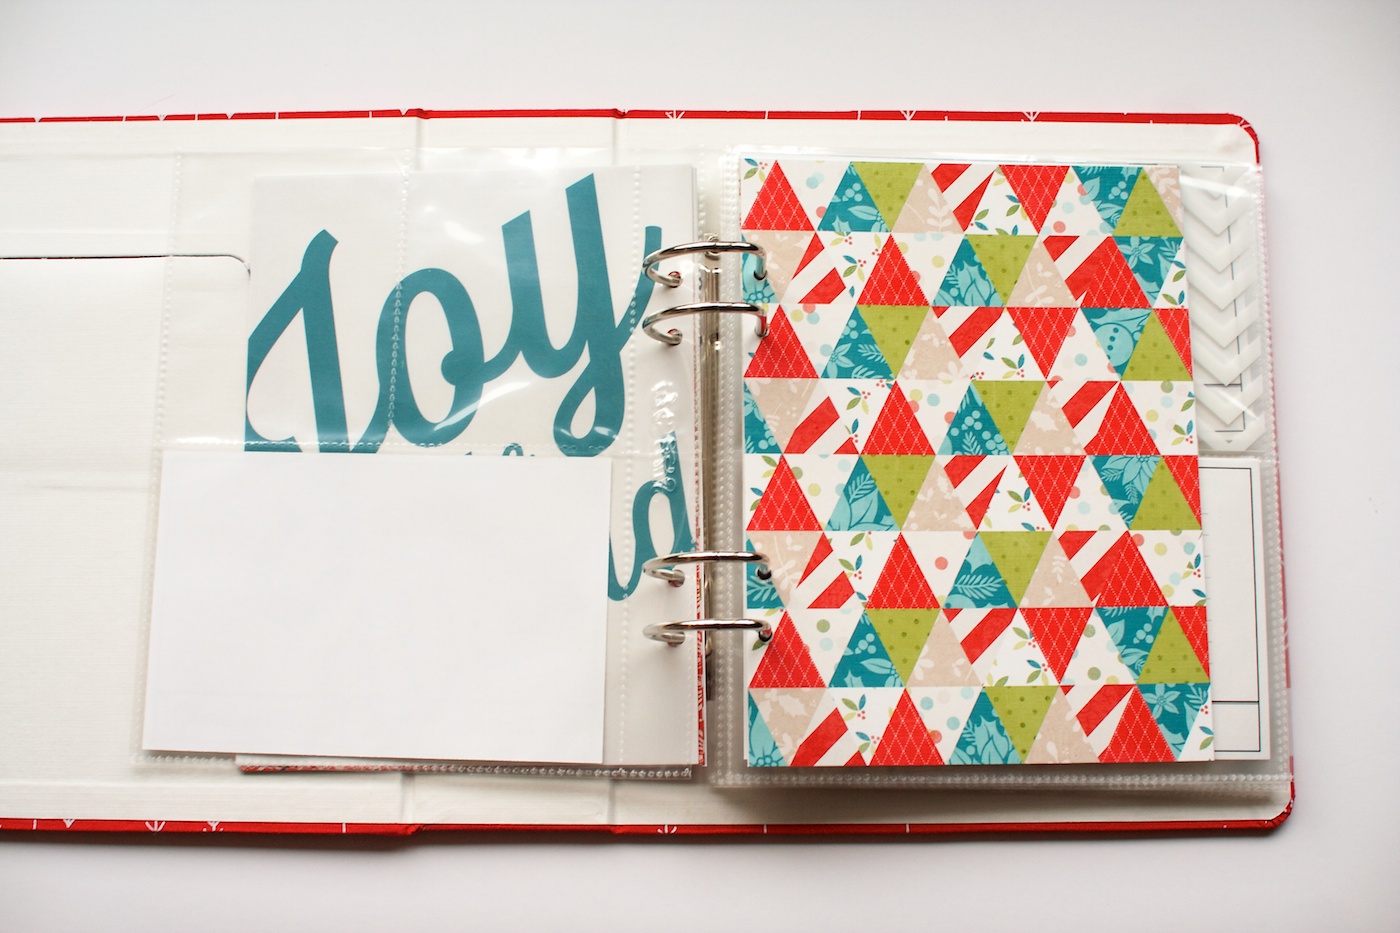
A look at the inside cover page. Can you really go wrong with a grid of delicious digi papers?
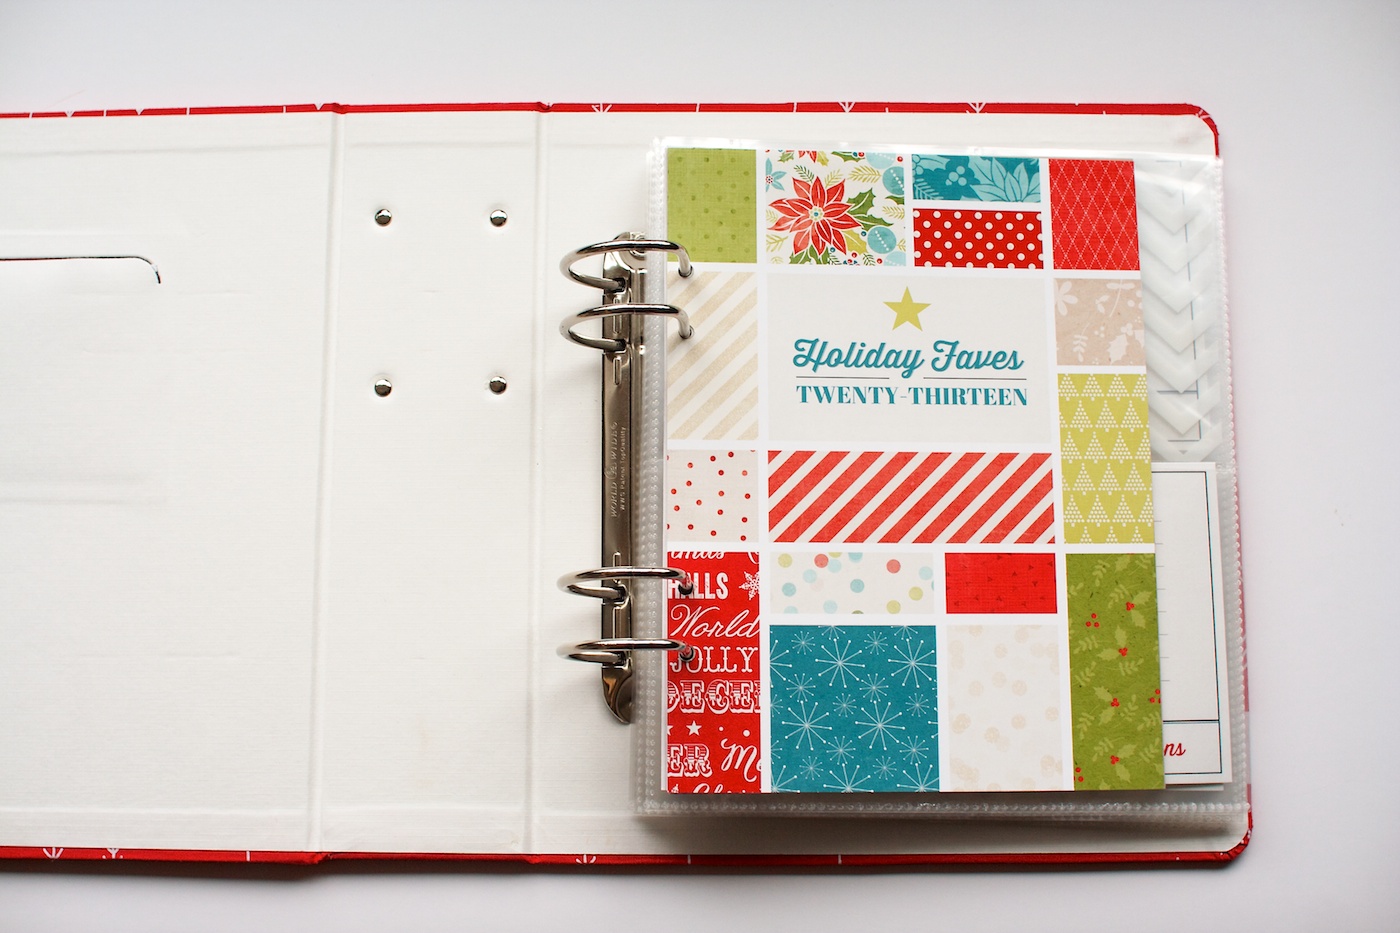
A closer look at the cover page. All of these pages were printed at home using my Epson photo printer on Epson Premium Presentation Matte paper. I fully expected I’d run out of ink part way so I was very excited when that didn’t happen!
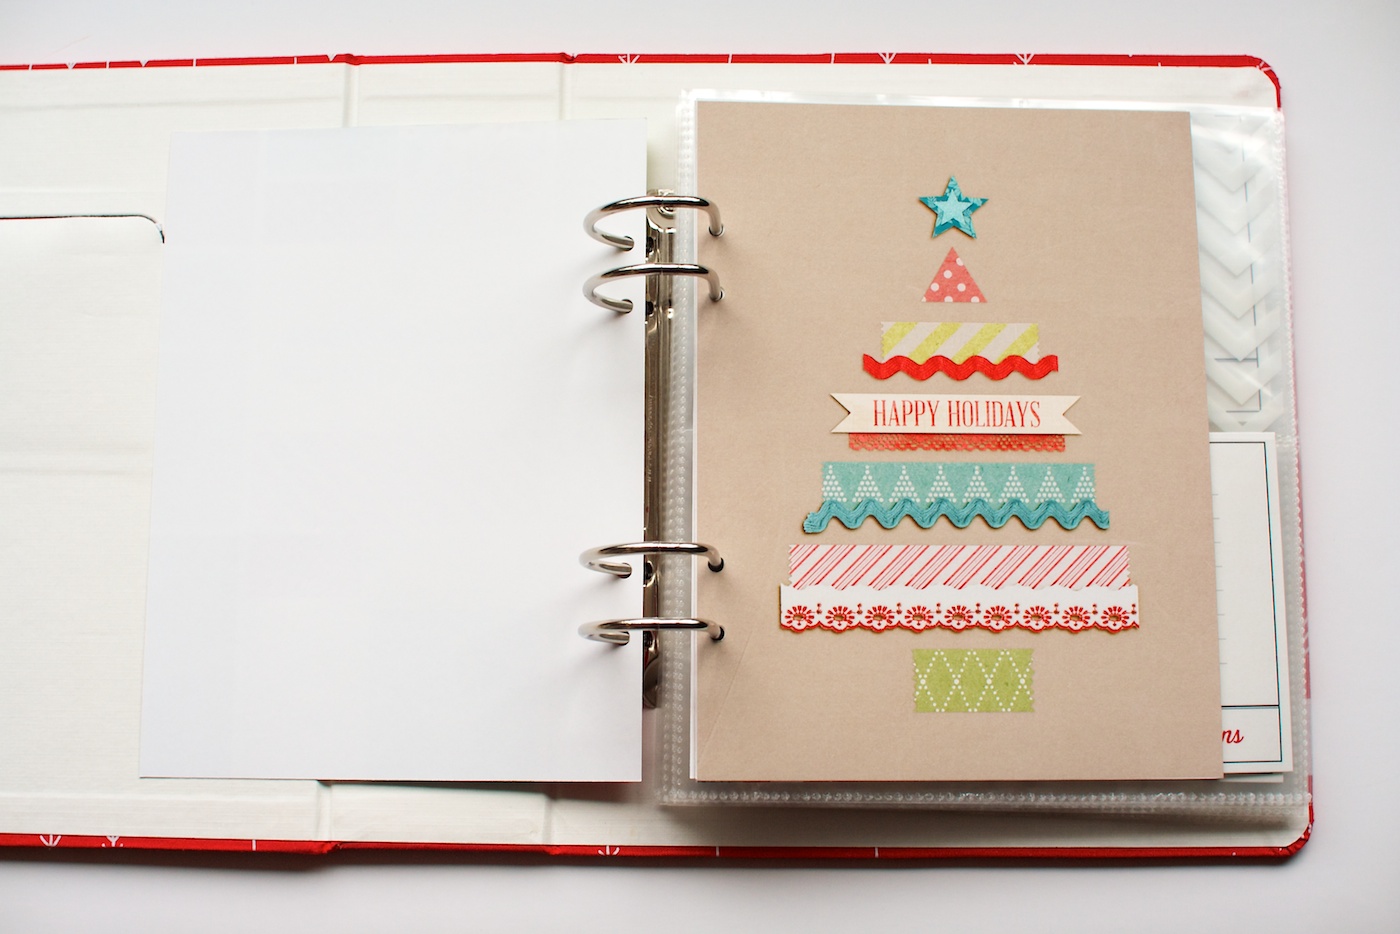
On the blank page on the left here, I plan to add a Christmas manifesto/why I made this album journal card. The page on the right uses one of my Holiday Faves 2013 templates, but instead of clipping paper to the template strips, I used digital washi tape and ribbon to give it a more crafty feel. I love how it turned out!
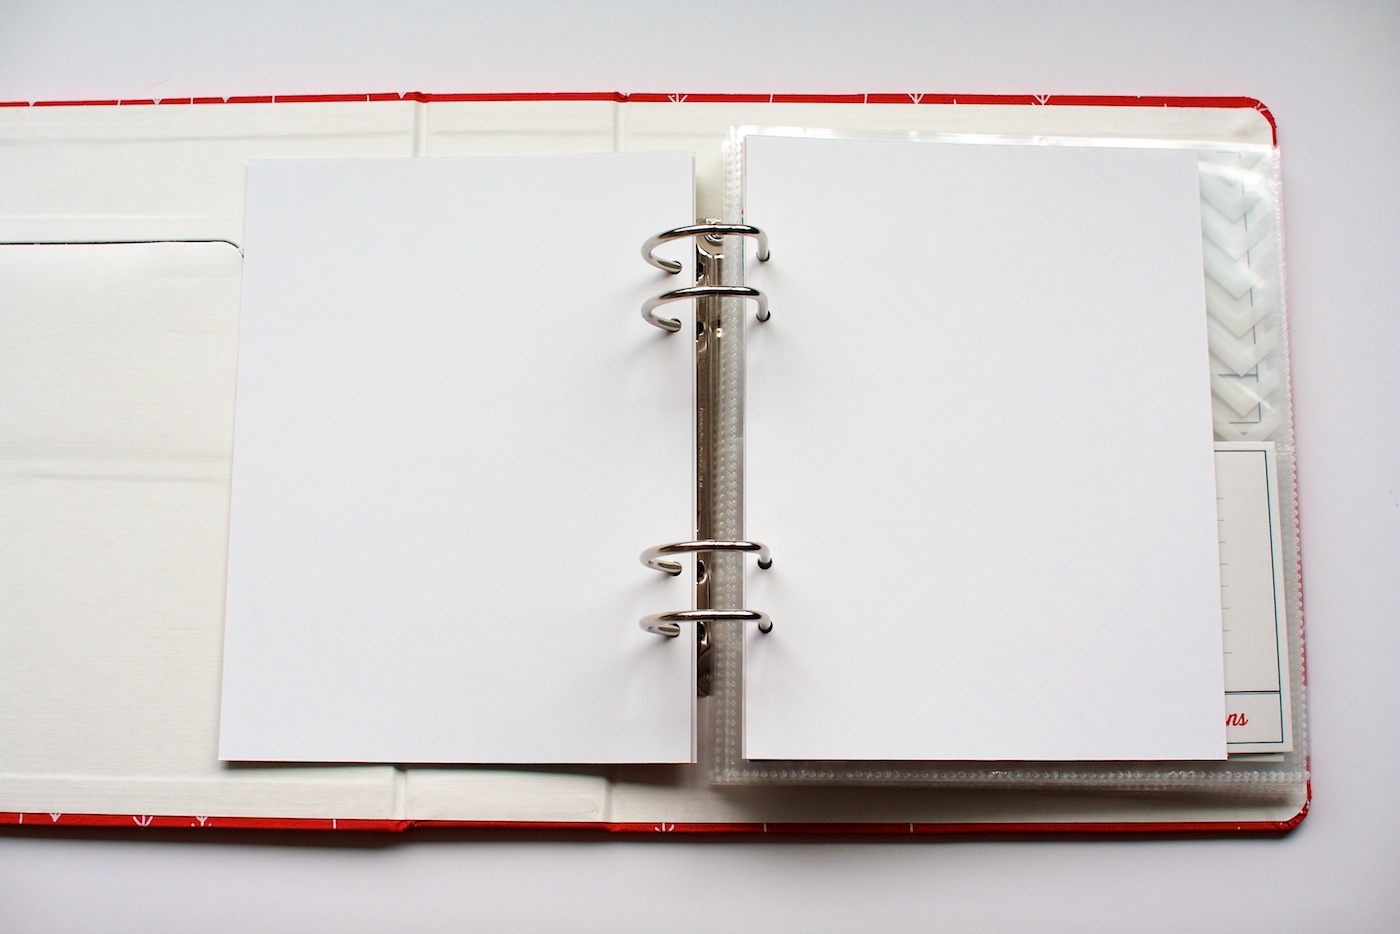
Since this is only the foundation of my mini album, none of the pages have been glued together, leaving lots of blank spreads like this. This gives me in the option to add photos or move pages around. Once I design the individual pages, I’ll glue them together to get rid of the blank pages.
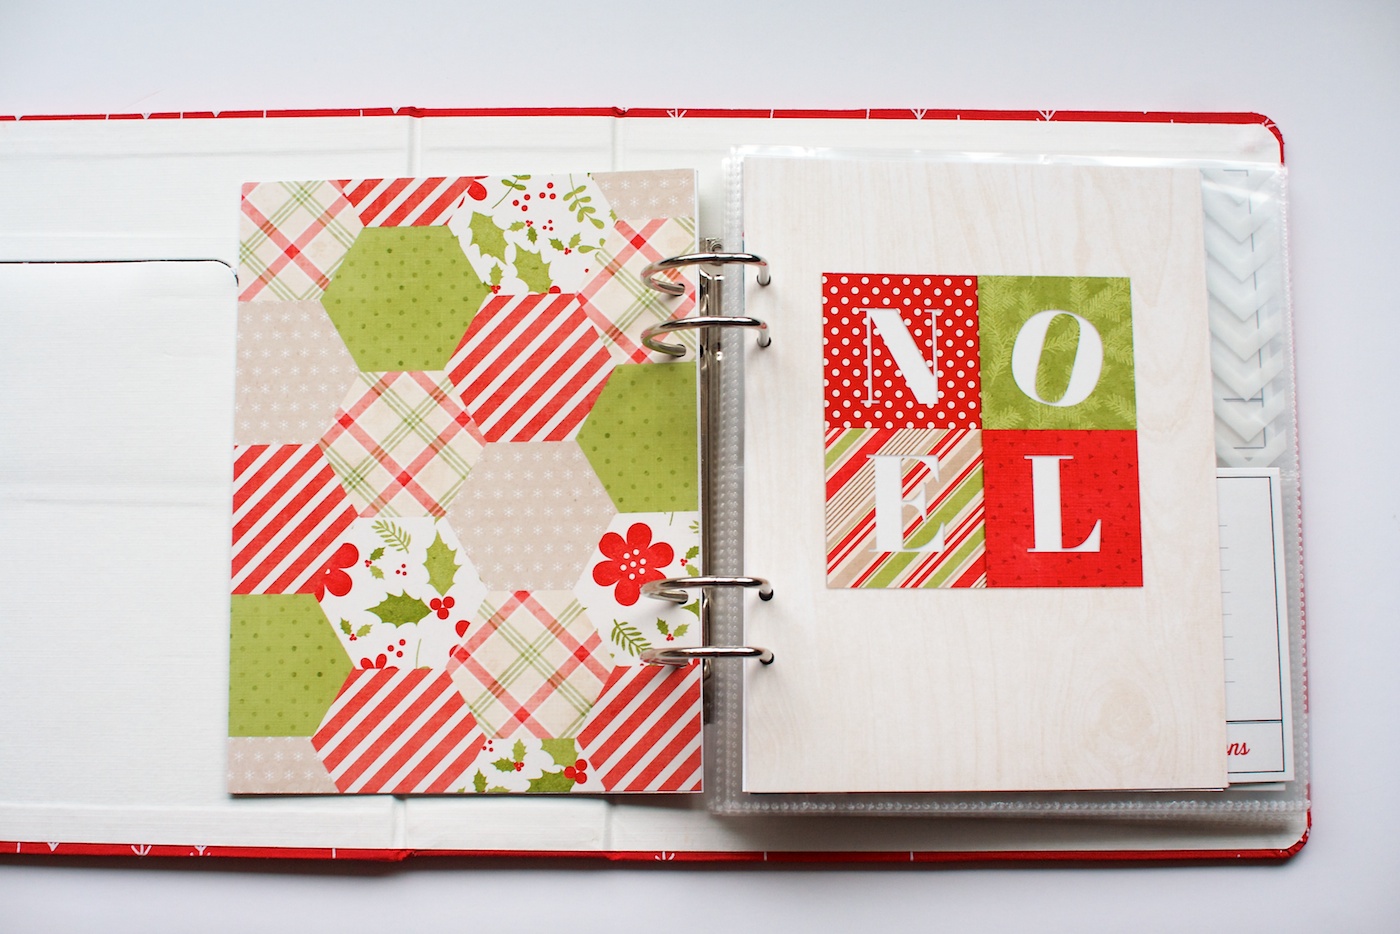
A foundation/accent page combo. I love these spreads because I can easily add a single photo or note for a story that maybe isn’t quite “fave” status. Right now I’m thinking I may go with a holiday bucket list on the left page here.
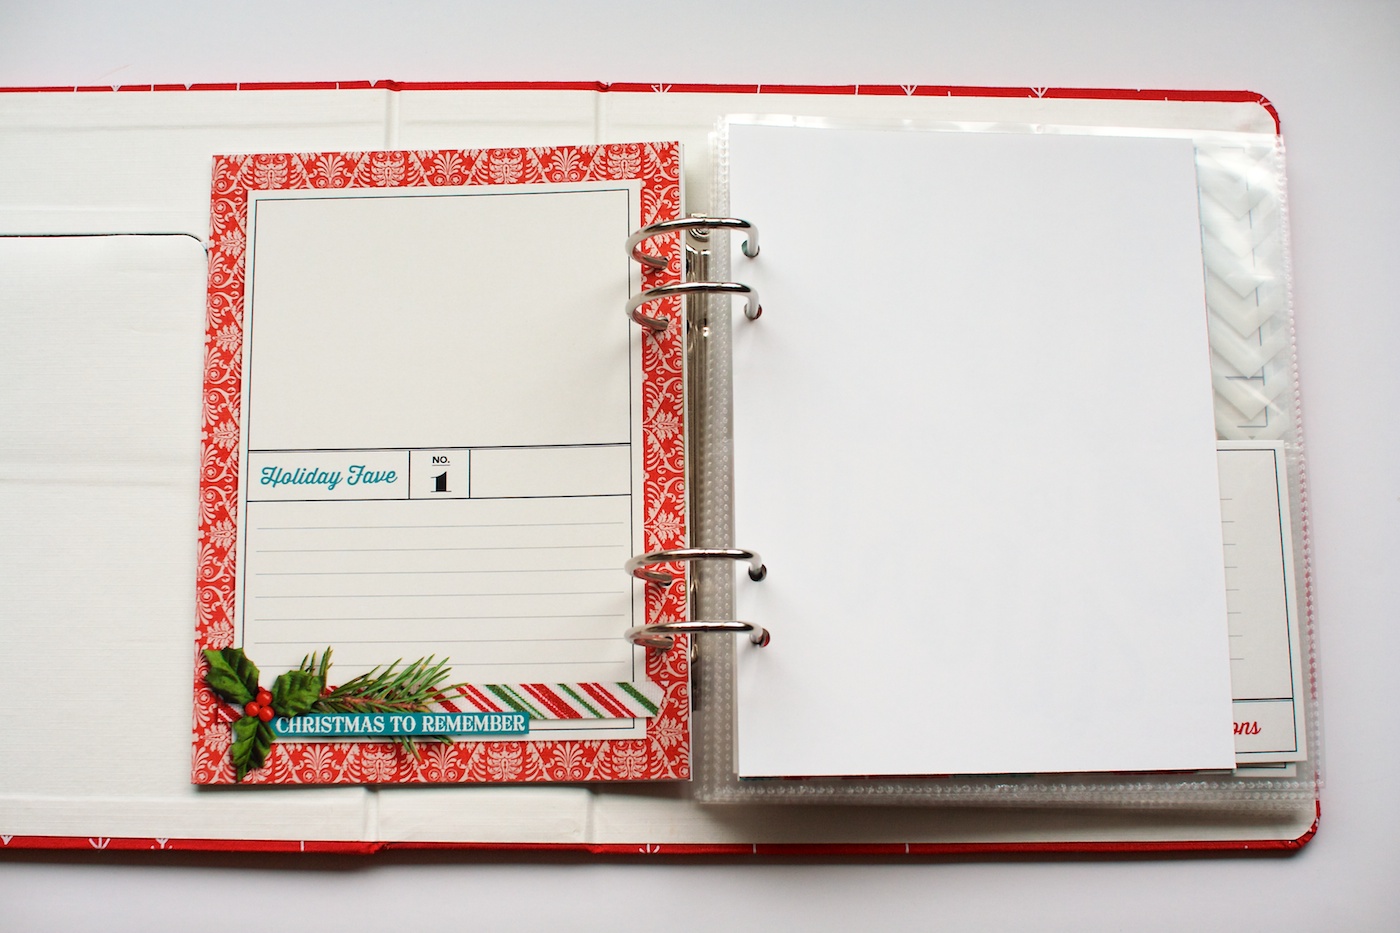
My first Holiday Faves journal card spread. I like to swap these left and right throughout the album as well as leave some blank pages for full-size photos.
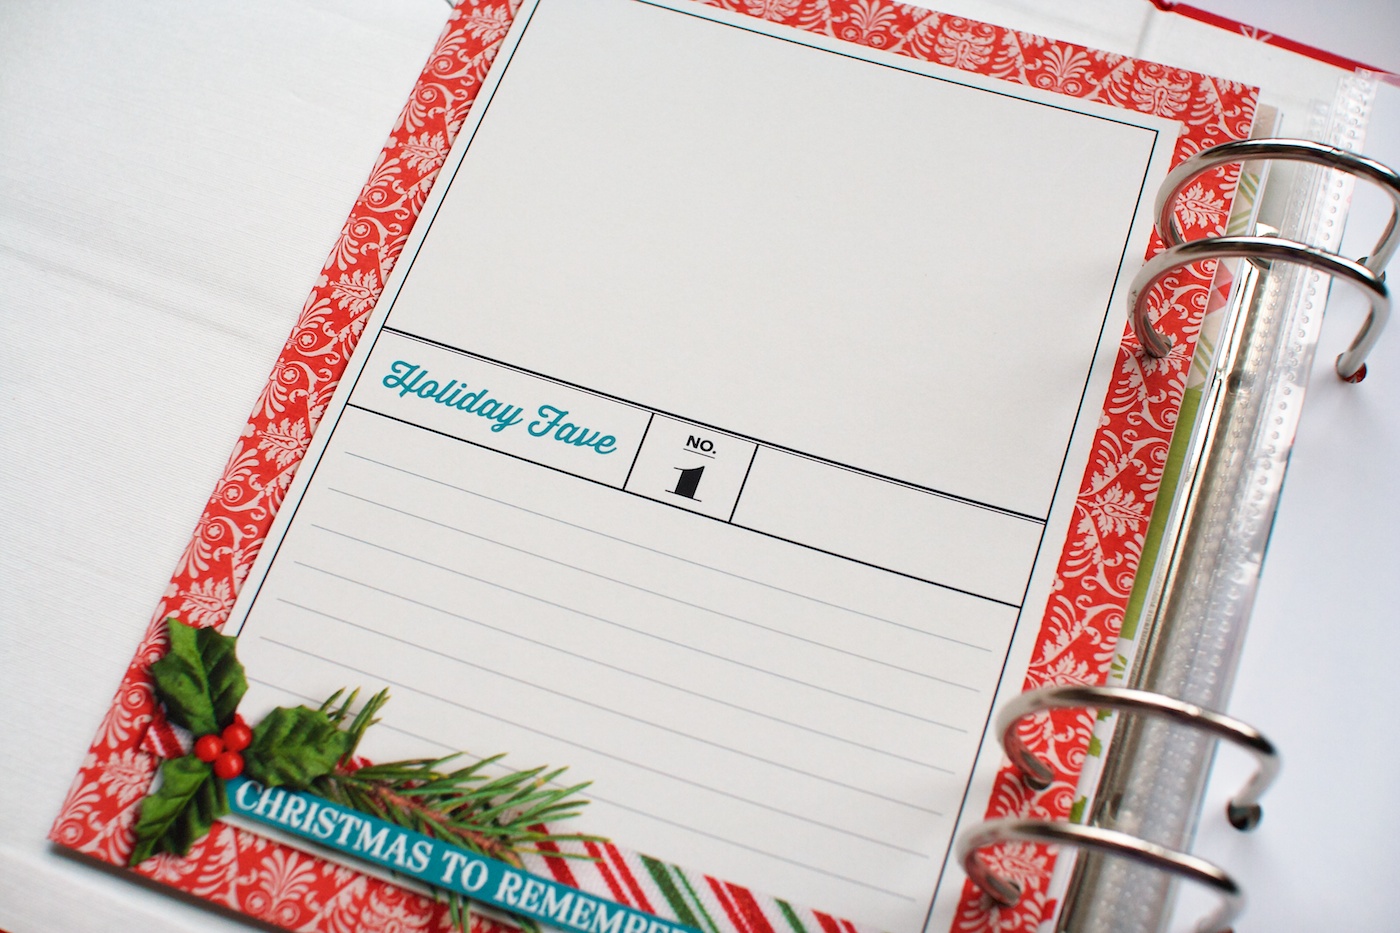
I’ll be handwriting all of my journaling so this year I got smart and added optional journaling lines to the Holiday Faves templates. Hopefully now my left-handed journaling won’t end up all slanty.
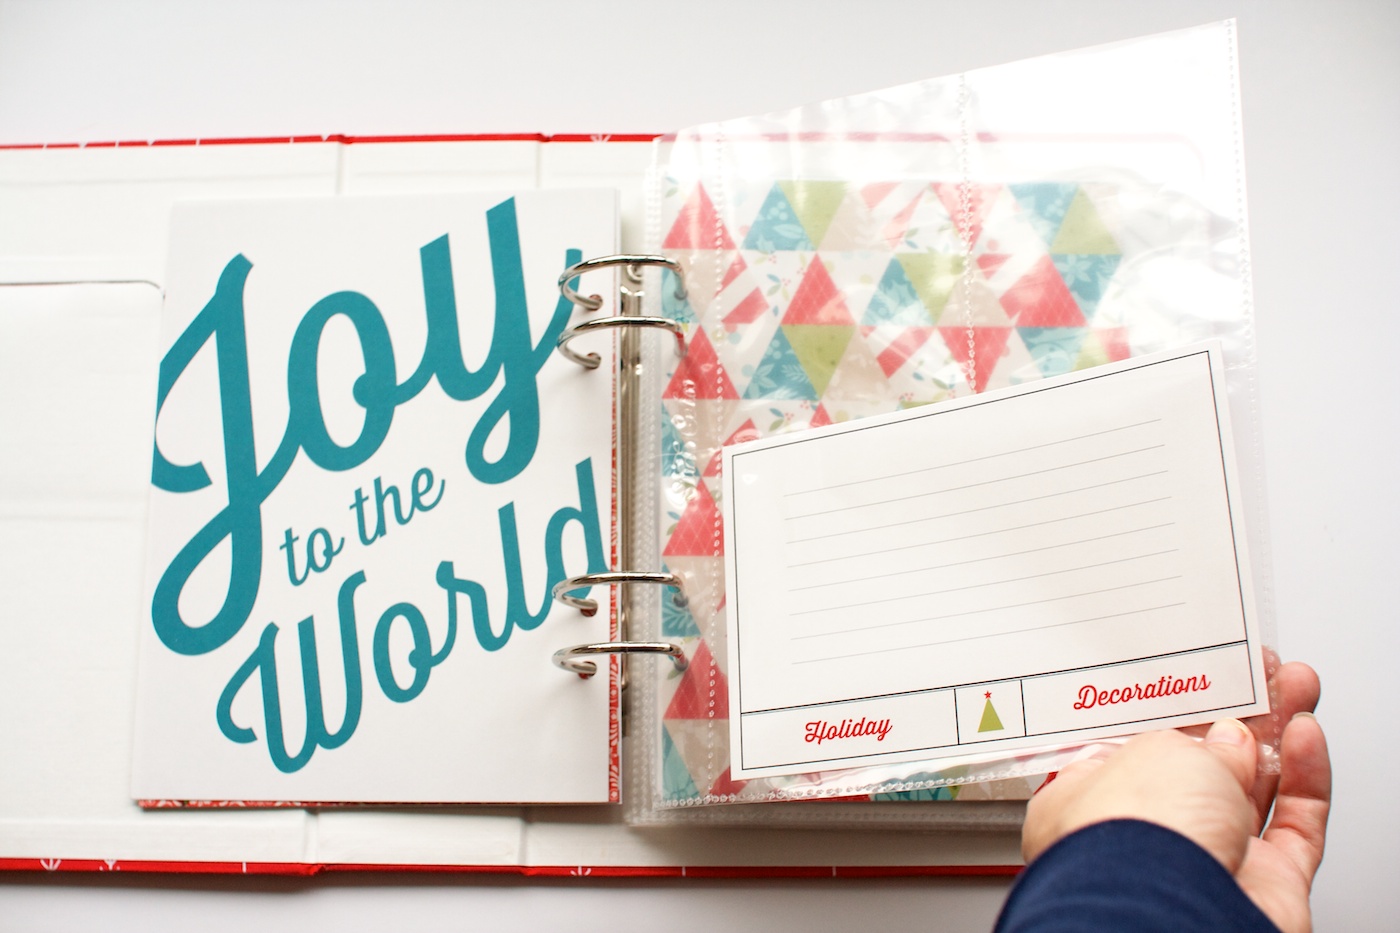
As I mentioned earlier, one of my reasons for choosing the Studio Calico Handbook album is it includes 6×8 divided page protectors as part of the album. I am planning to include a few of these in my album to capture some of the more general themed stories, like our holiday decorations or traditions. I like to reserve my faves for some of the more unique moments that don’t happen every year so this gives me a good way to include those stories still.
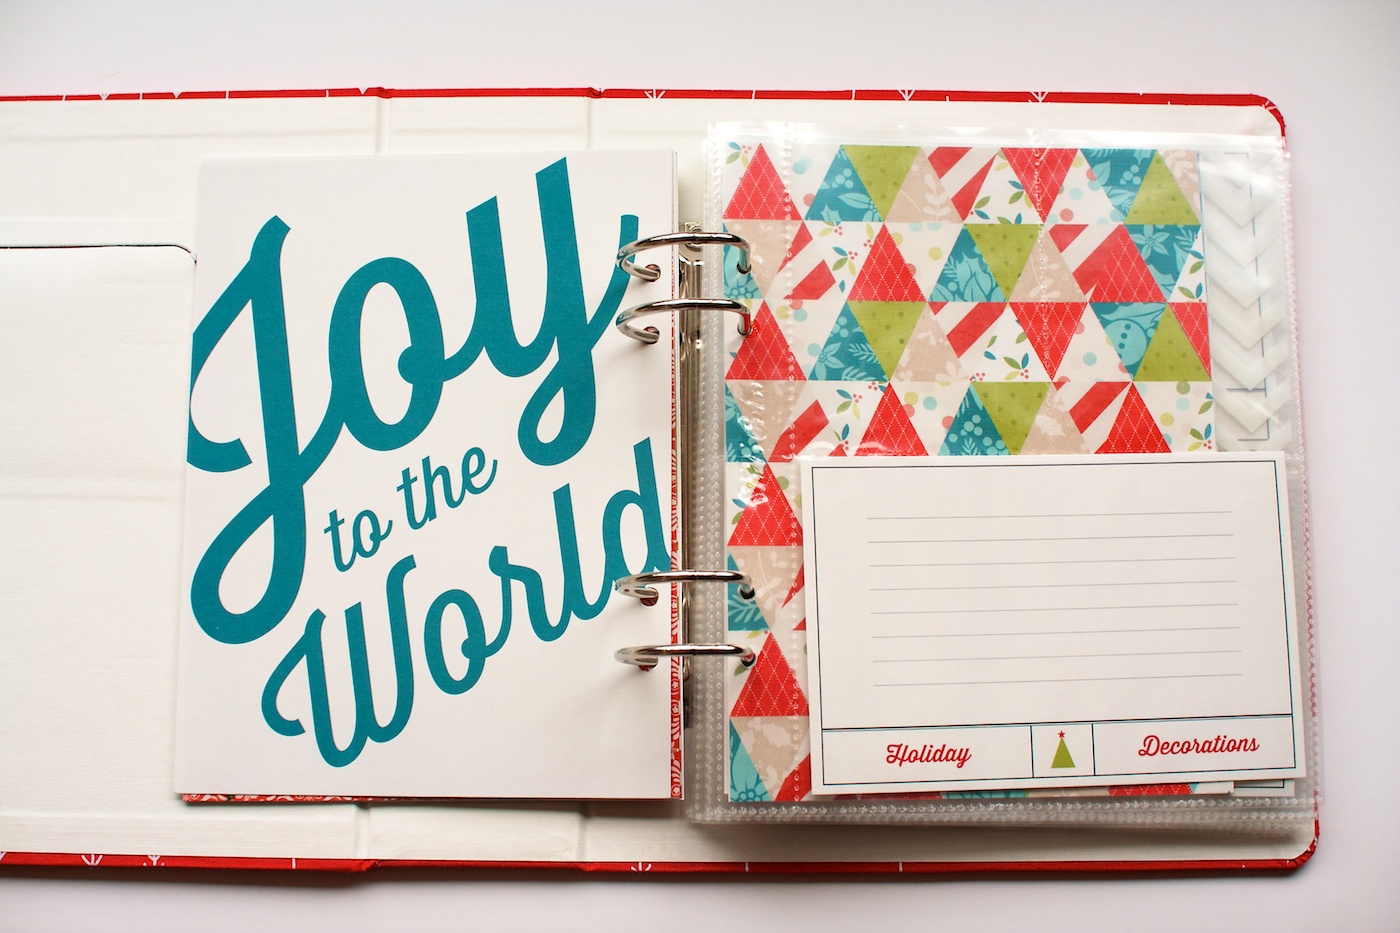
For now I’ve kept all of the page protectors empty except for my template cards, but I plan to add accents and photos to them as my album comes together.
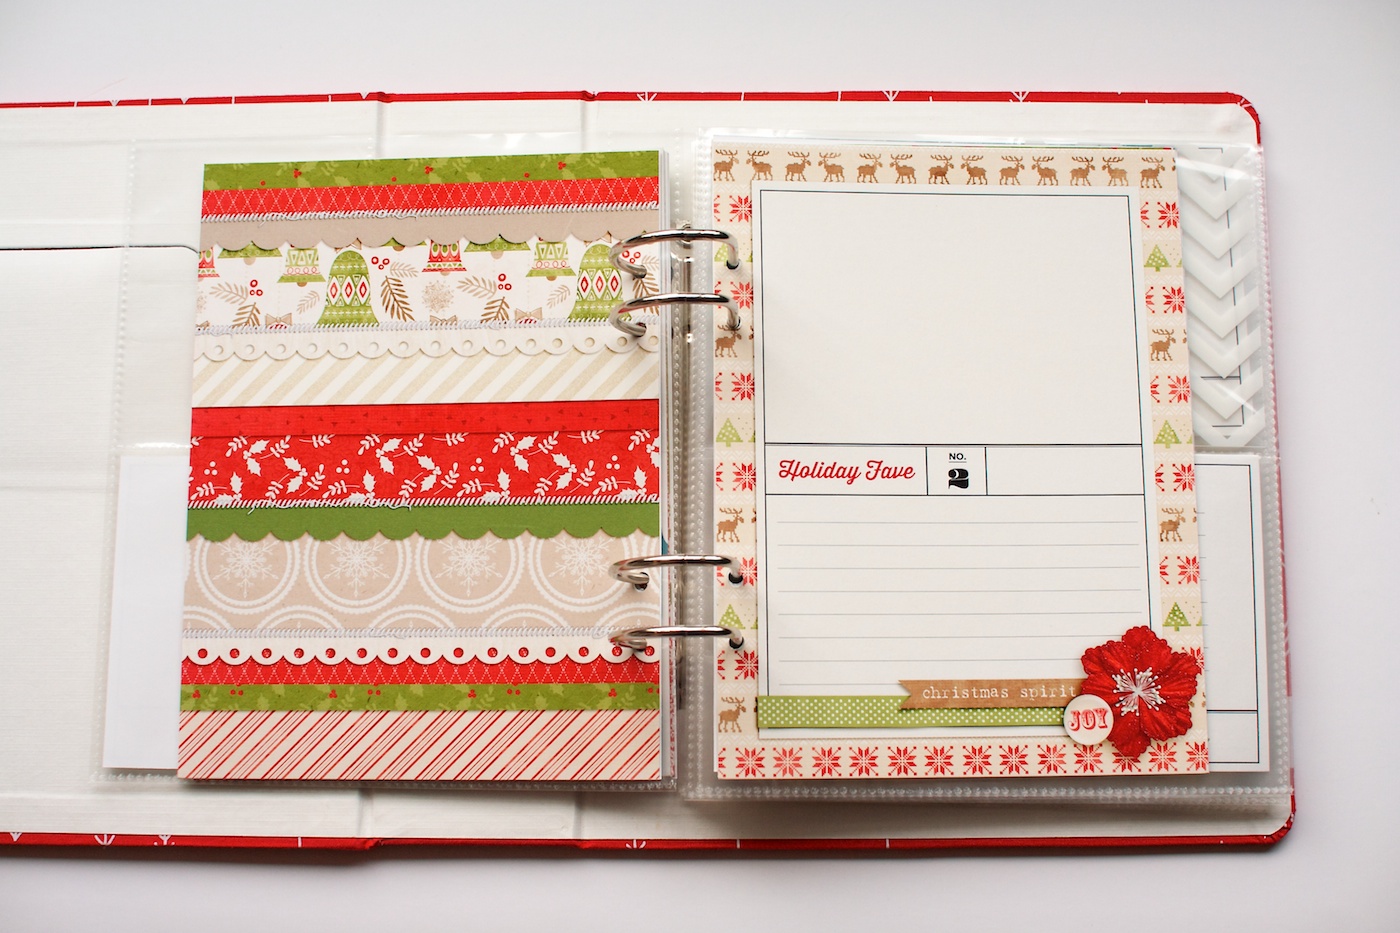
Holiday Faves No. 2, you can see this time it’s on the right (and the digital details are flipped to match that so nothing gets cut off by the album holes.
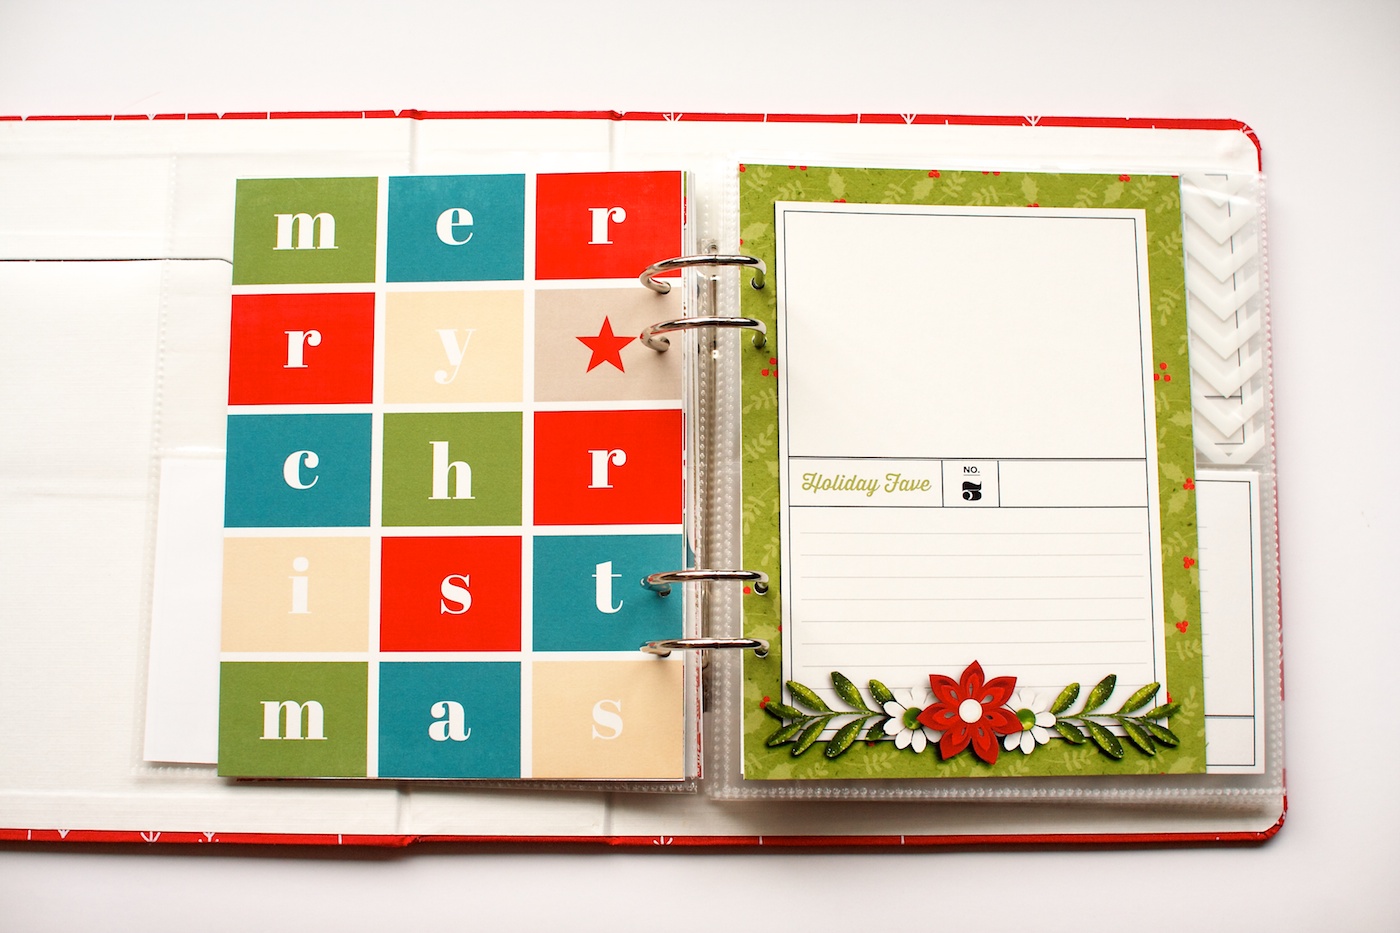
Holiday Fave No. 3…
Another holiday themed pocket protector, this time Holiday Traditions…
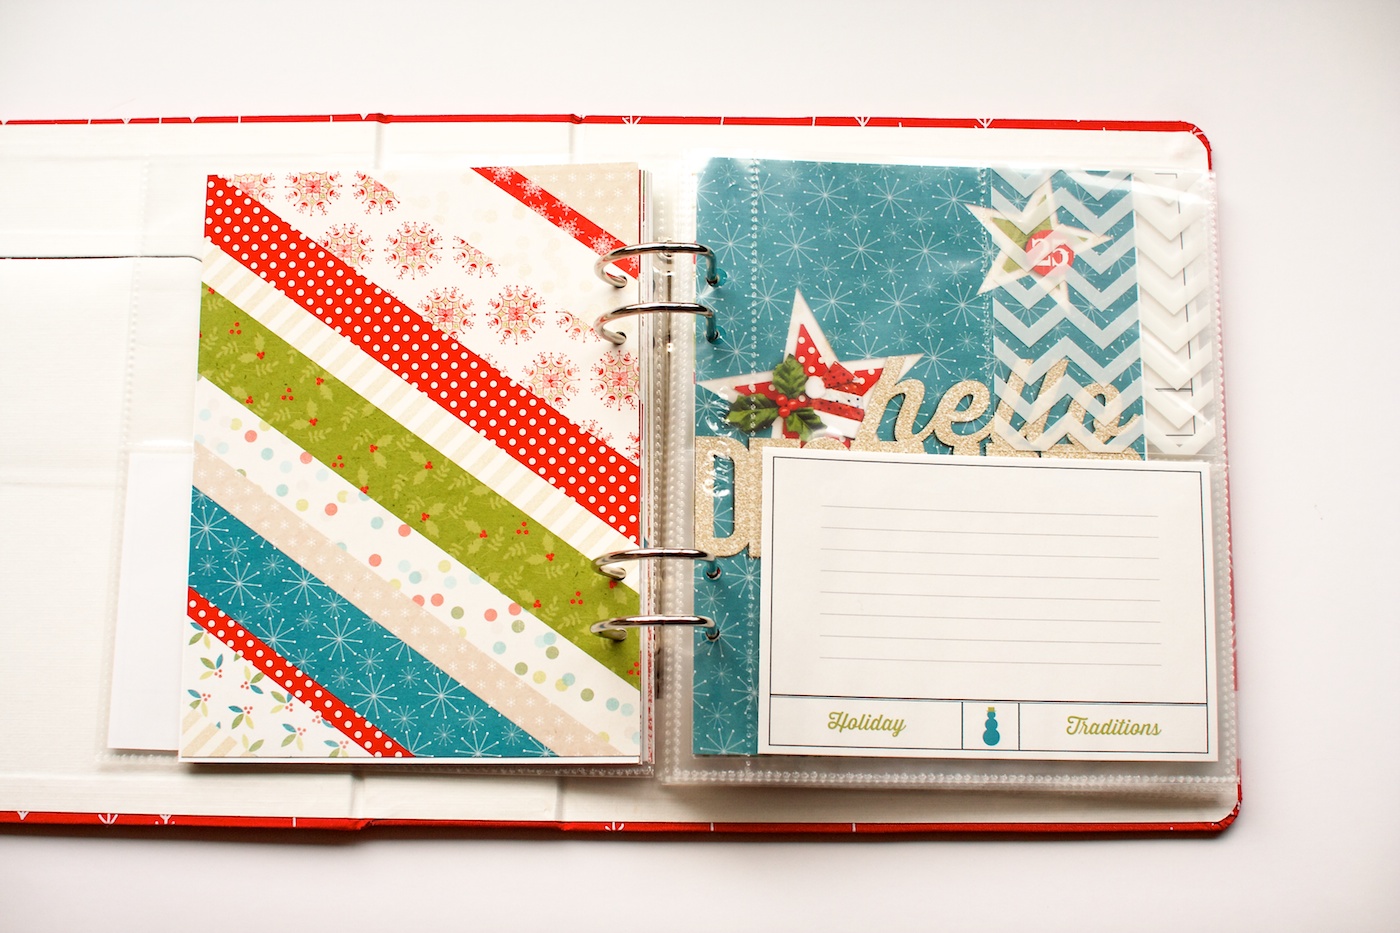
The gold hello December on the right side of the page is from Mari’s Twenty Five Days of Joy kit. It comes in silver but I recolored it gold using the Hue/Saturation slider in Photoshop.
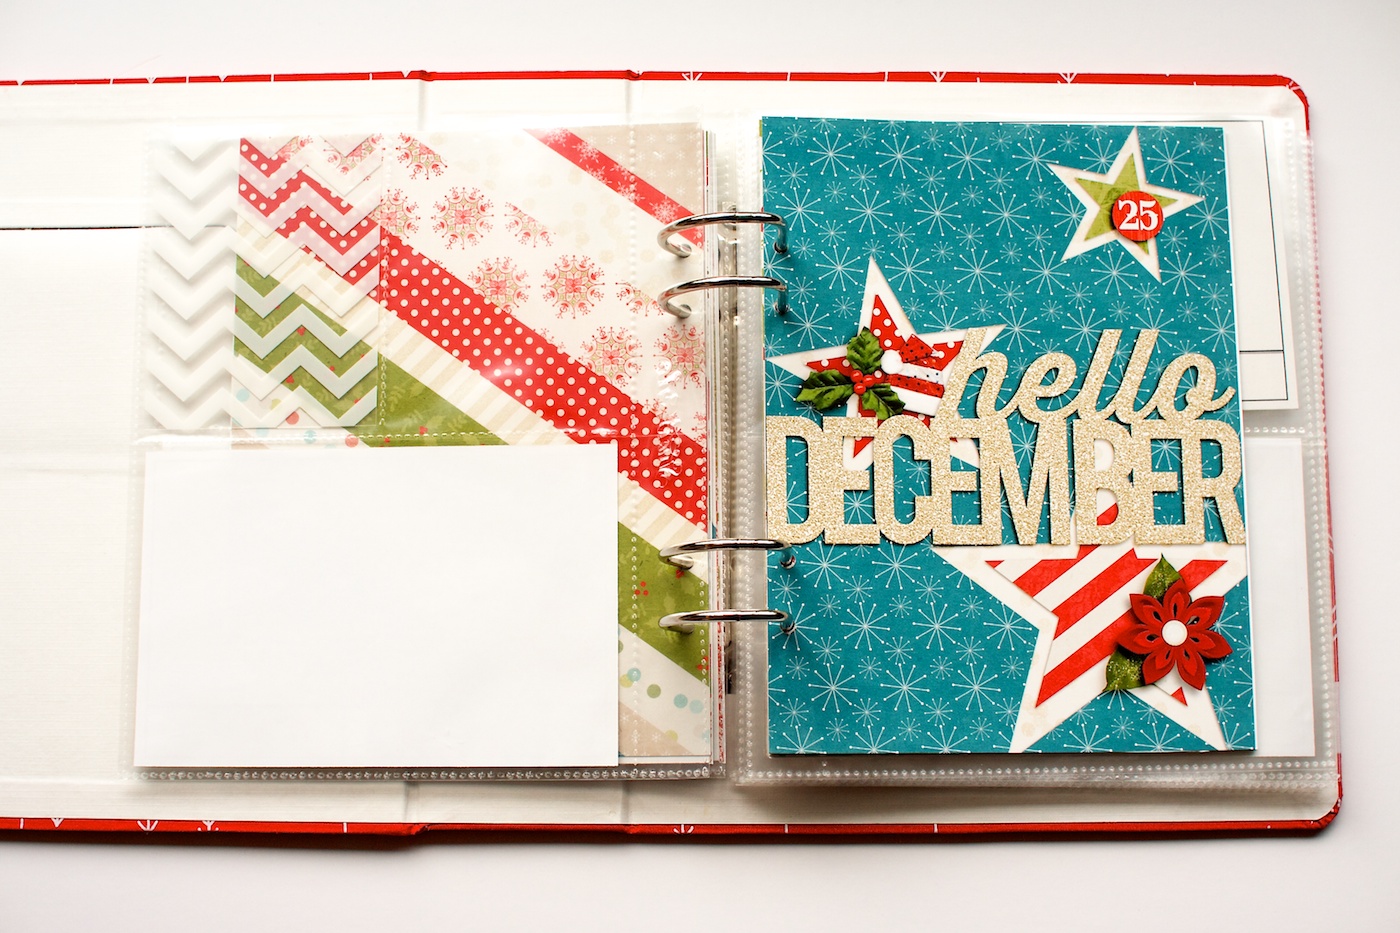
Holiday Fave No. 4…
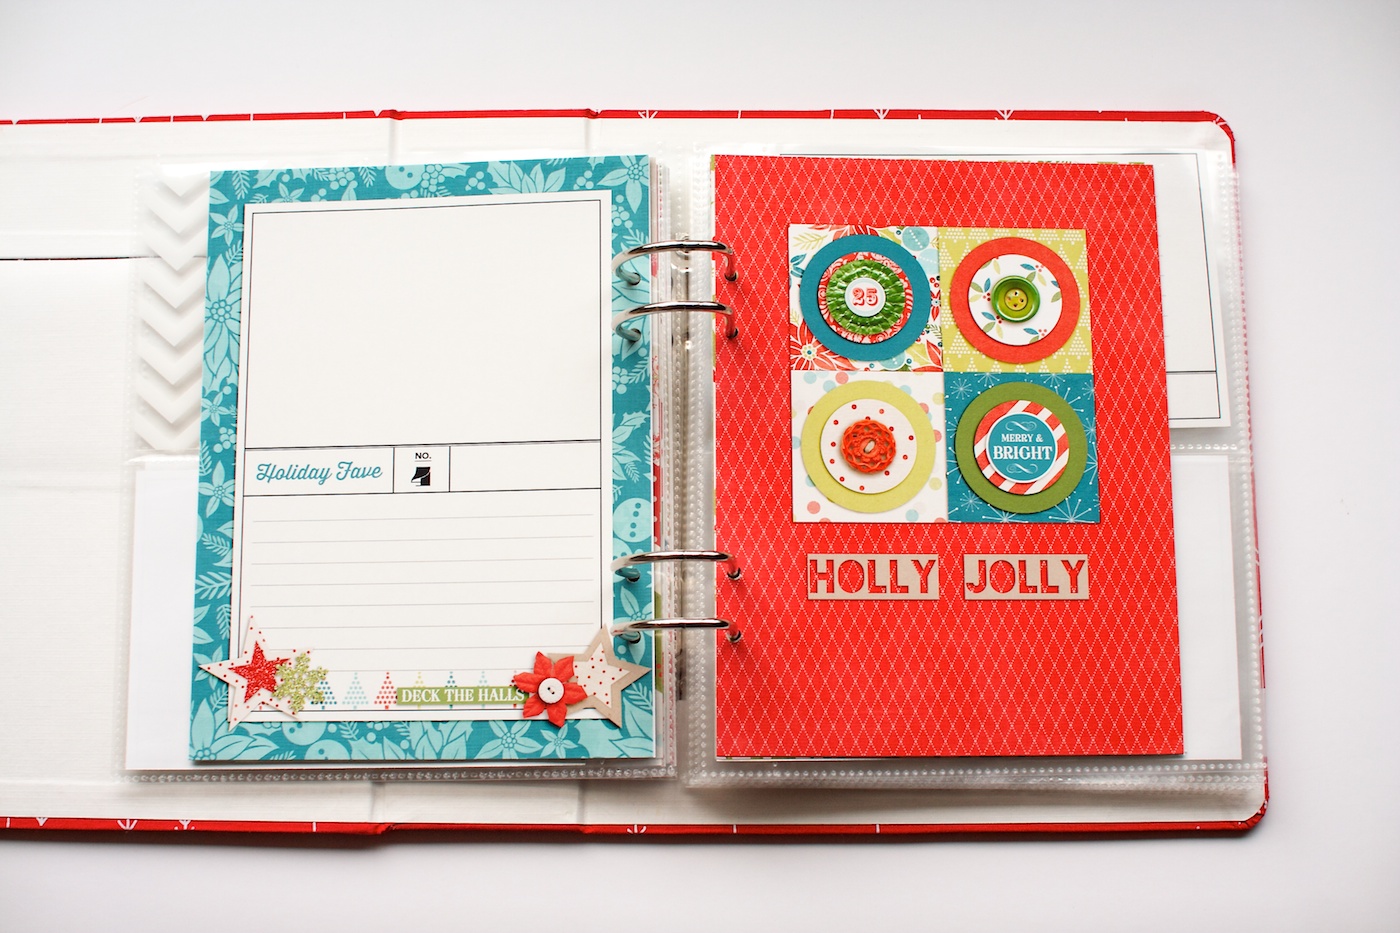
Holiday Fave No. 5…
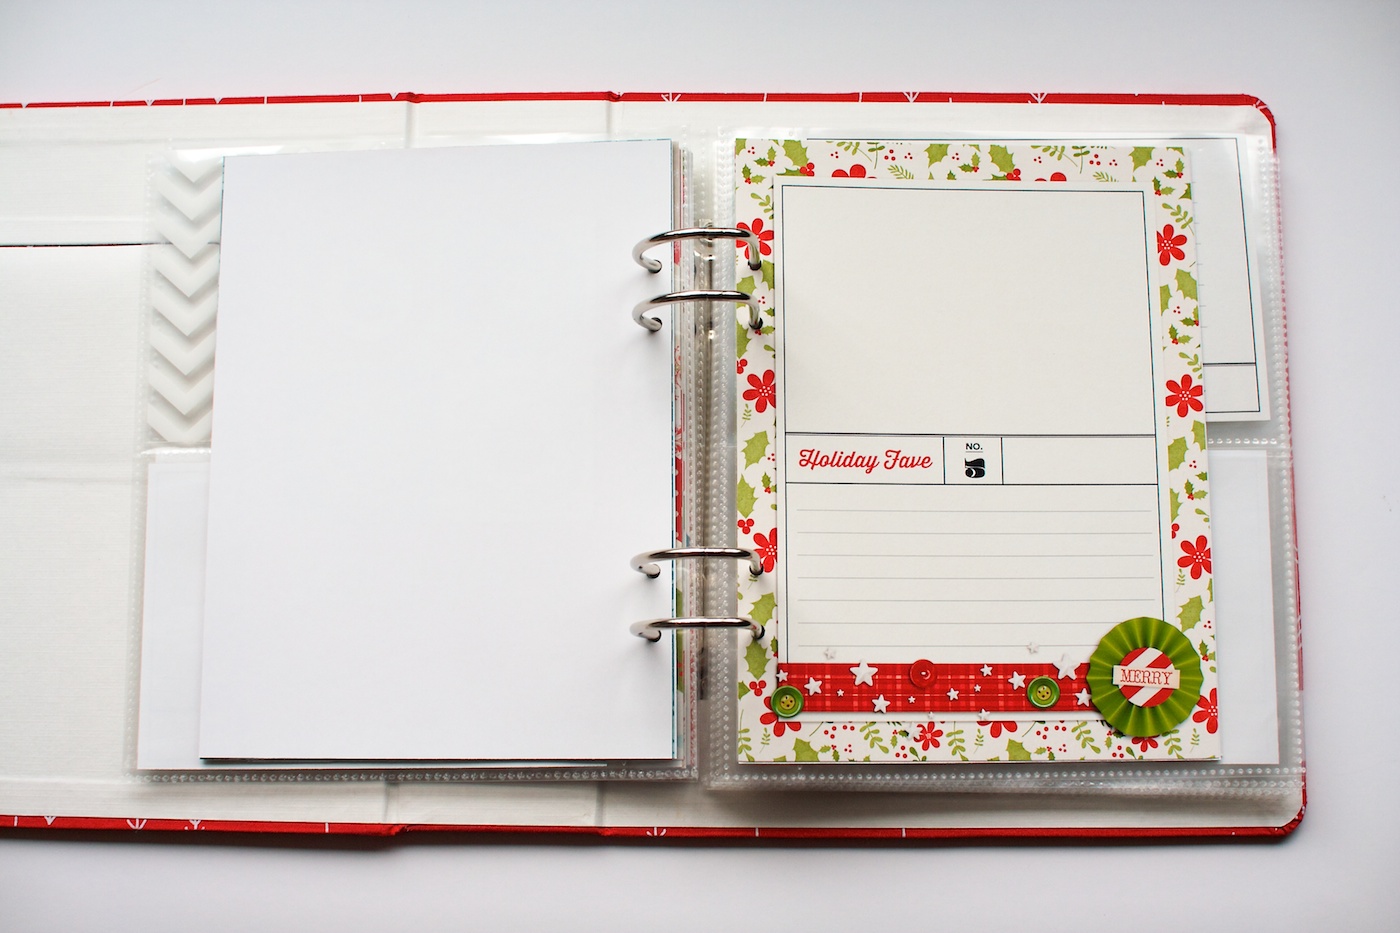
This Holiday Traveling card spread will mark the dividing line between Christmas in Texas and Christmas in California. I plan to move it wherever I happen to be in the album once we leave.
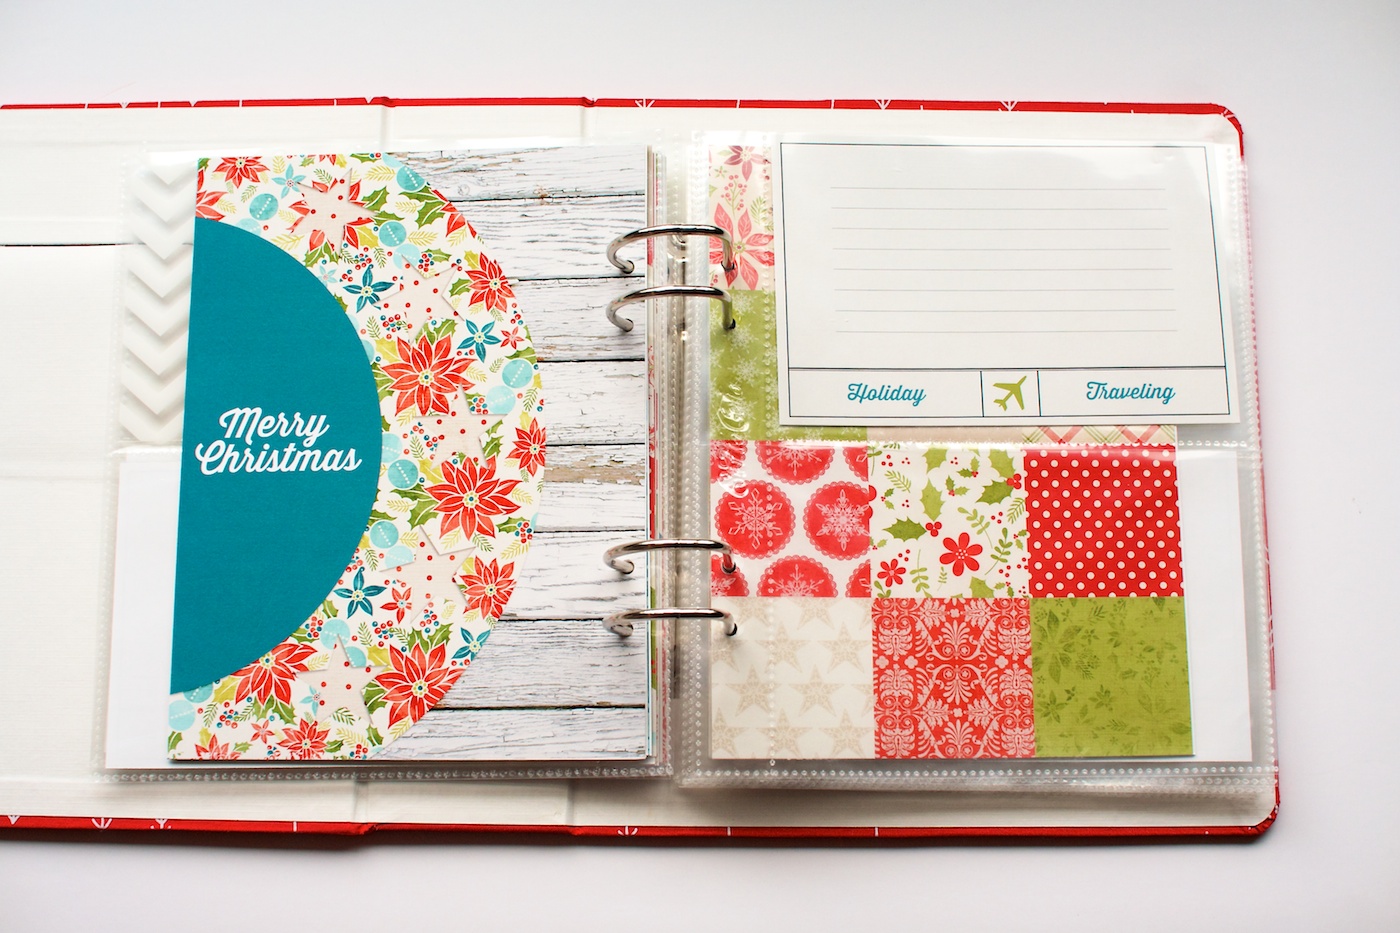
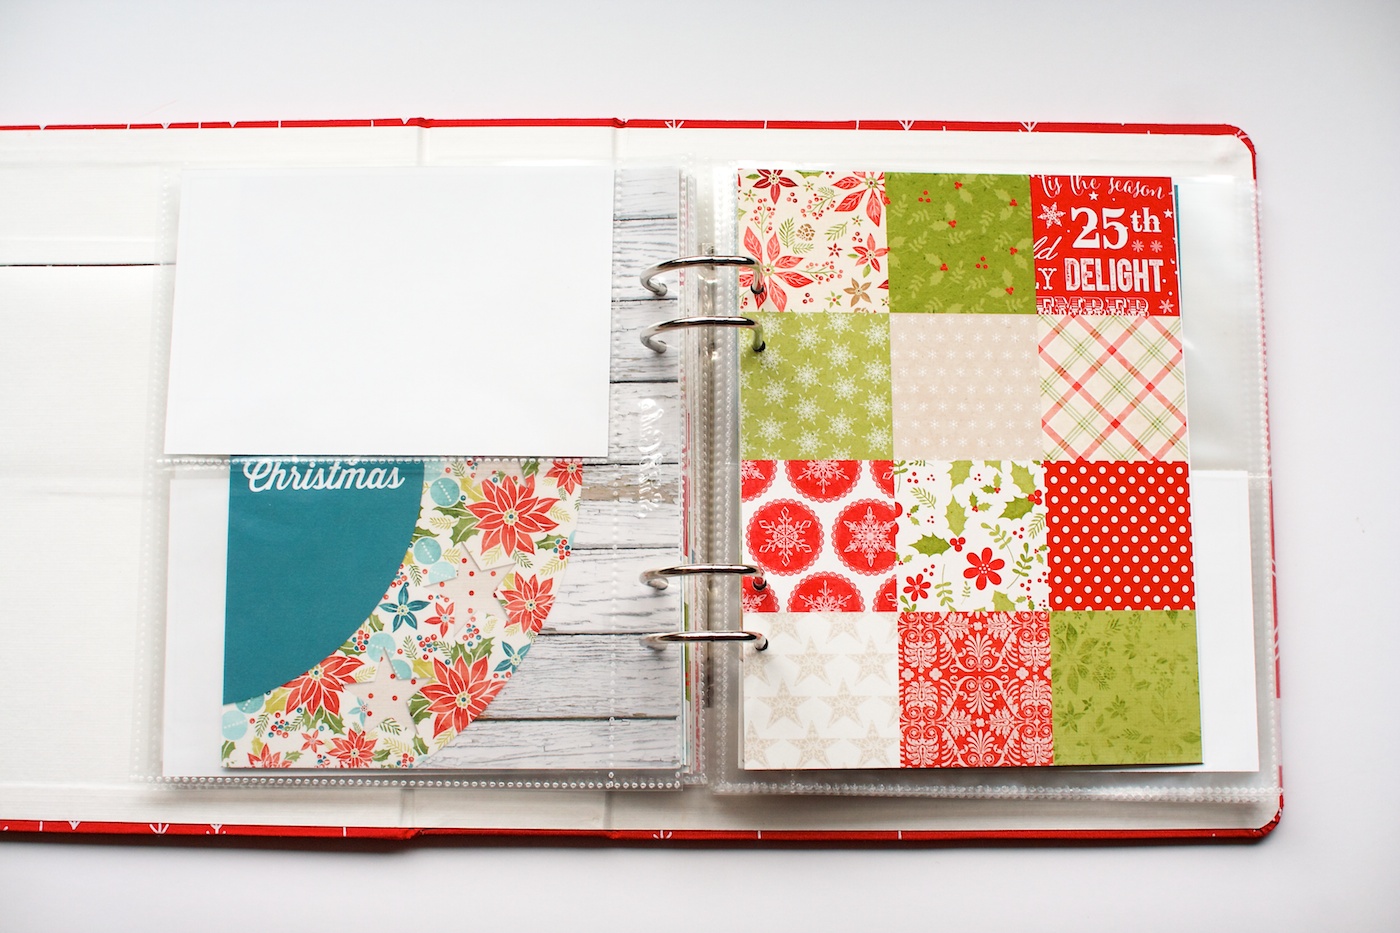
Holiday Fave No 6…
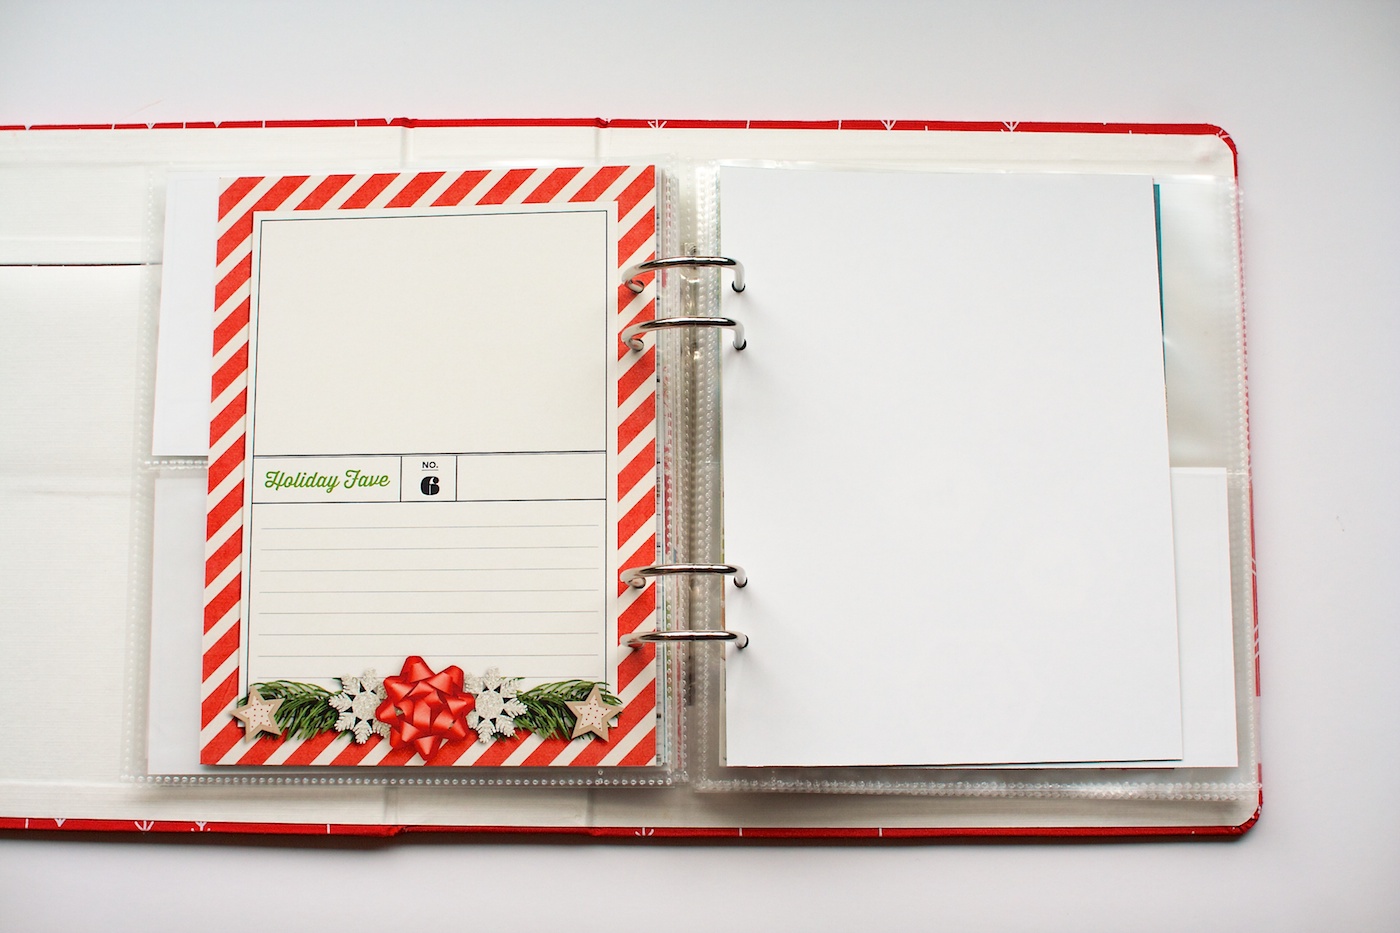
Another pocket page spread (this time the back of the card)…
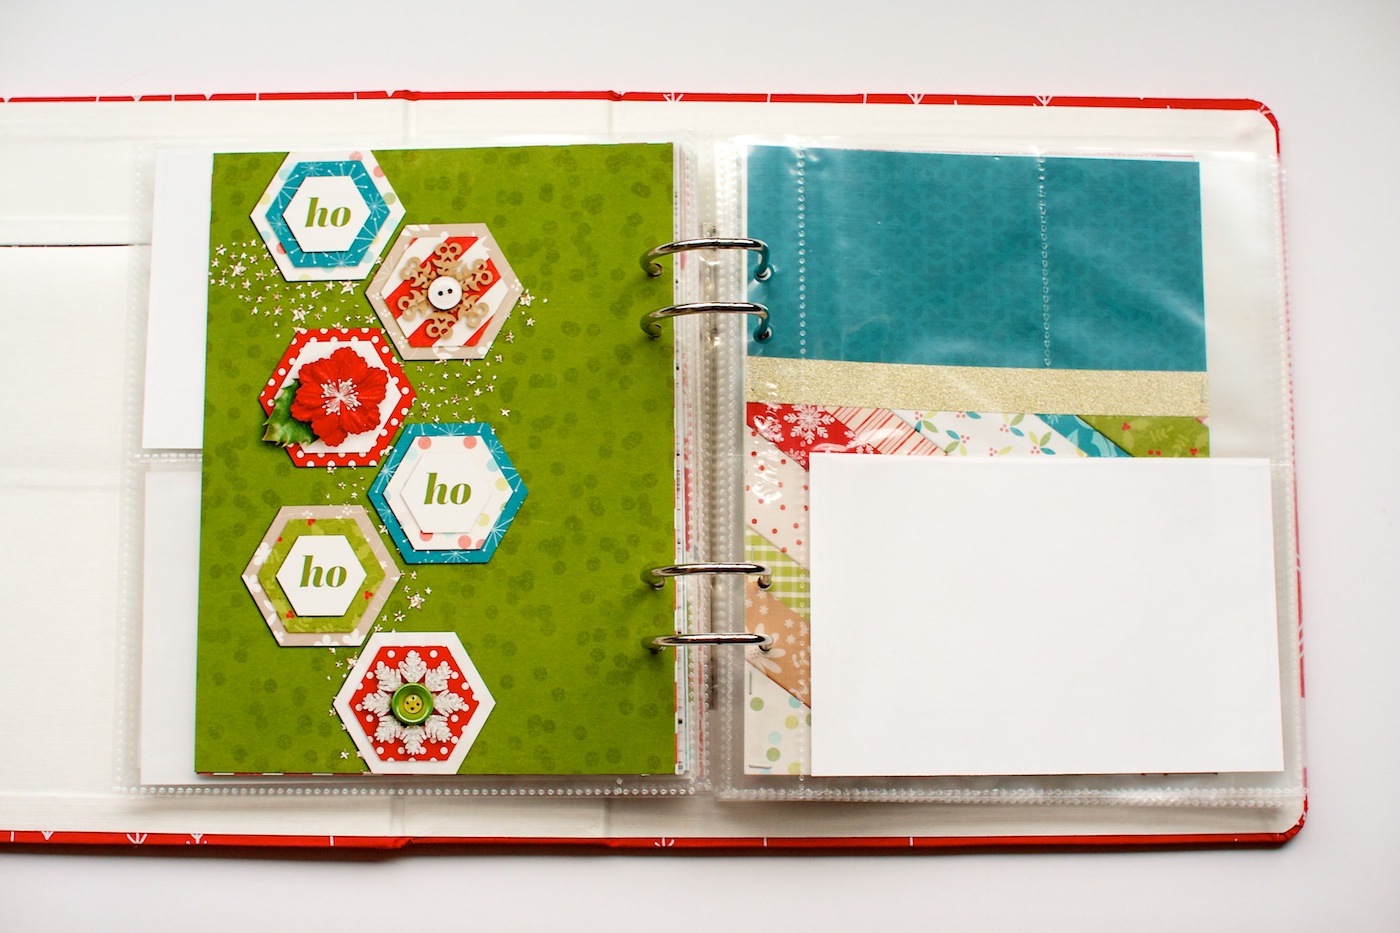
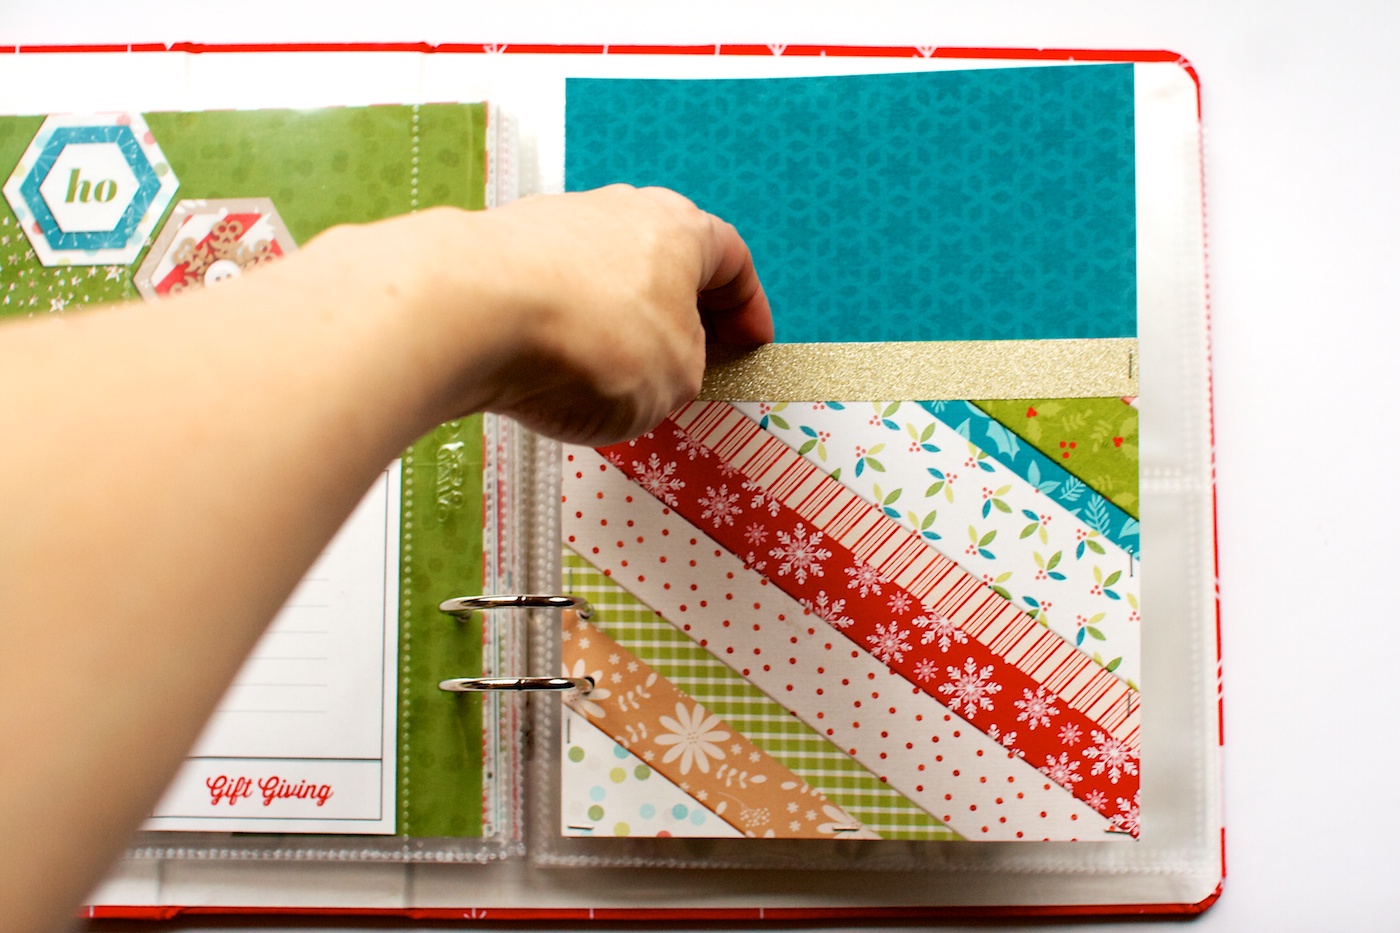
I’m planning to use this spread to right about the gifts we buy everyone…
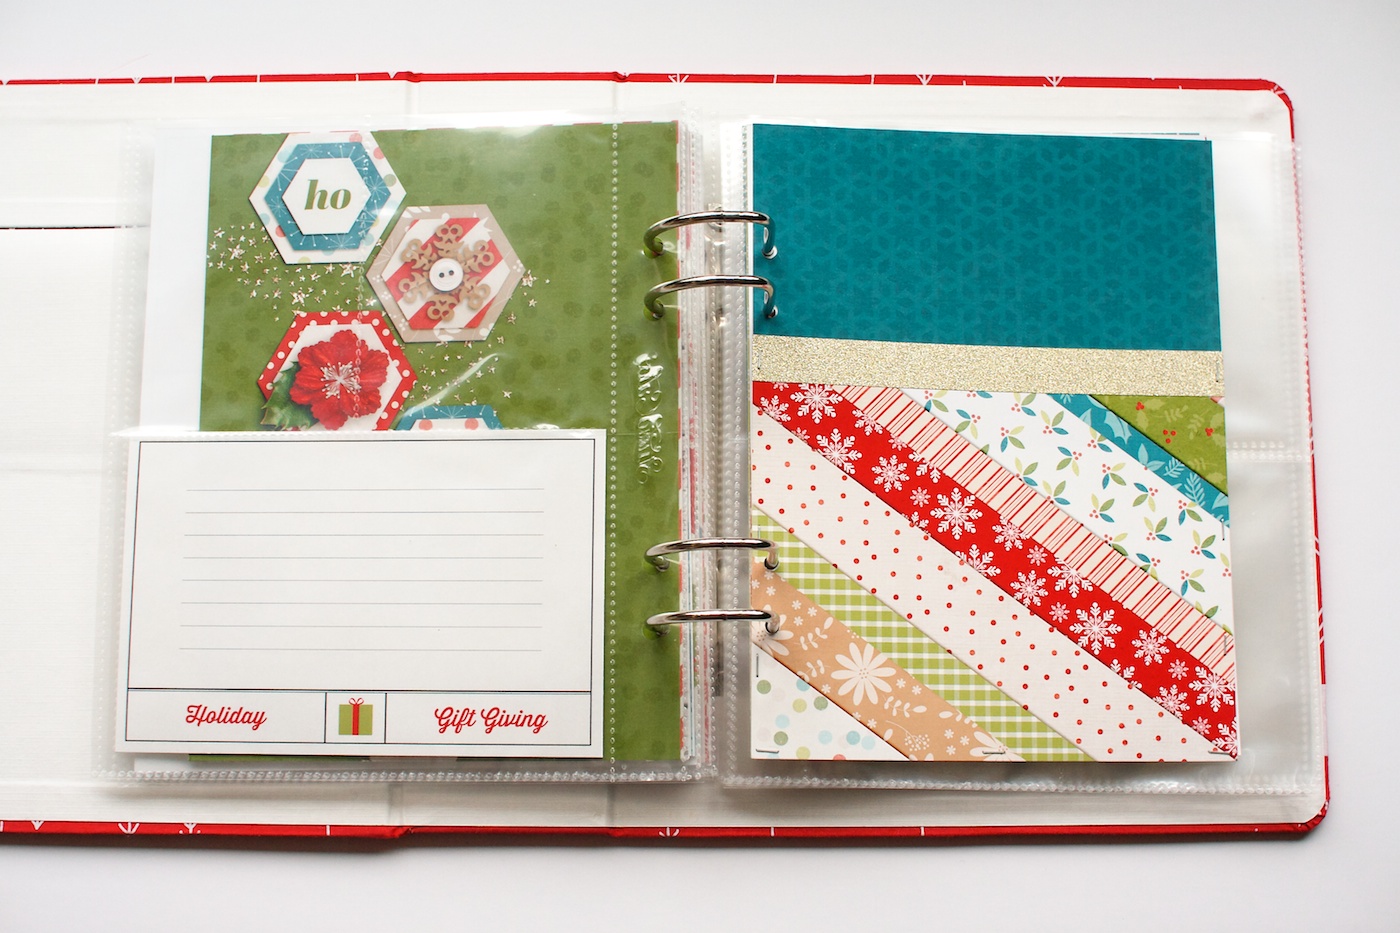
This page on the right is actually a pocket I made. To make the pocket, I printed the top and bottom half of the page template separately, leaving the bottom half of the blue paper page blank to save ink, and then trimmed and stapled the two halves together. The gold trim is glitter tape from Kelly Purkey’s December Project Life kit. I plan to slip a list of the gifts we buy for family into the pocket.
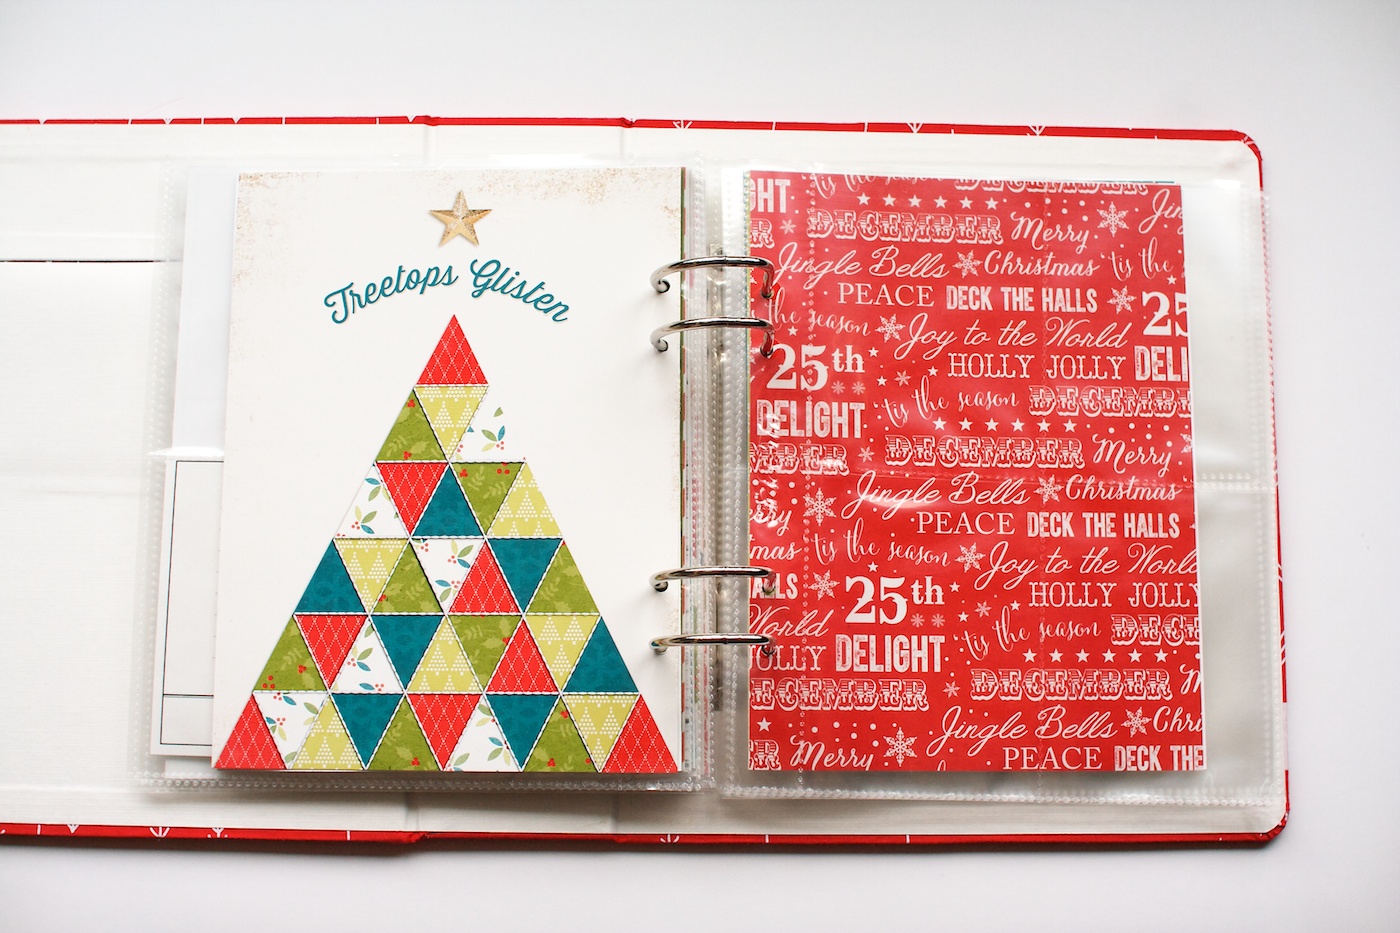
Holiday Fave No. 7…
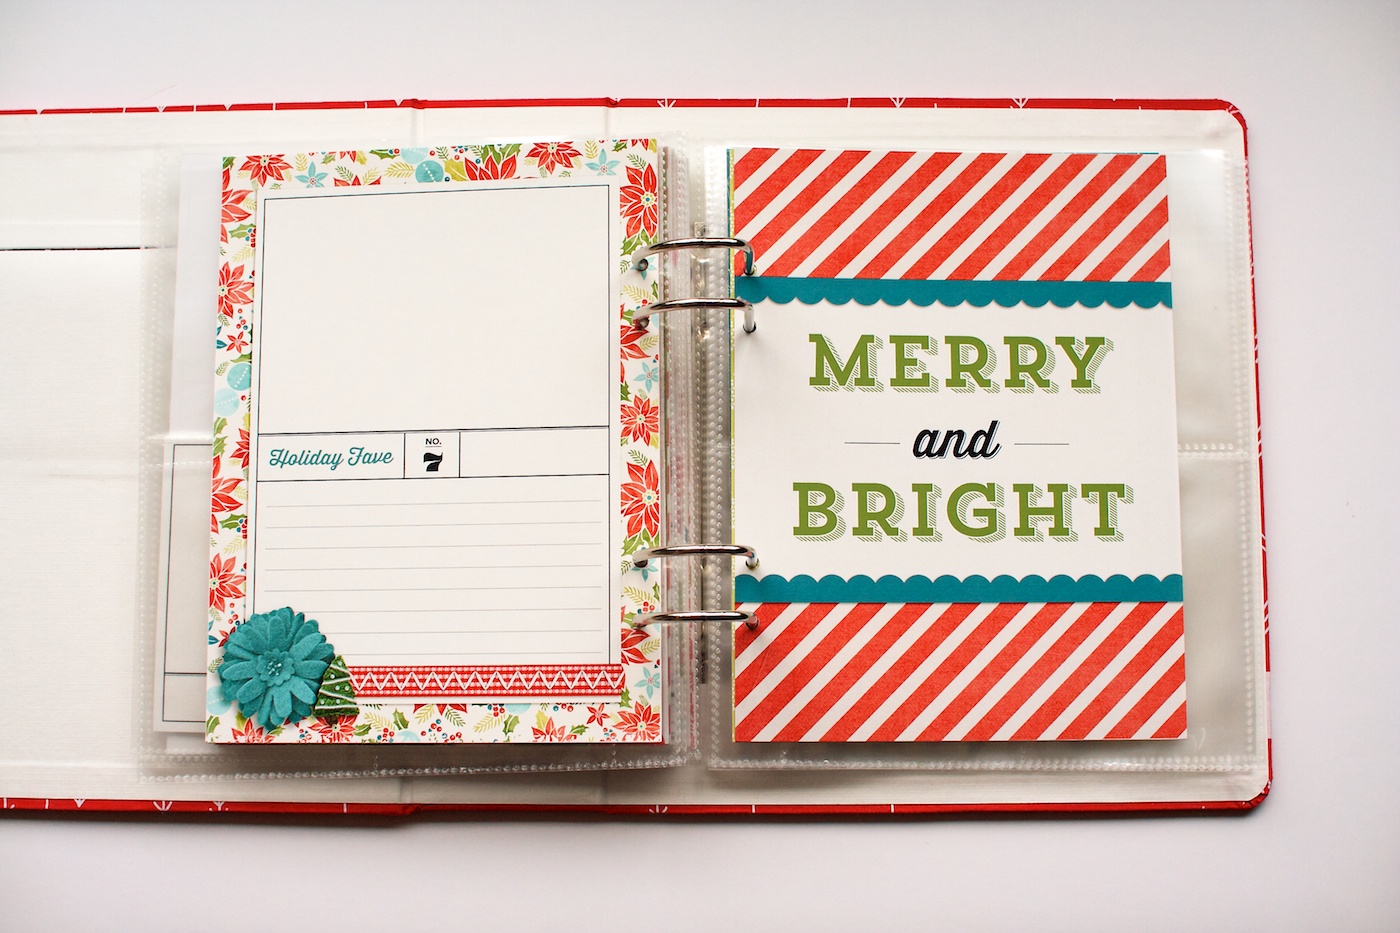
Holiday Fave No. 8…
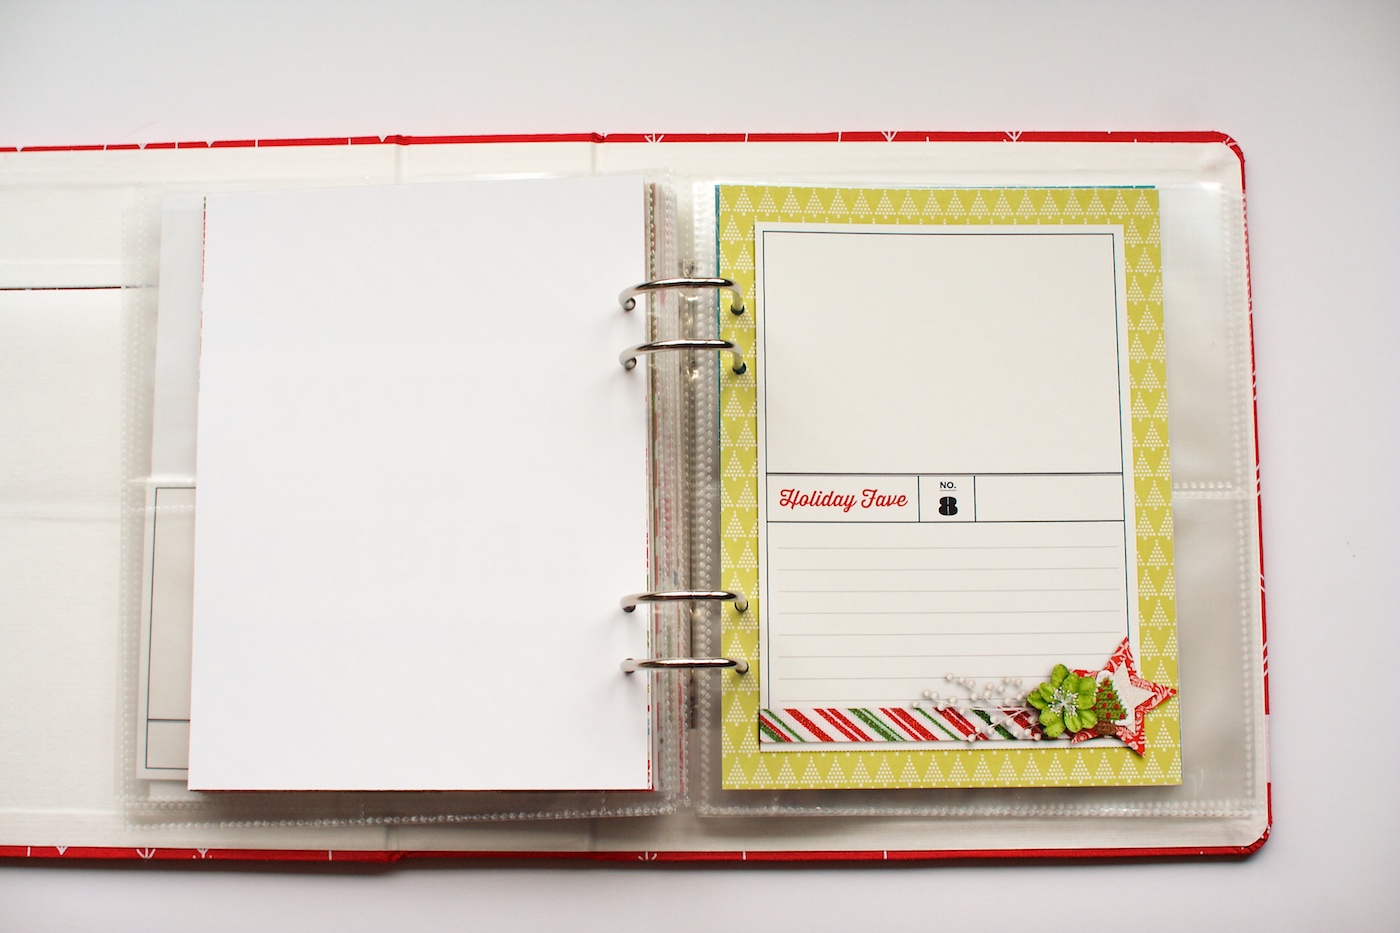
Holiday Fave No. 9…
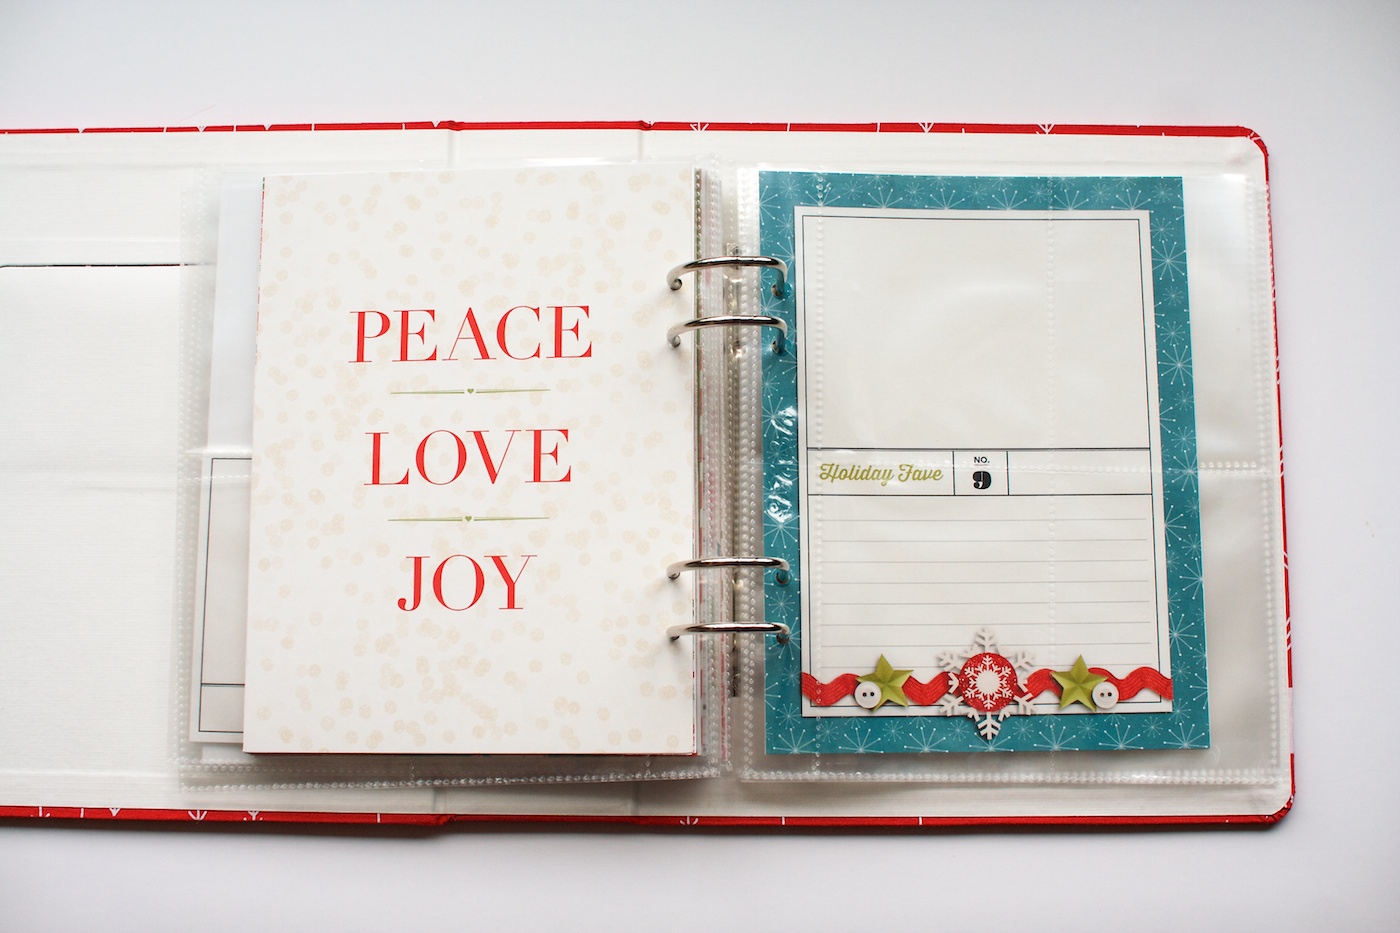
Holiday Fave No. 10…
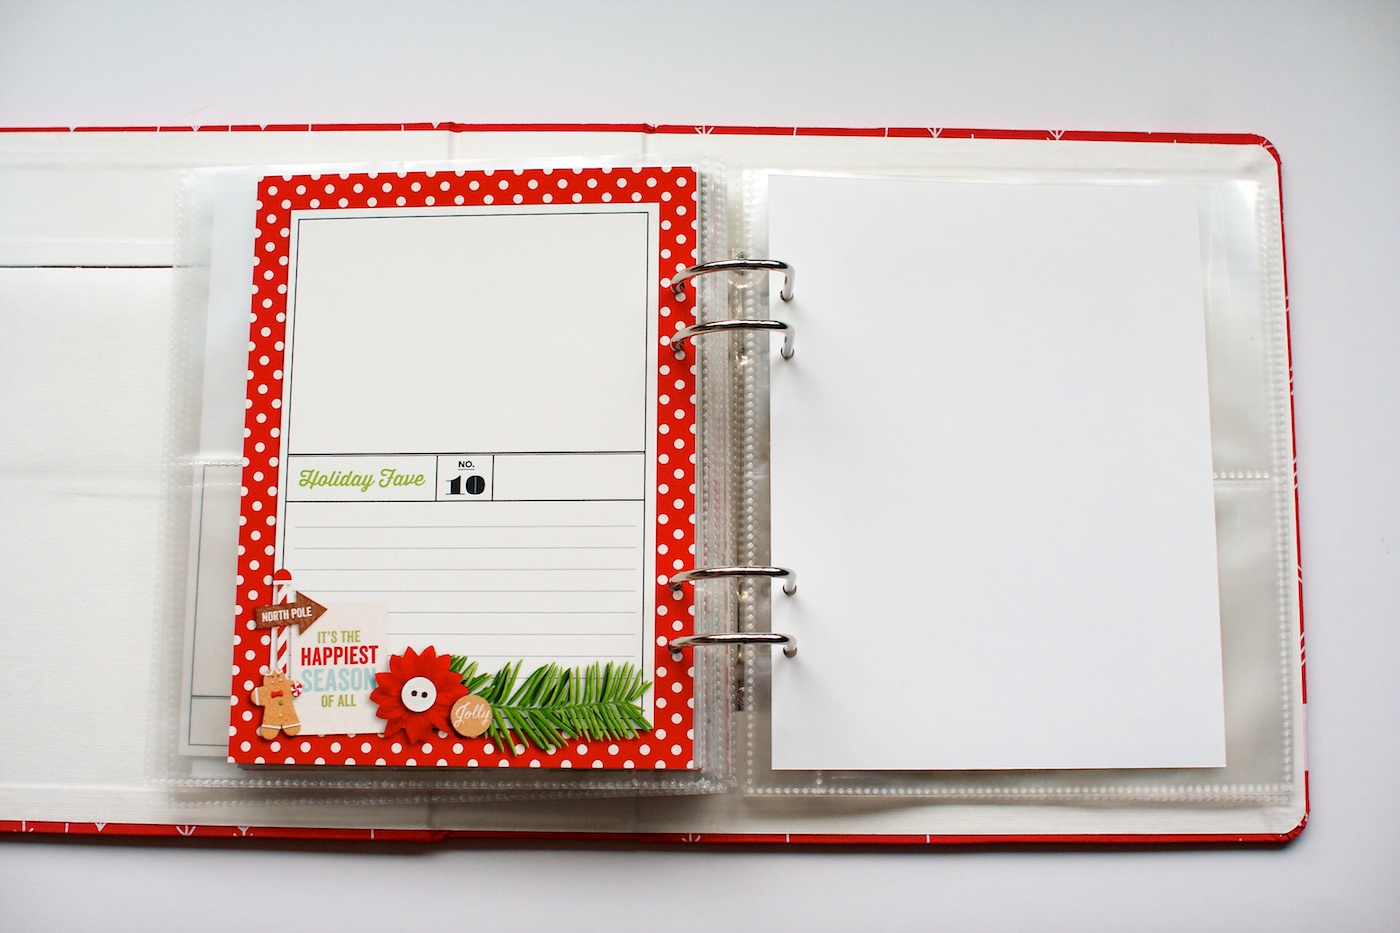
Final page in the album. I’ve included all the additional page protectors at the back of the album. I figure I can use them to add additional photos/accents later and just remove the ones I don’t use once I’m finished.
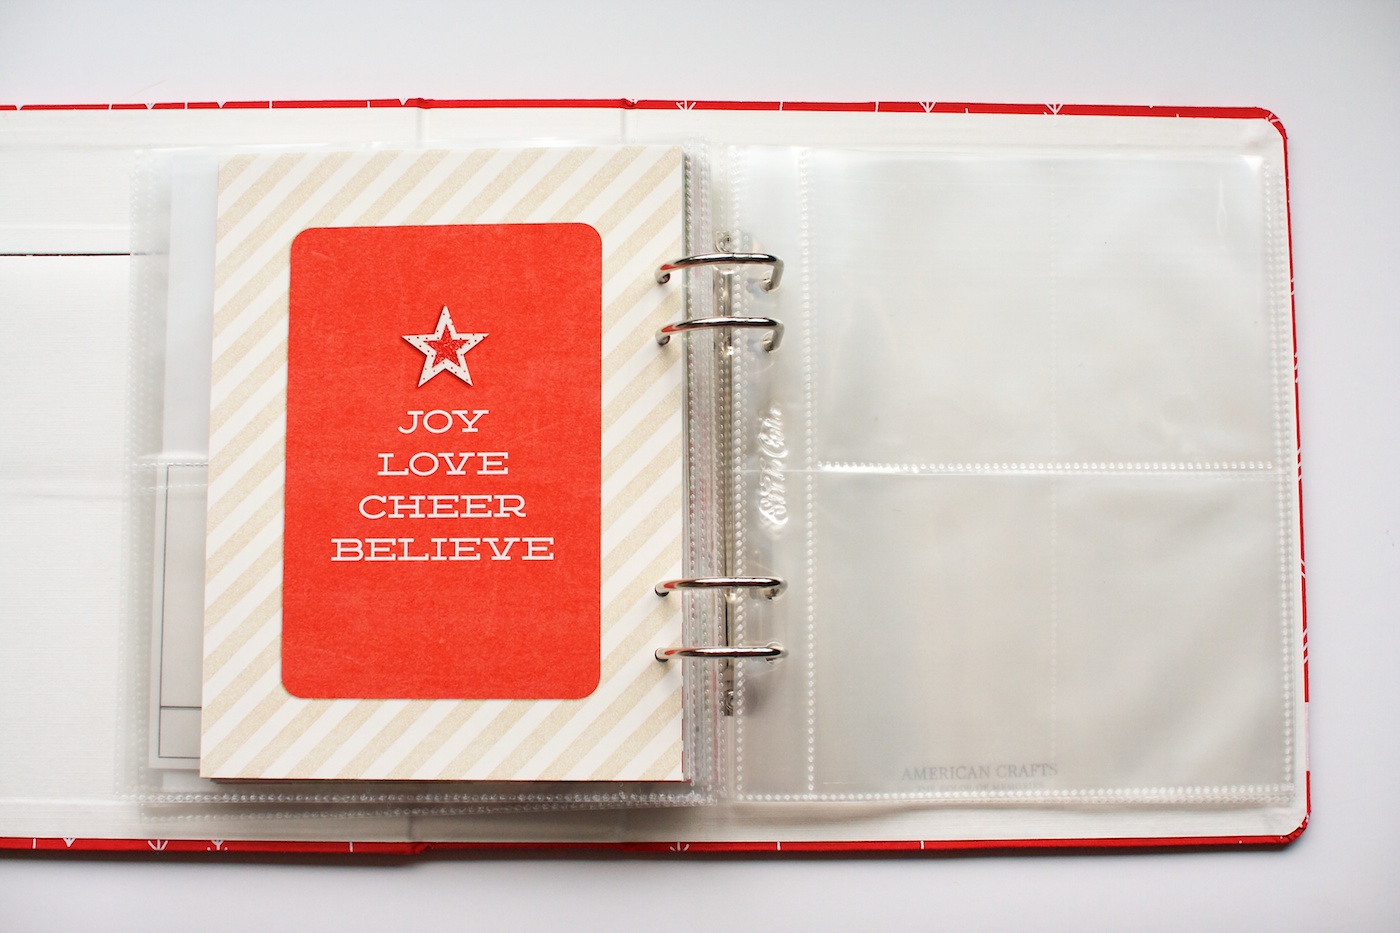
A closer peek at the final page…
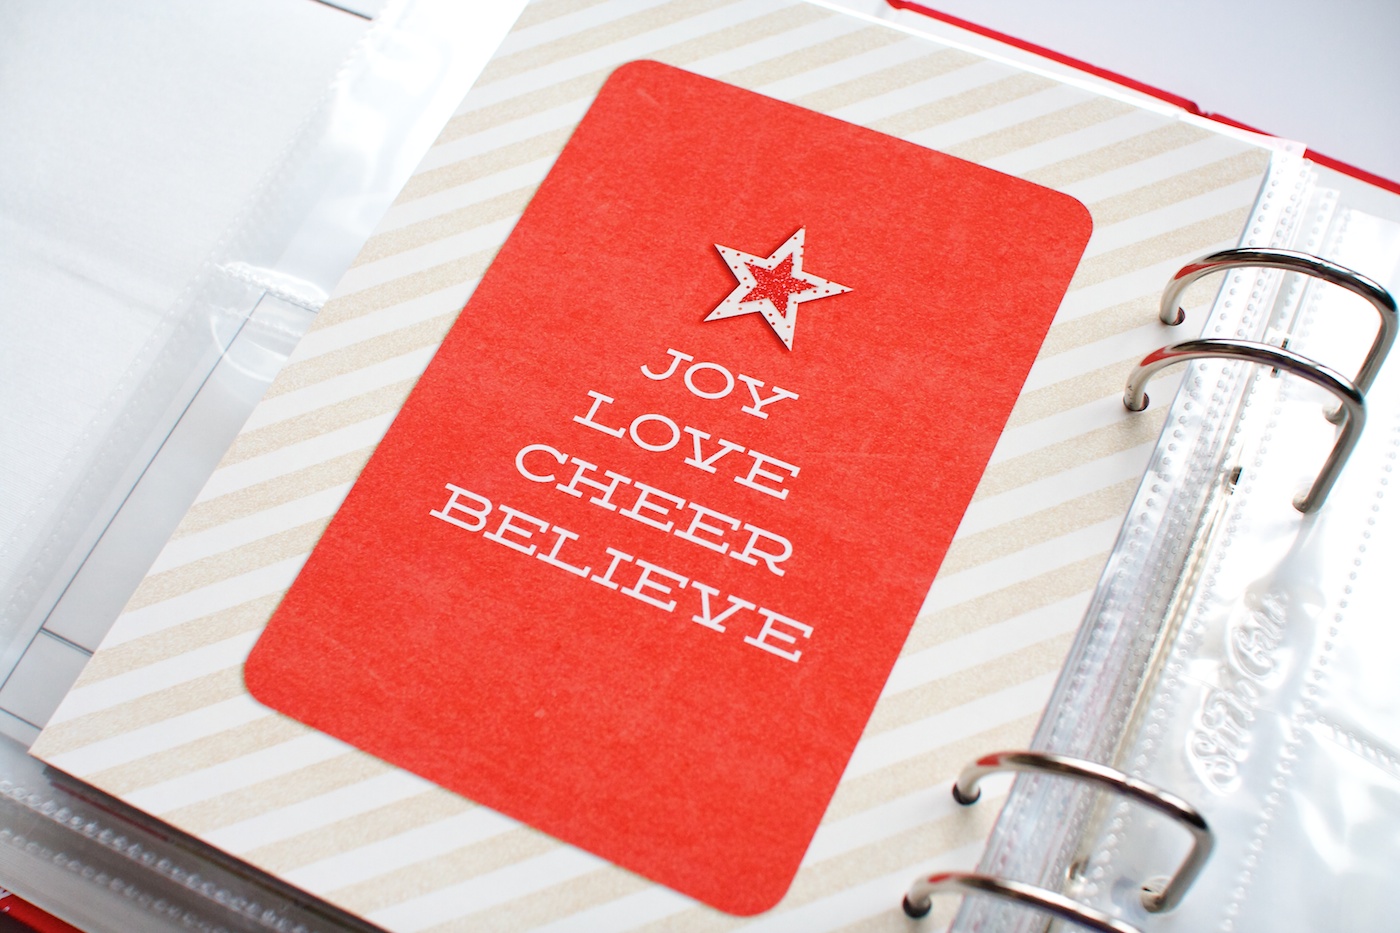
And that’s my Holiday Faves 2013 album so far! My goal with the foundation pages is always to give myself a guide for my album while still giving me plenty of options for moving pages and adding details and photos. I’m really excited to see how this year’s album comes together!
Have any questions for me about my Holiday Faves album? Feel free to ask them in the comments below! And if you’re using the Holiday Faves 2013 templates for your own album this year, I’d love to see what you’re planning so feel free to link me up below as well!
Want to join in the Holiday Faves 2013 fun? Pick up your own copy of the Holiday Faves 2013: The Collection templates here.
